


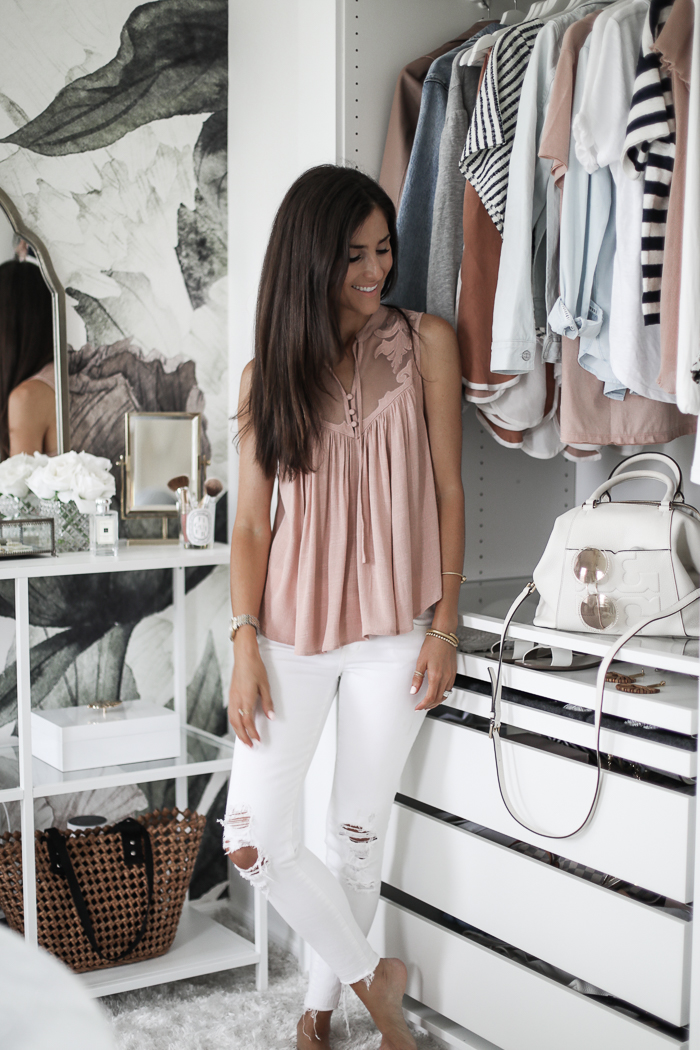
Hi girls! Come get ready with me today as I share this amazing new hair tool! I have been wanting to try this blow dryer for years…and I’m so excited I finally tested it out! I will be sharing a full transparency review. And hint…It exceeded my expectations! Now I’m already a fan of the Dyson brand…we own 2 vacuums that work better than any other we have tried. So naturally I was so excited to see a hair dryer that would hopefully live up to that caliber. When I finally decided to give this blow dryer a try…it was in my hands within an hour. I purchased it online at Nordstrom.com (along with a few other things)…and had it ready curb side pick up within an hour. I didn’t even need to get out of my car!

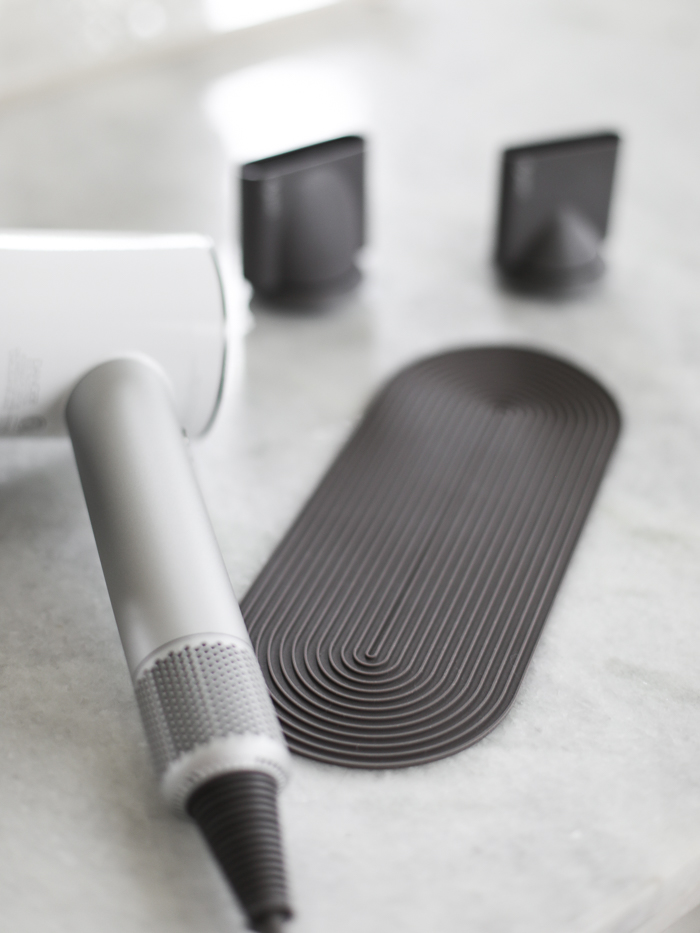
This dryer comes with 3 detachable nozzles
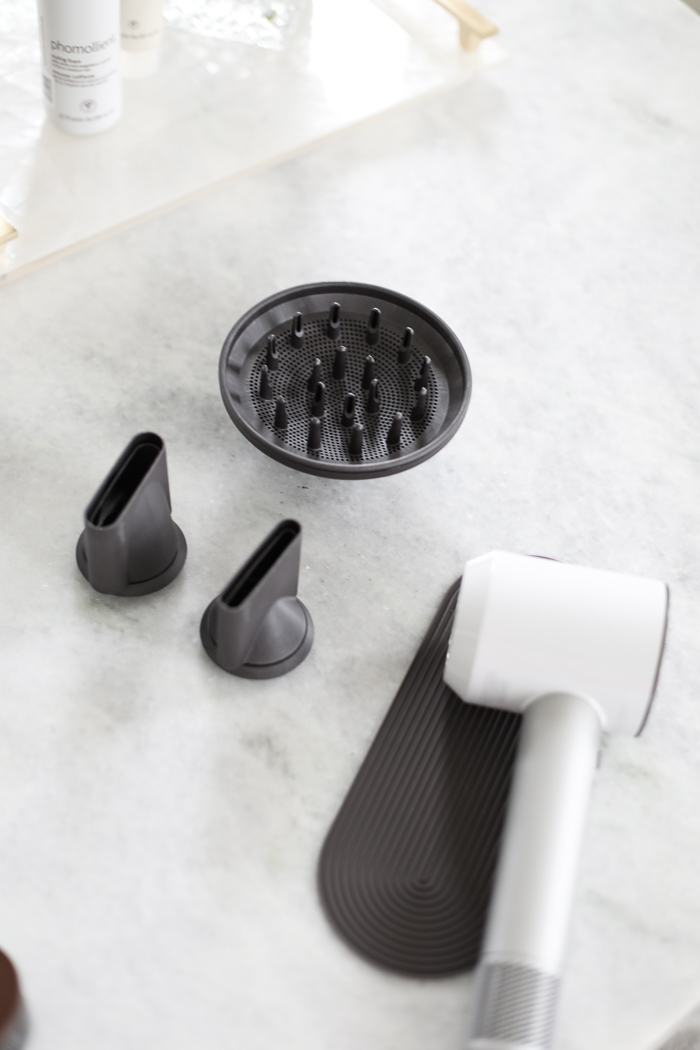
1. SMOOTHING NOZZLE
This allows you to dry and style your hair at the same time.
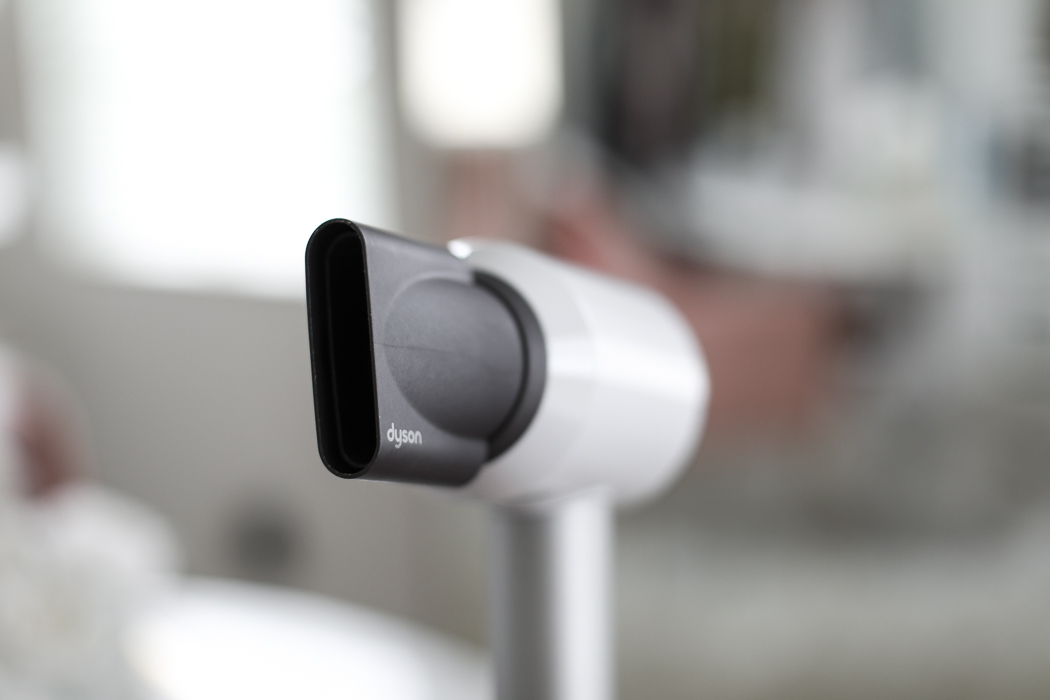
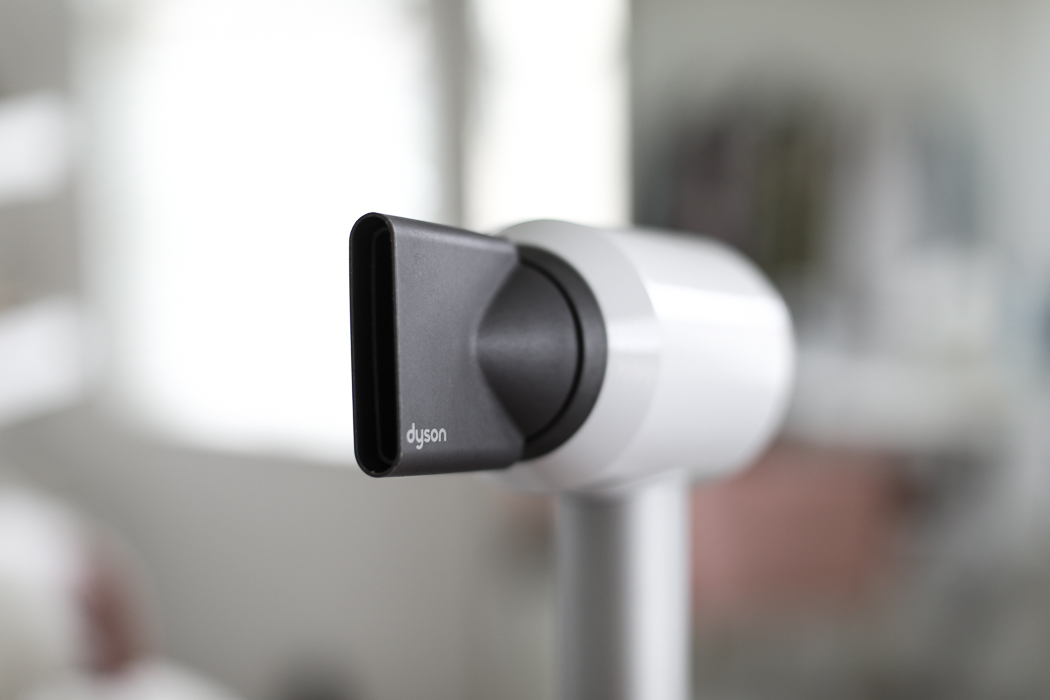
2. STYLING CONCENTRATOR NOZZLE
Distributes focused air out of a thinner nozzle.
This allows you to style one section at a time without blowing all of your other hair around like crazy.
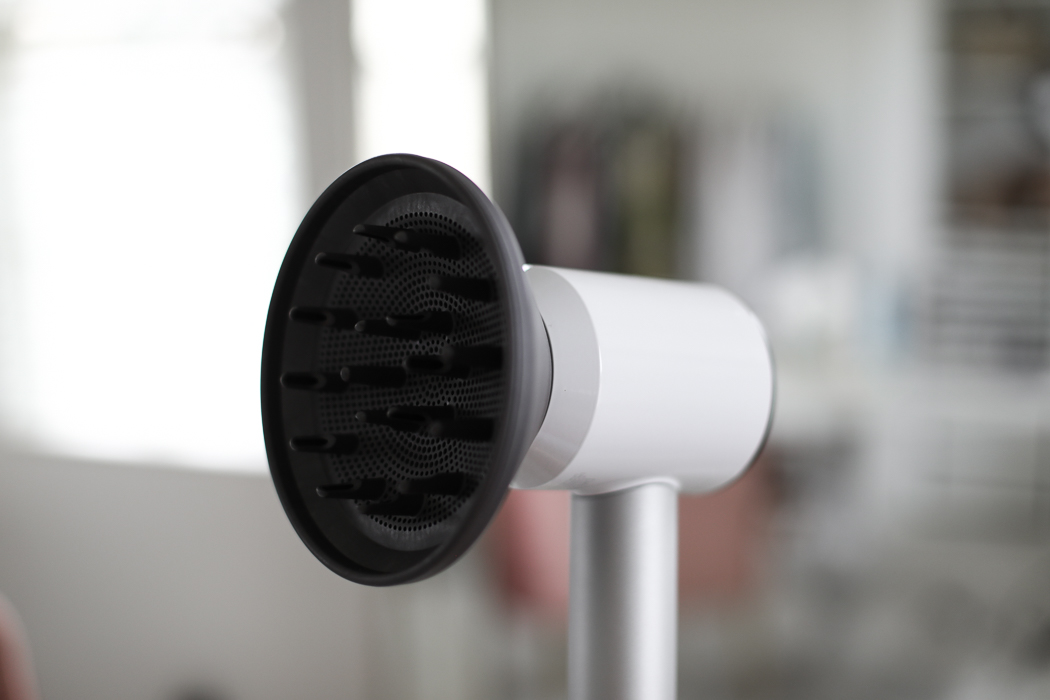
3. DIFFUSER NOZZLE
This reduces frizz and helps disperse air evenly around each of your ringlets.
TIP: stick to the lowest speed setting when using the diffuser.
Also try to move your natural curls as little as possible.
USER ERROR ALERT
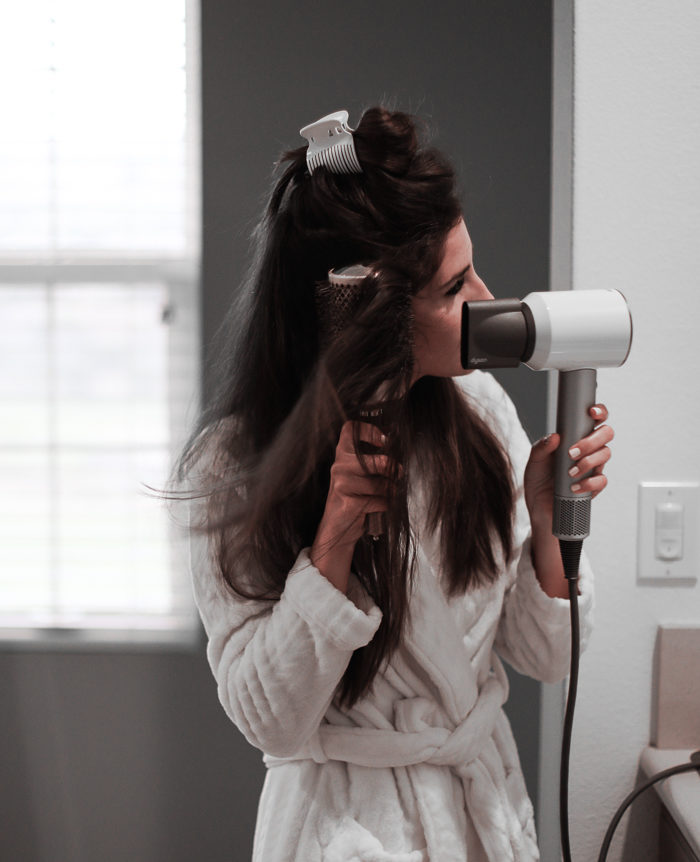
I’ll be honest I almost always avoid reading any manual. I’m a figure it out myself…wing it, kinda girl. Once I had this dryer all plugged in and ready to go I started blowing it all crazy through my hair. I didn’t have an attachment on and I had all my hair down. It went wild and got tangled. I learned that the best way to use this dryer is by sectioning off sections at a time (duh me)…and using the nozzle attachments so the air is more controlled. So just fyi to follow these steps when using your new hair tool.
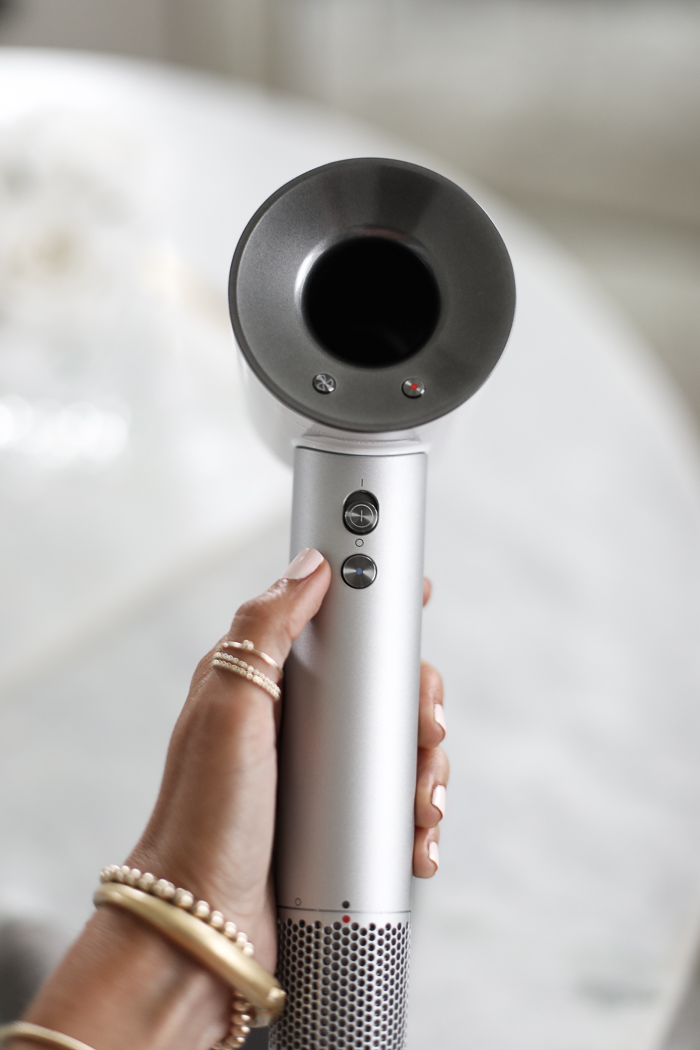
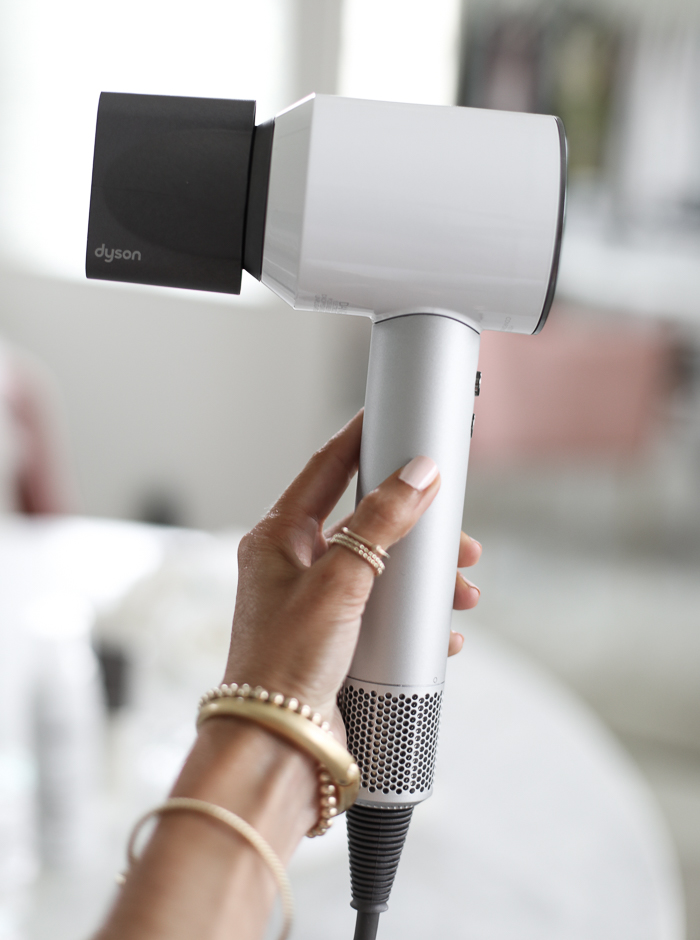
FUNCTIONS :
The button on the top left is the airflow control. Low, Medium and High. I usually use the medium and high setting. The button on the right is the temperature control. There are also 3 settings for this. I personally really love the high setting. The 2 buttons on the handle are the Power on/off switch and the Cold shot button.
RUBBER PAD :
It also comes with this nifty little rubber pad that you can set your dryer on after and inbetween sections of your blow-out.
BONUS USAGE :
I self tan weekly and have been applying it myself at home. Since you have to practically get naked to apply I’m always in a rush to get dressed afterwards. This Dyson hair dryer has been the perfect solution to speed the drying process. I put the Airflow and Temperature control settings on low. I also use no nozzle to get more of a distributed air flow.
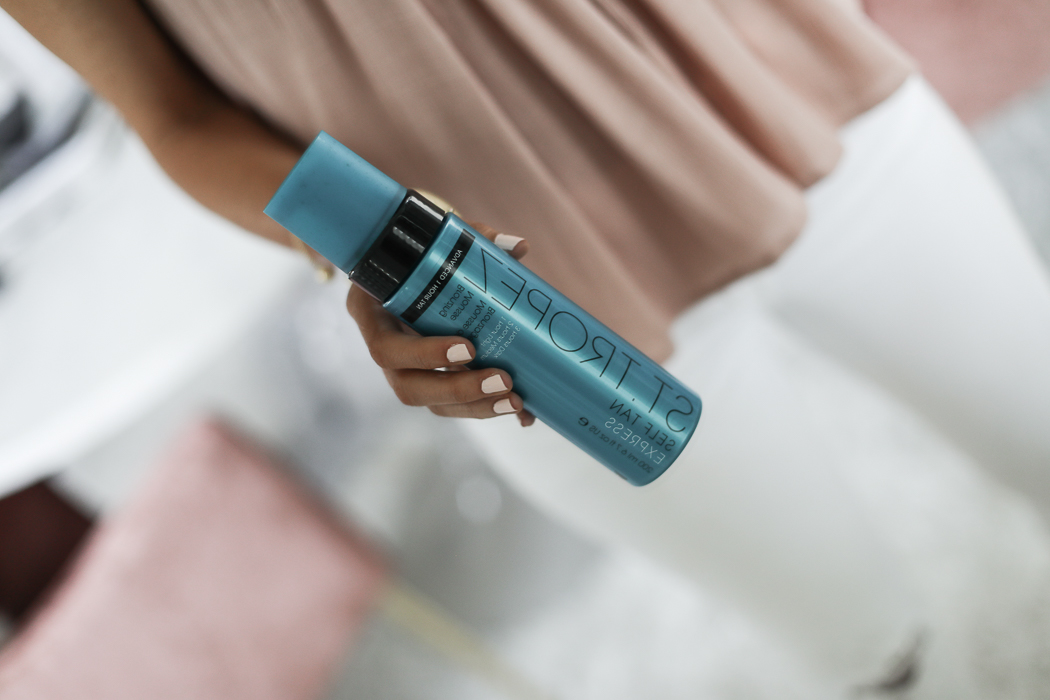
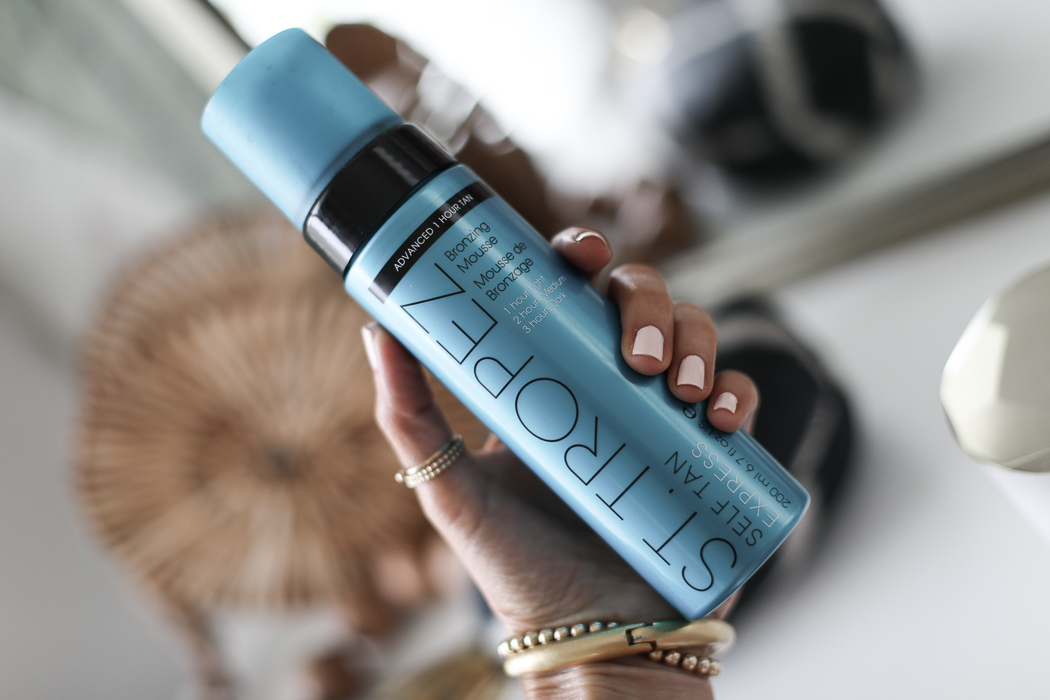
SELF TANNER :
This is the self tanner I’ve talked about before and I’ll mention it again because I love it so much. It’s fast drying (but even faster when using the dyson dryer…lol). It leaves you instantly bronzed! It’s pretty tan…and I like it. FYI: once you get in the shower a lot of the dark color washes off…but it does leave you with a nice glowing tan. I do wish it was a little bit darker after the shower…but have noticed better results after applying it twice in a row. Basically Day 1 tan, Day 2 tan. Lasts up to a week or longer. TIP: My tan always last longer when I’m religious about moisturizing. Always put on lotion after the shower and try to remember to apply lotion right before bed. Also…this one’s no fun, but limiting your pool time will also make your tan last a lot longer.
NEW HAIR PRODUCTS :
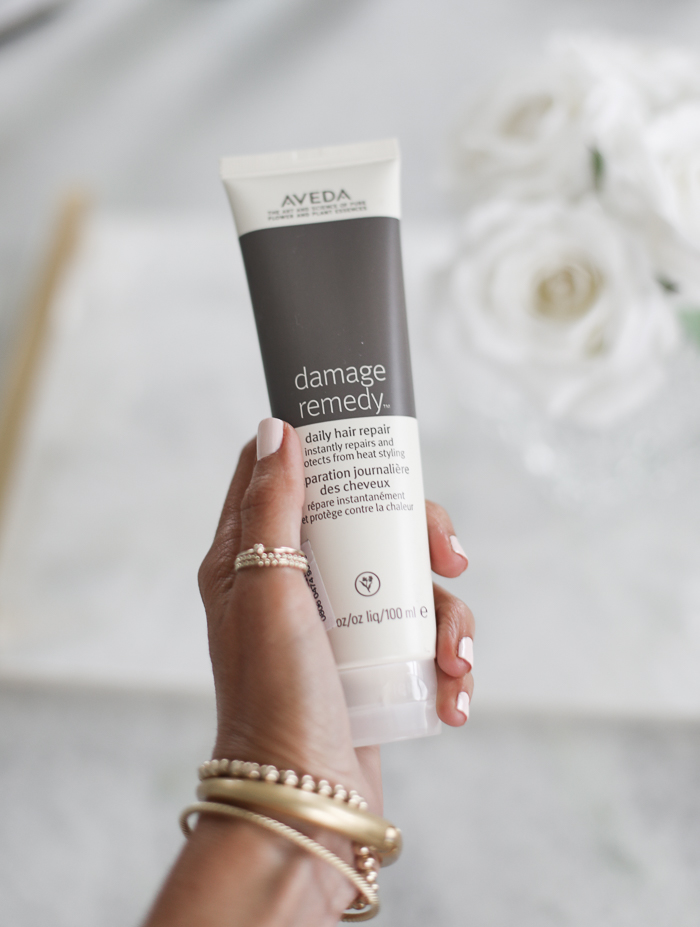
Also wanted to share a couple new hair styling products I’ve been using. In the summer I always use a leave in conditioner since my hair tends to feel more dry and damaged from the sun, pool, etc. I’ve been using “Damage Remedy” by Aveda and love it. It instantly repairs hair and also protects from heat styling.
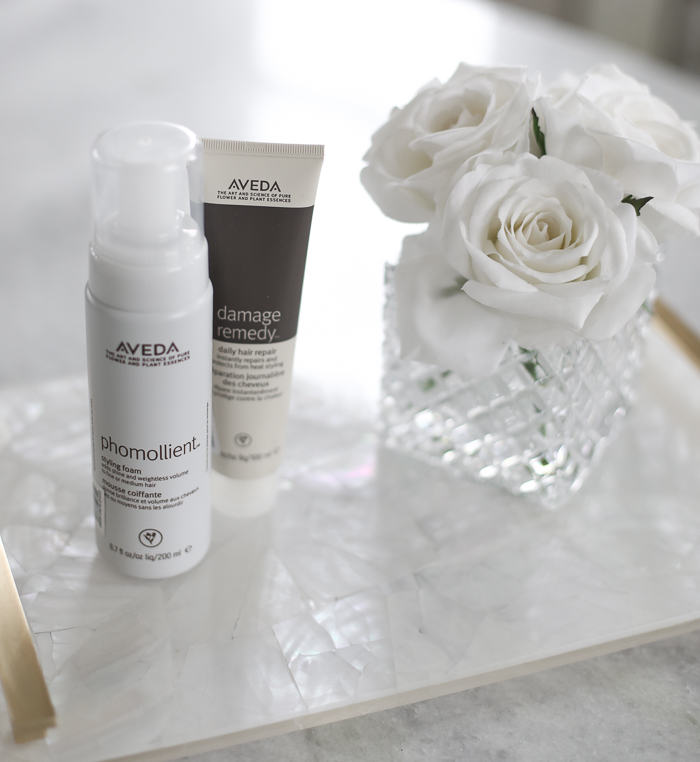
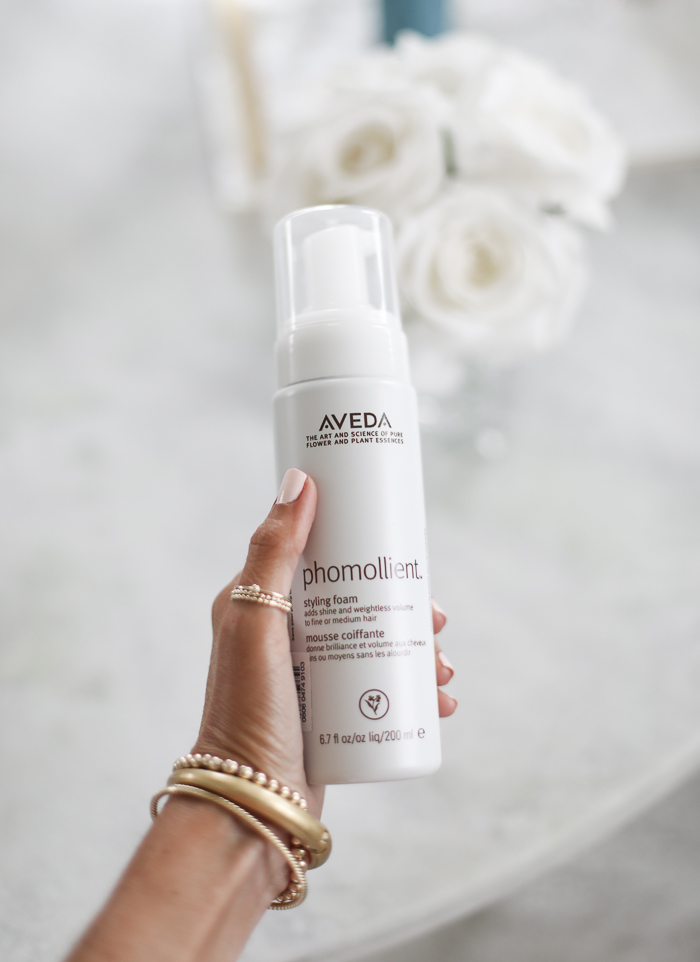
I would say I have lots of hair but it’s pretty fine…and I found a styling foam that doesn’t way my hair down! It’s called “phomollient”. Make sure you don’t shake the bottle…just pump out 3-5+ pumps depending on how much hair you have. I also like to add a hair serum afterwards. Then I air dry for a few minutes (so it’s not soaking wet)…then I blow dry.

Thank you so much for getting ready with me in today’s blog post!
If you have any additional questions please send them my way…
xx,

