


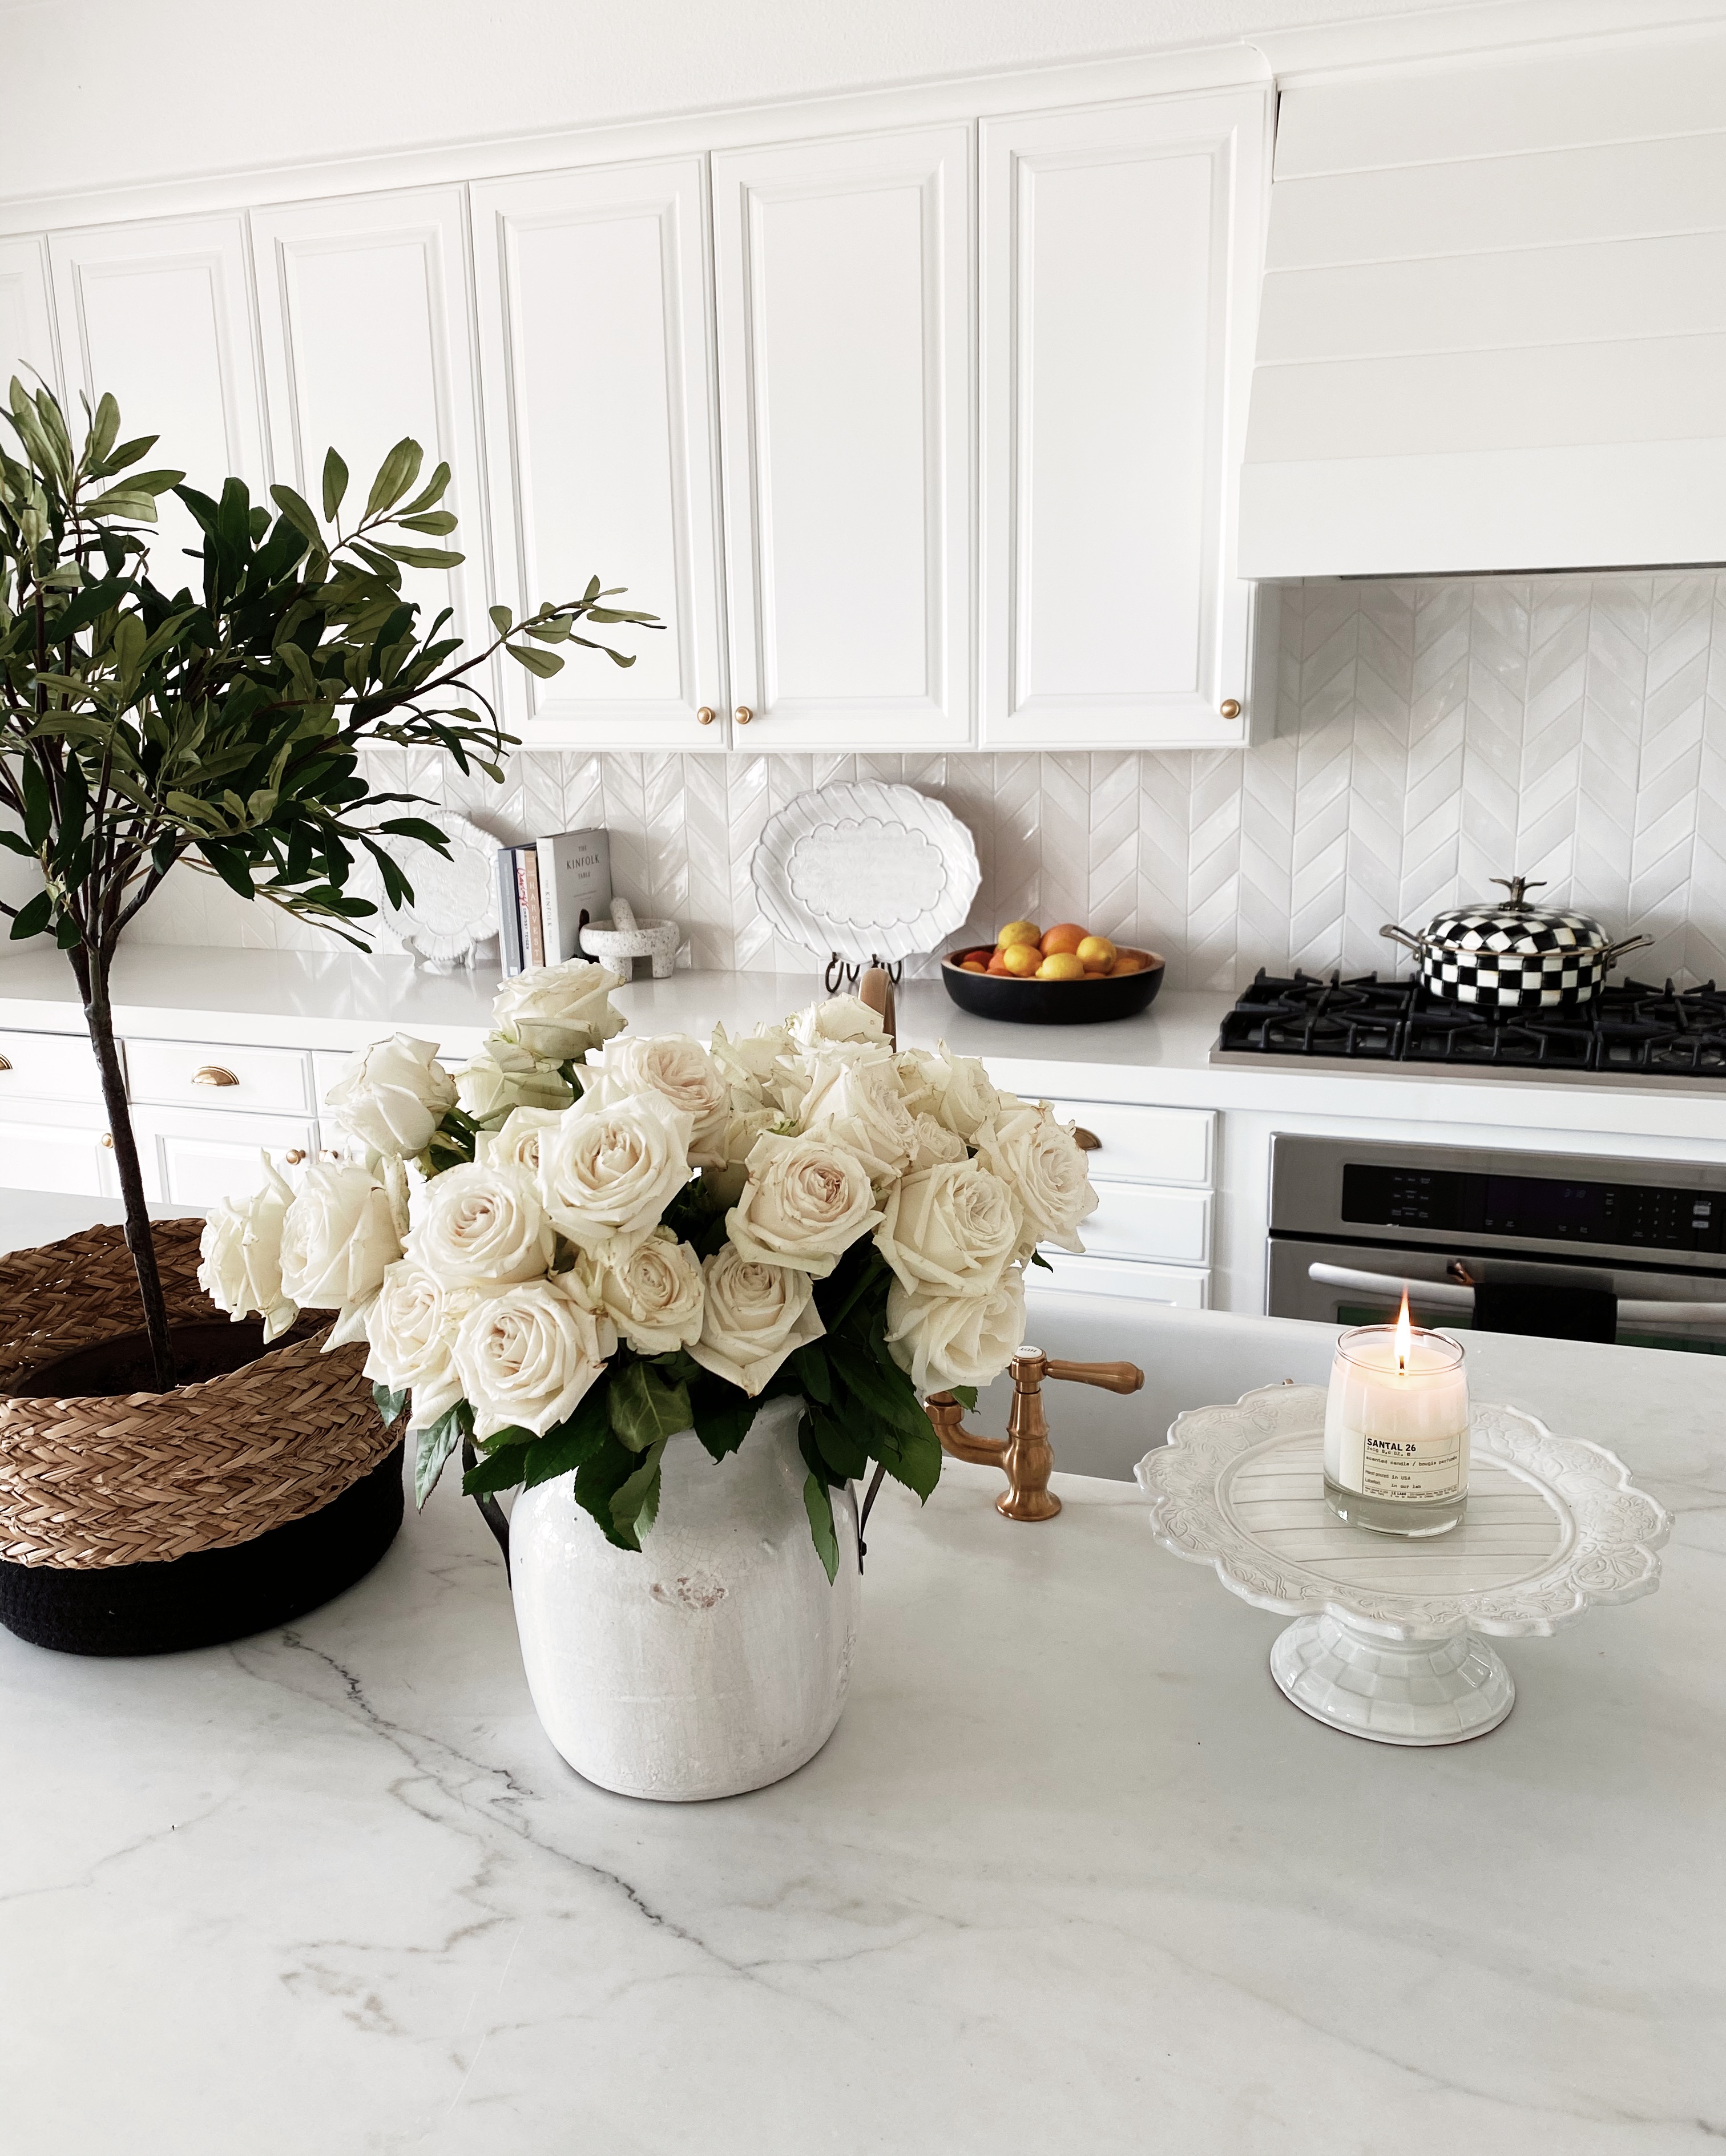
Ever since I was a little girl, I have always had a love for styling interiors. Especially when it comes to accessories. Finding pieces that are not only beautiful but also functional is quite often the challenge. Over the years I have found the kitchen to usually be the tricker of rooms to accessorize. You want to create a pretty aesthetic that also makes sense. That is why I am so in love with these pieces from MacKenzie-Childs because they are so pretty, effortless, functional and timeless. Today I’m so excited to be partnering with MacKenzie-Childs to share my TIPS and tricks…and how I style my kitchen counters!
If you’ve been following me for a while then you know I’m a huge fan of the brand! Almost 2 years ago I was invited to #CampMacKenzieChilds which is one of my favorite and most memorable work trips yet. I loved learning the history, making new friends and seeing the behind the scenes of how their business is run. It was also so cool to see almost all of these pieces featured in this blog post in the “before” state…ie “a ball of clay”. Then to see the step by step process of them coming to life! It was a trip I will never forget and I’m so thankful for that experience. I would be so grateful to hopefully go back one day soon to make new memories and share all the details with you!
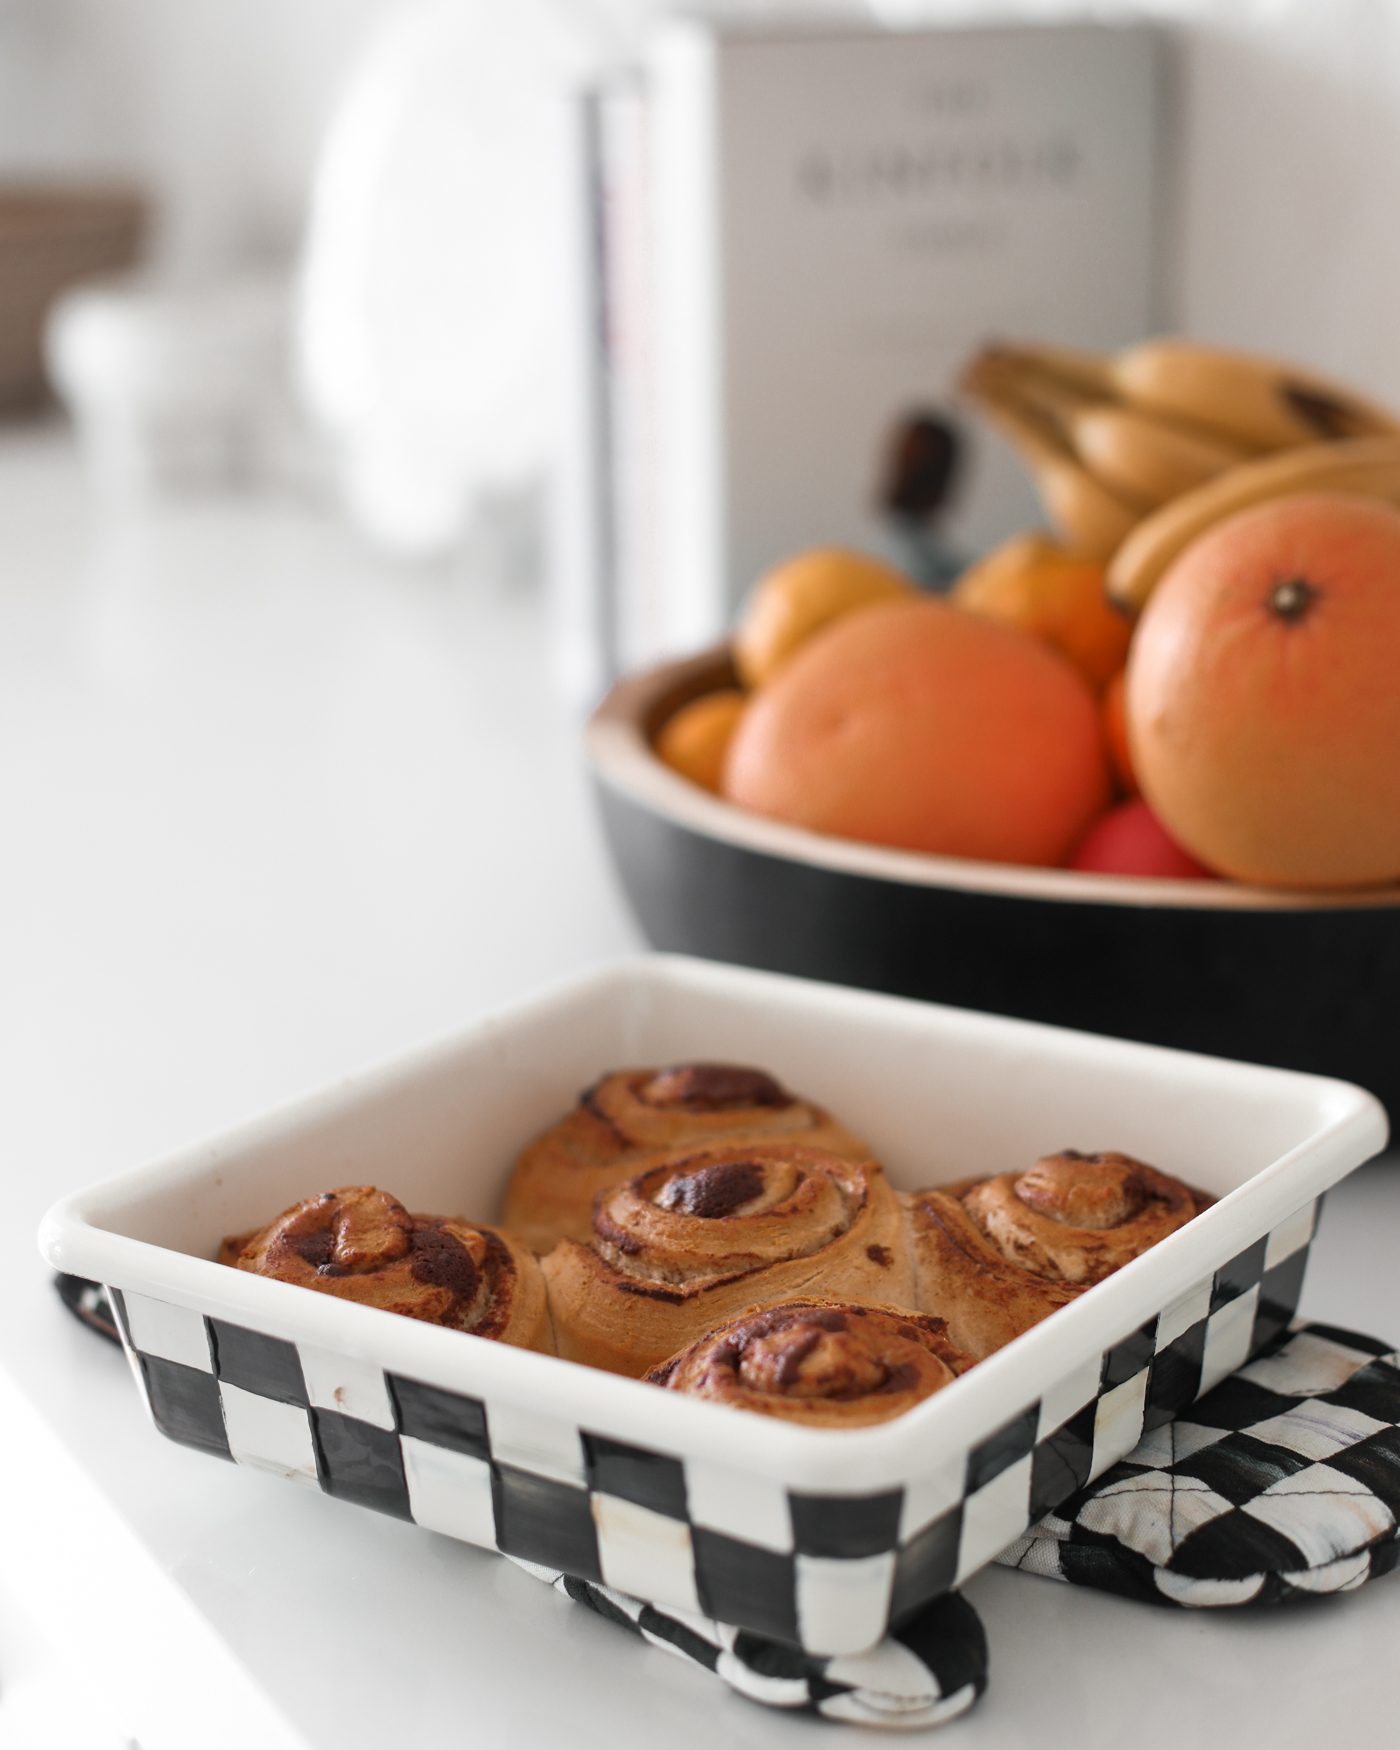
P.S. scroll to the bottom for a yummy recipe for homemade cinnamon rolls…

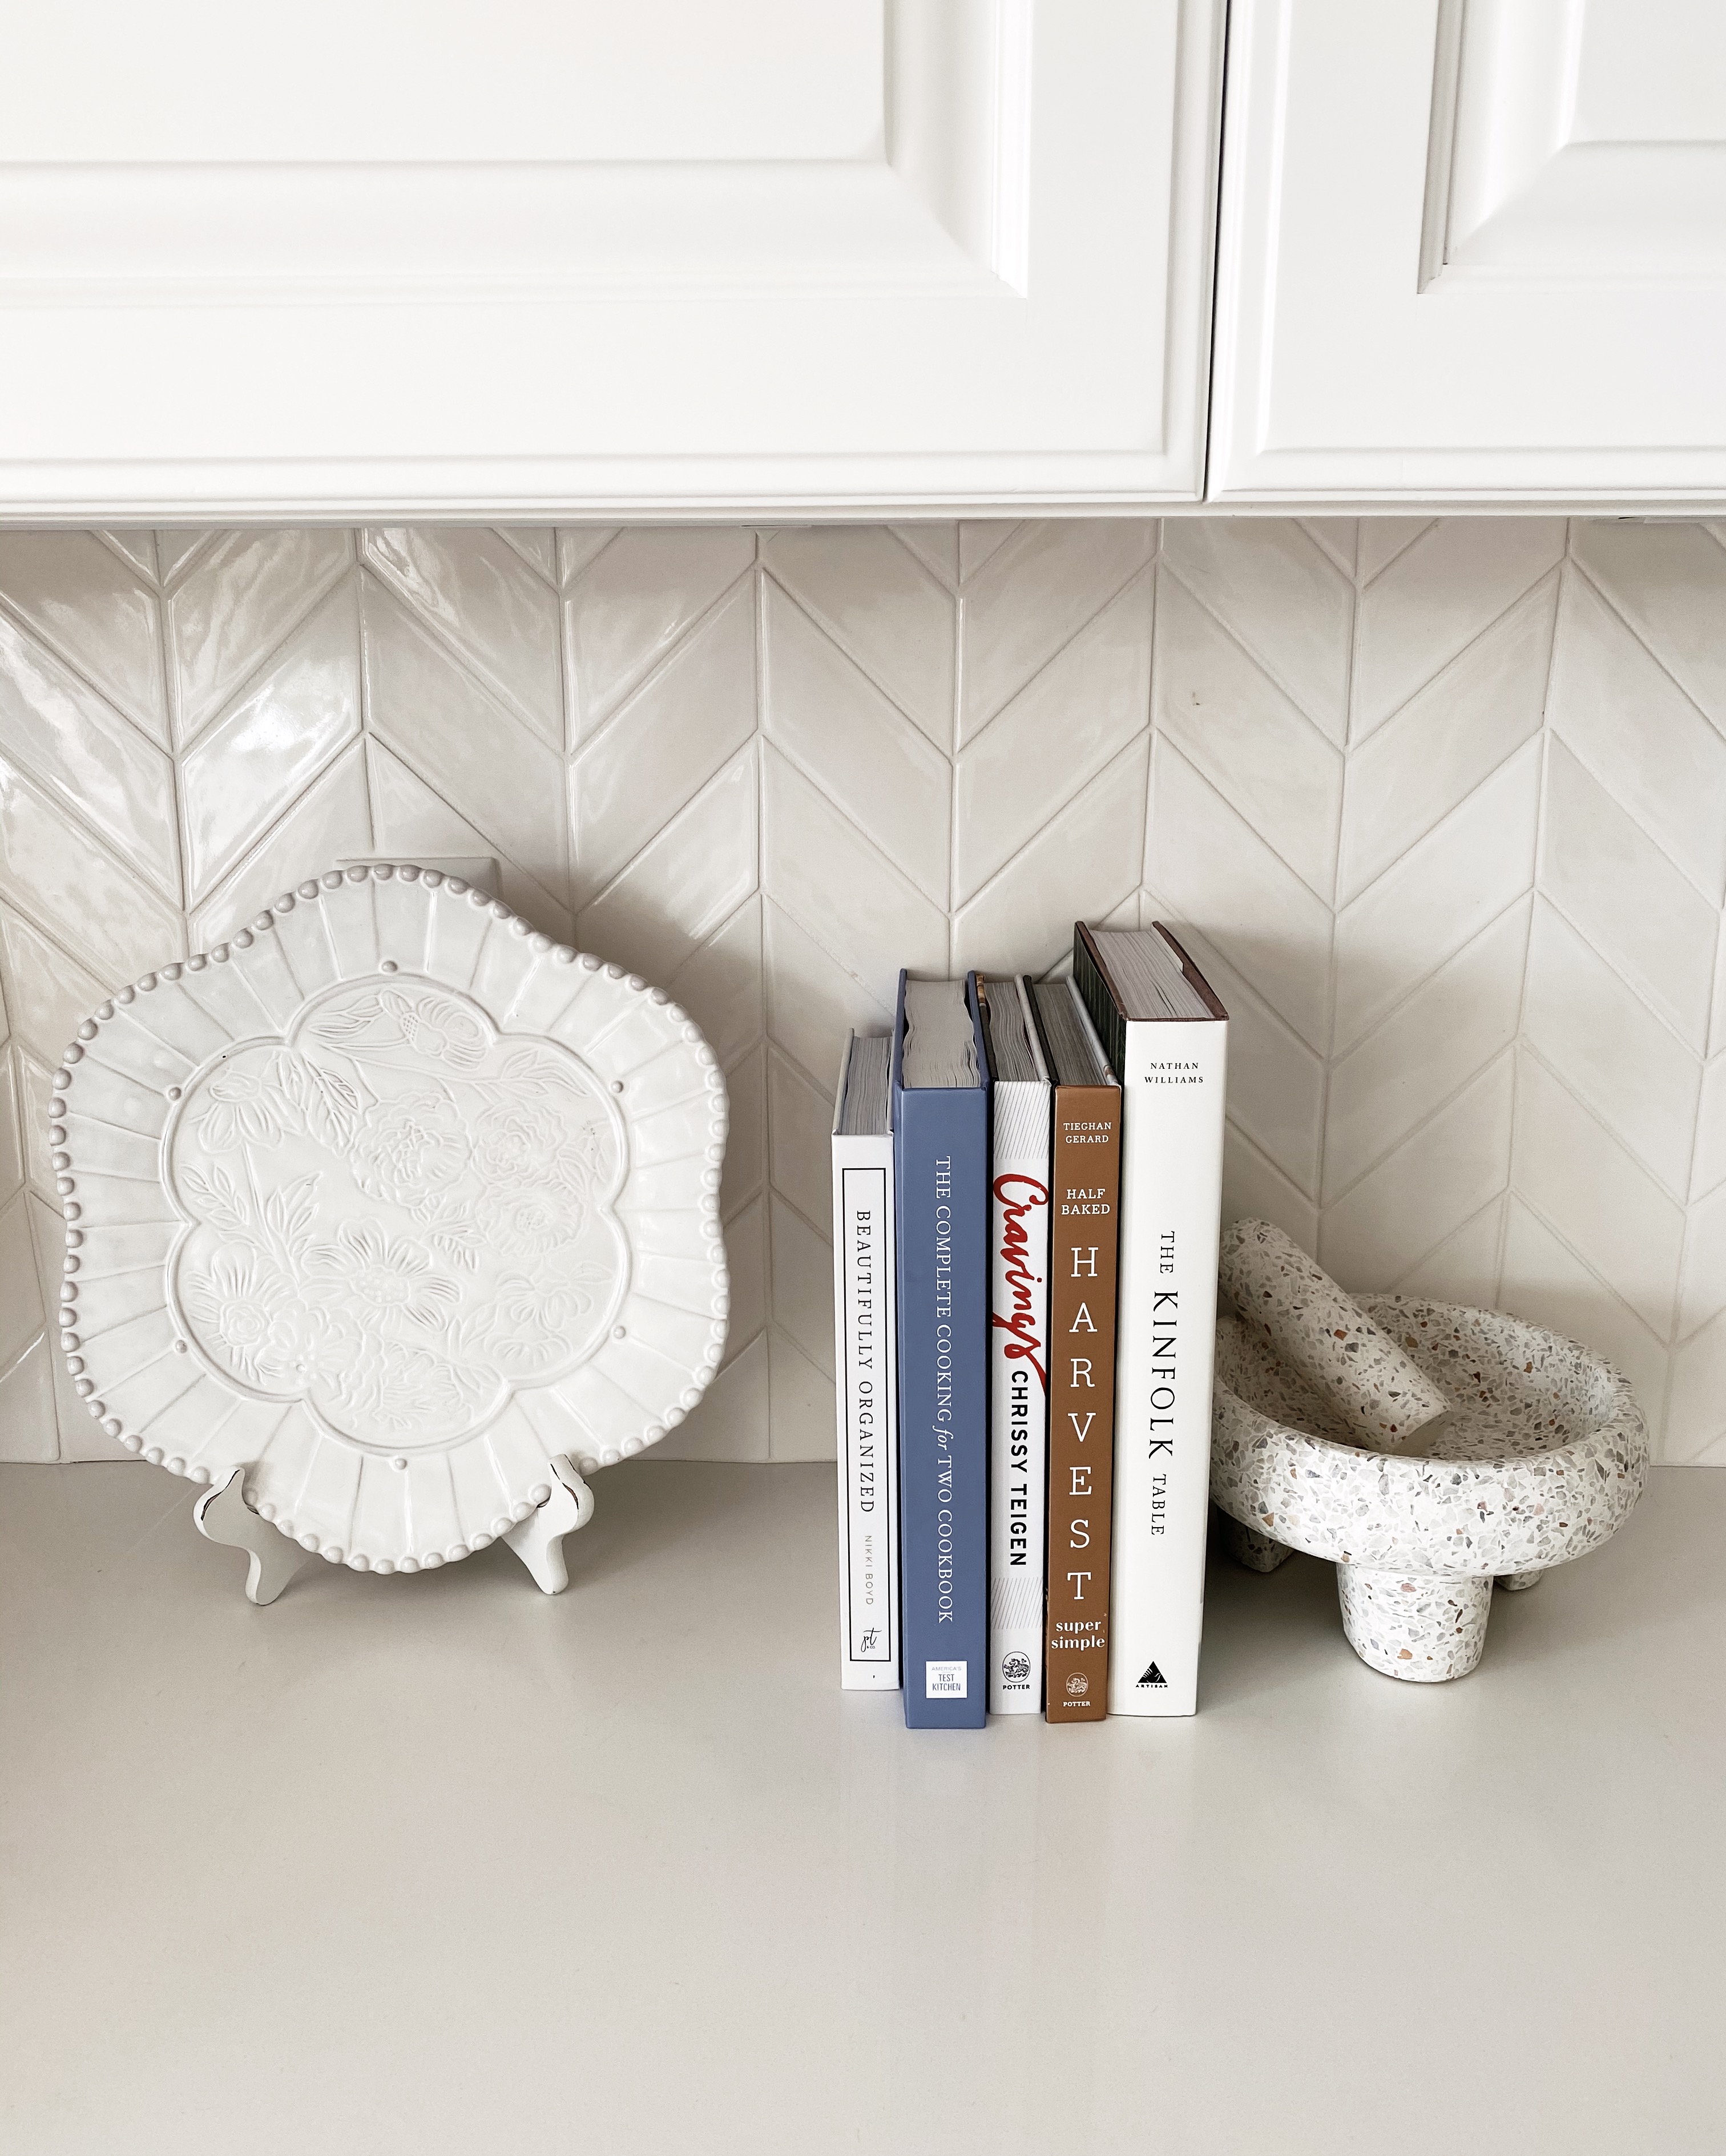
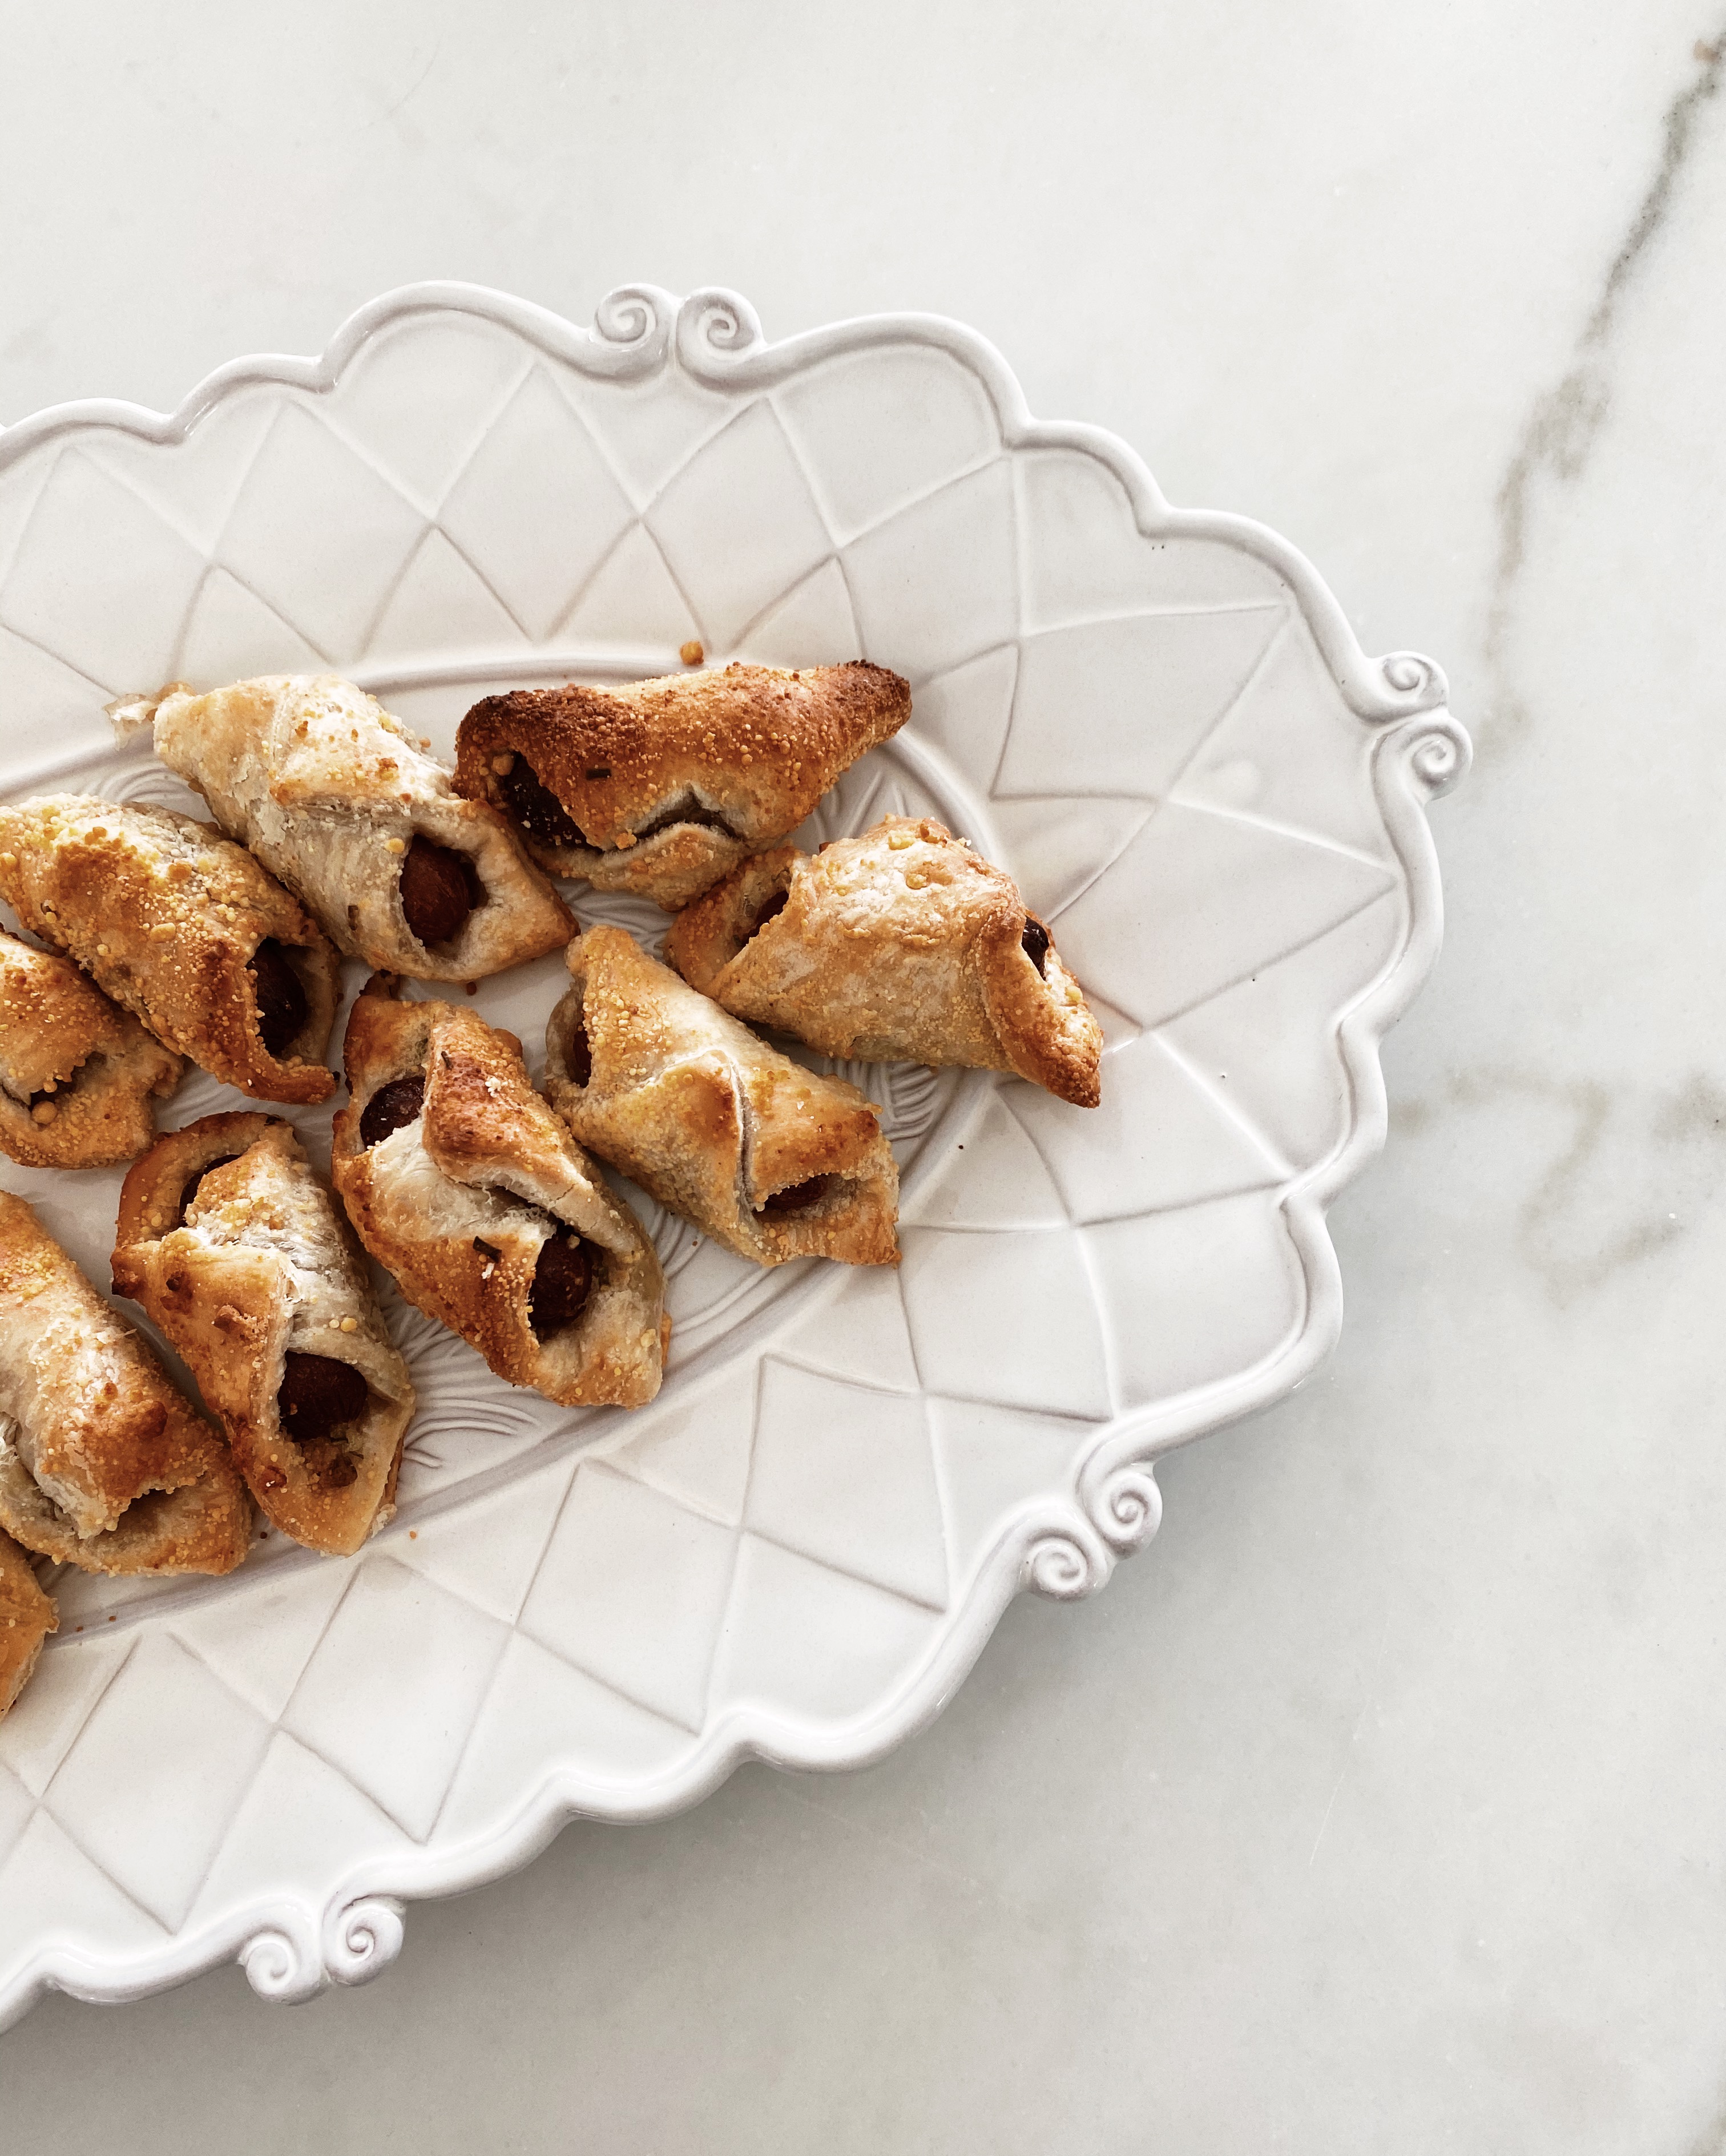
D E C O R A T I V E P L A T E S
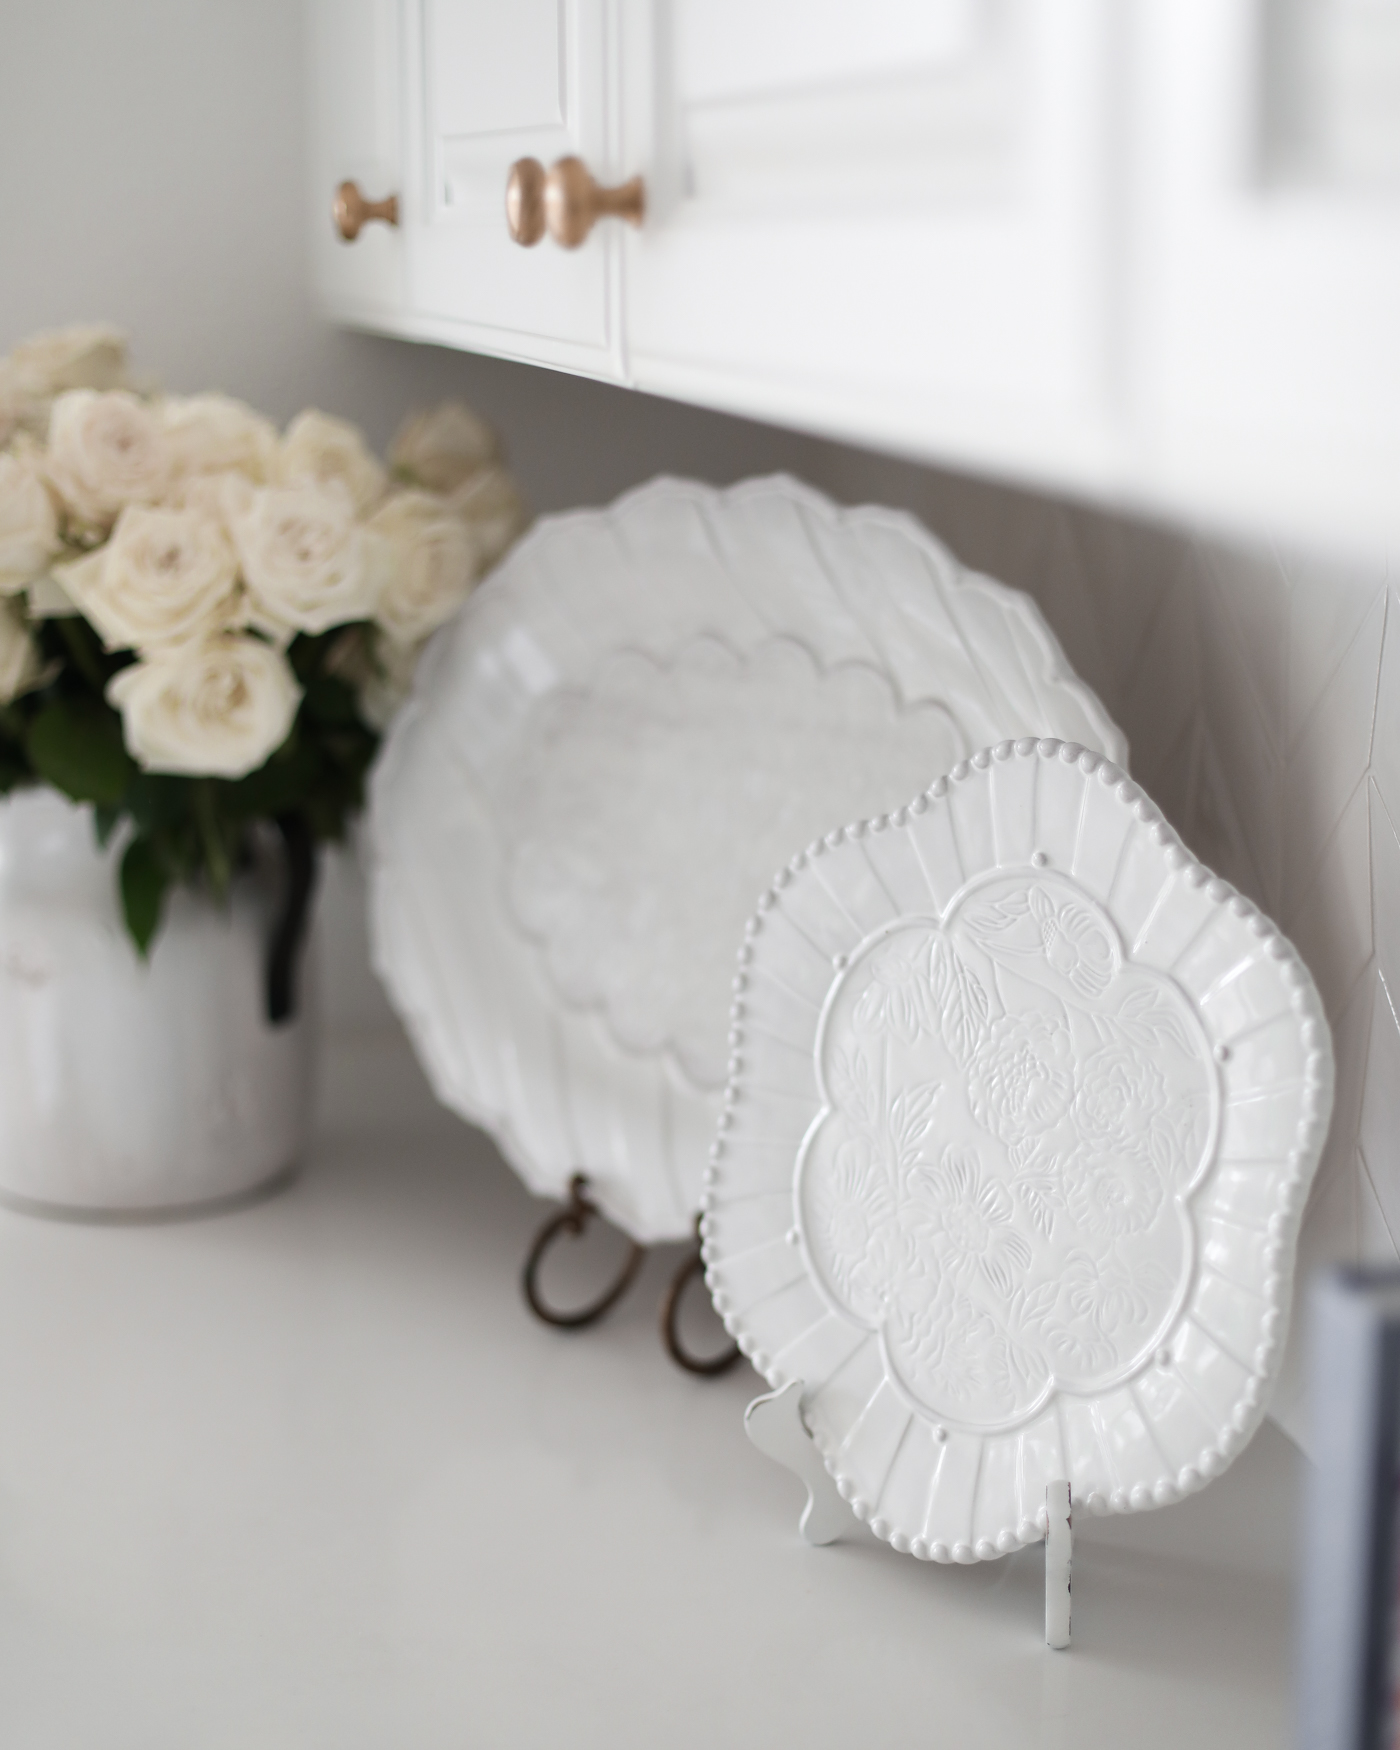
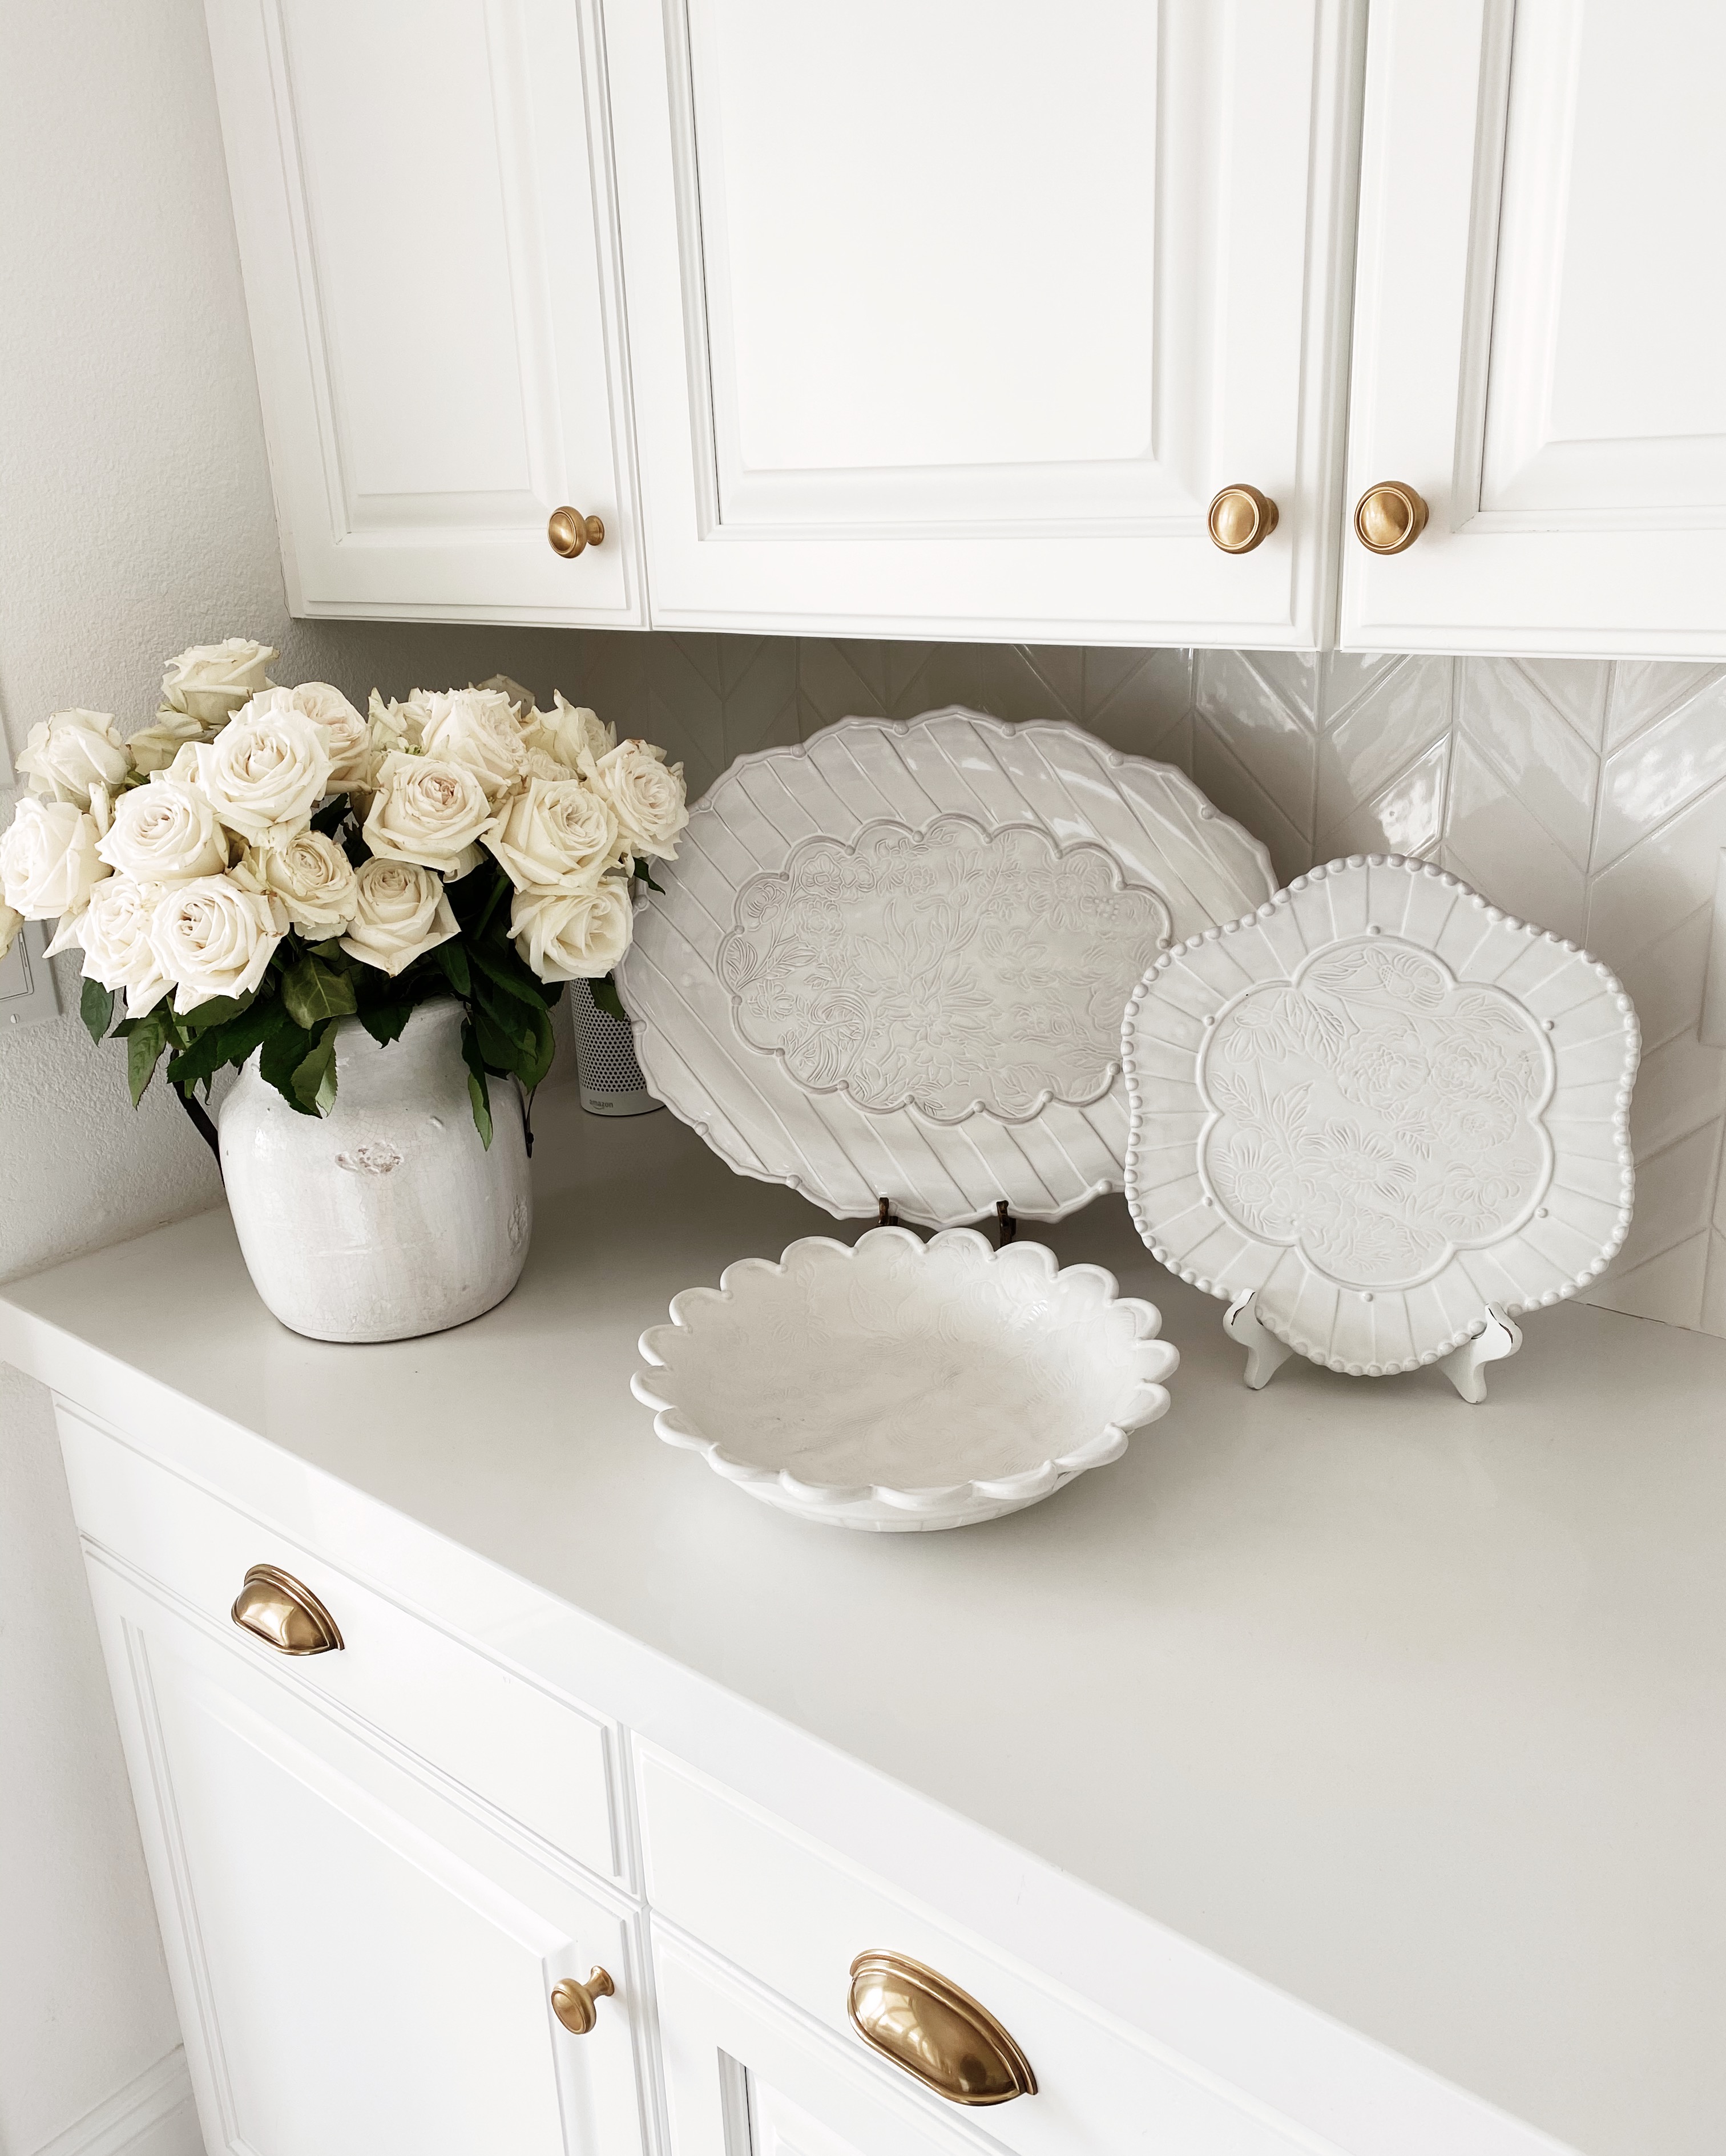
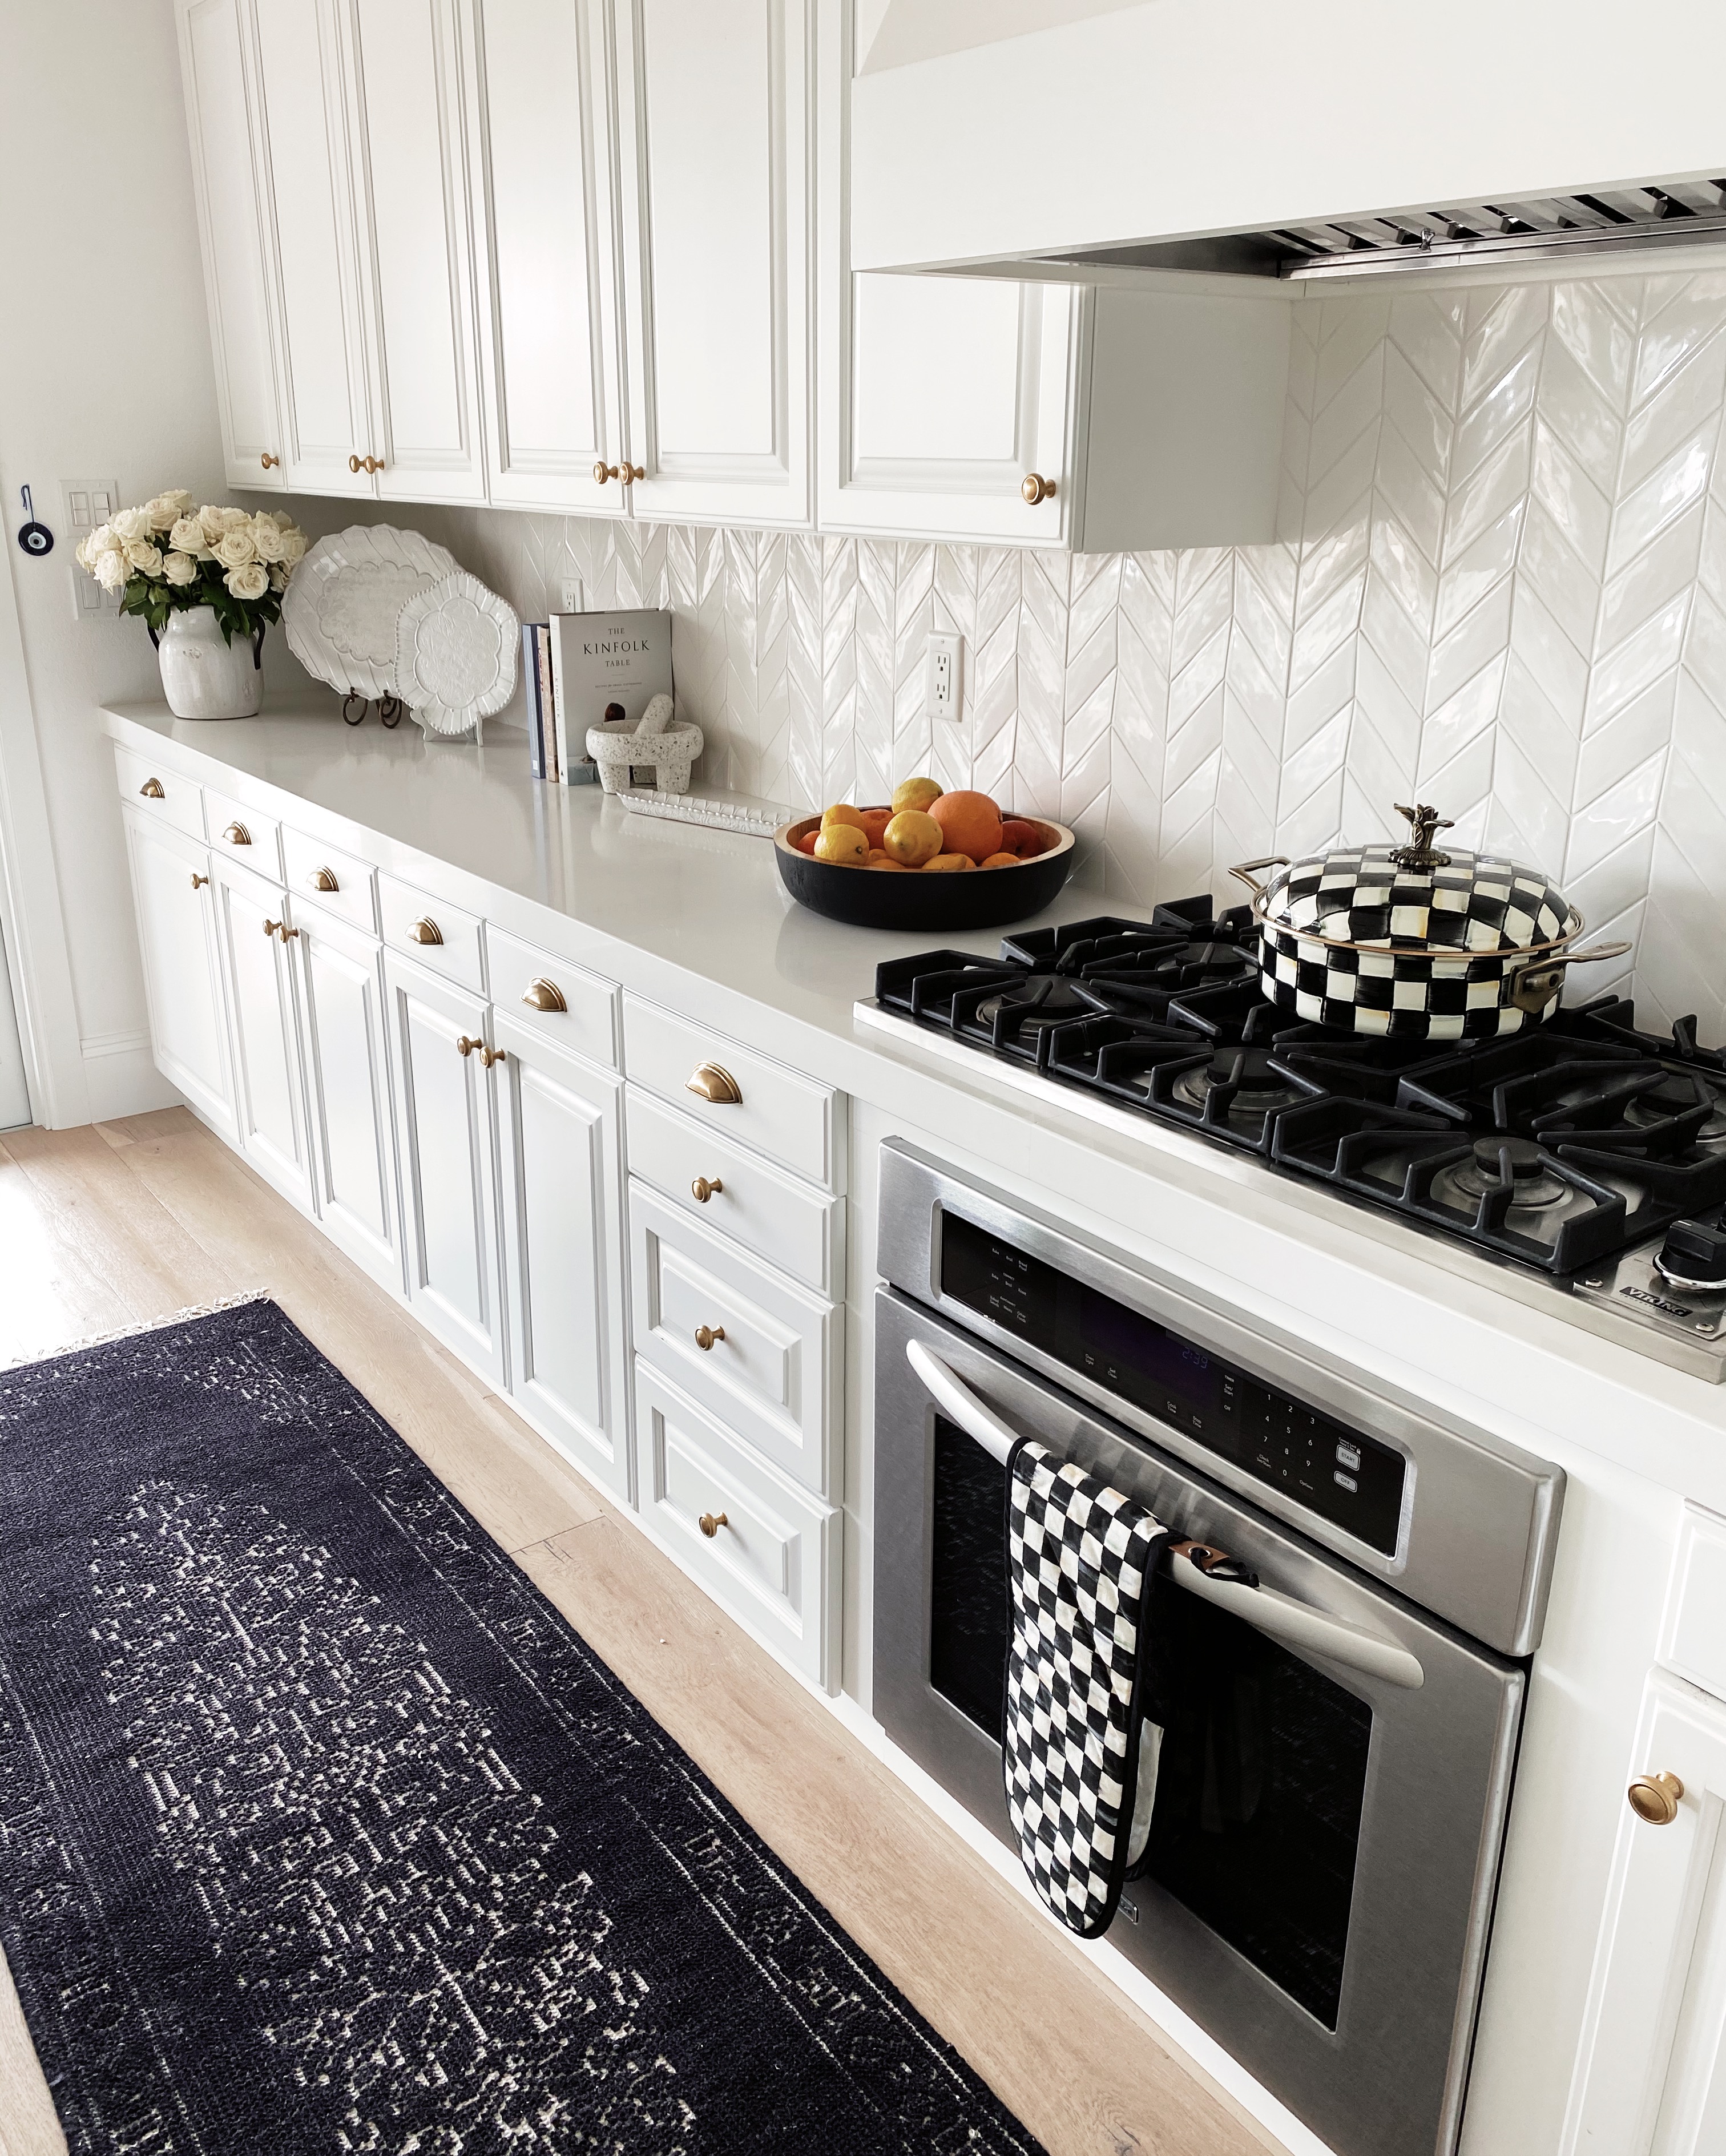
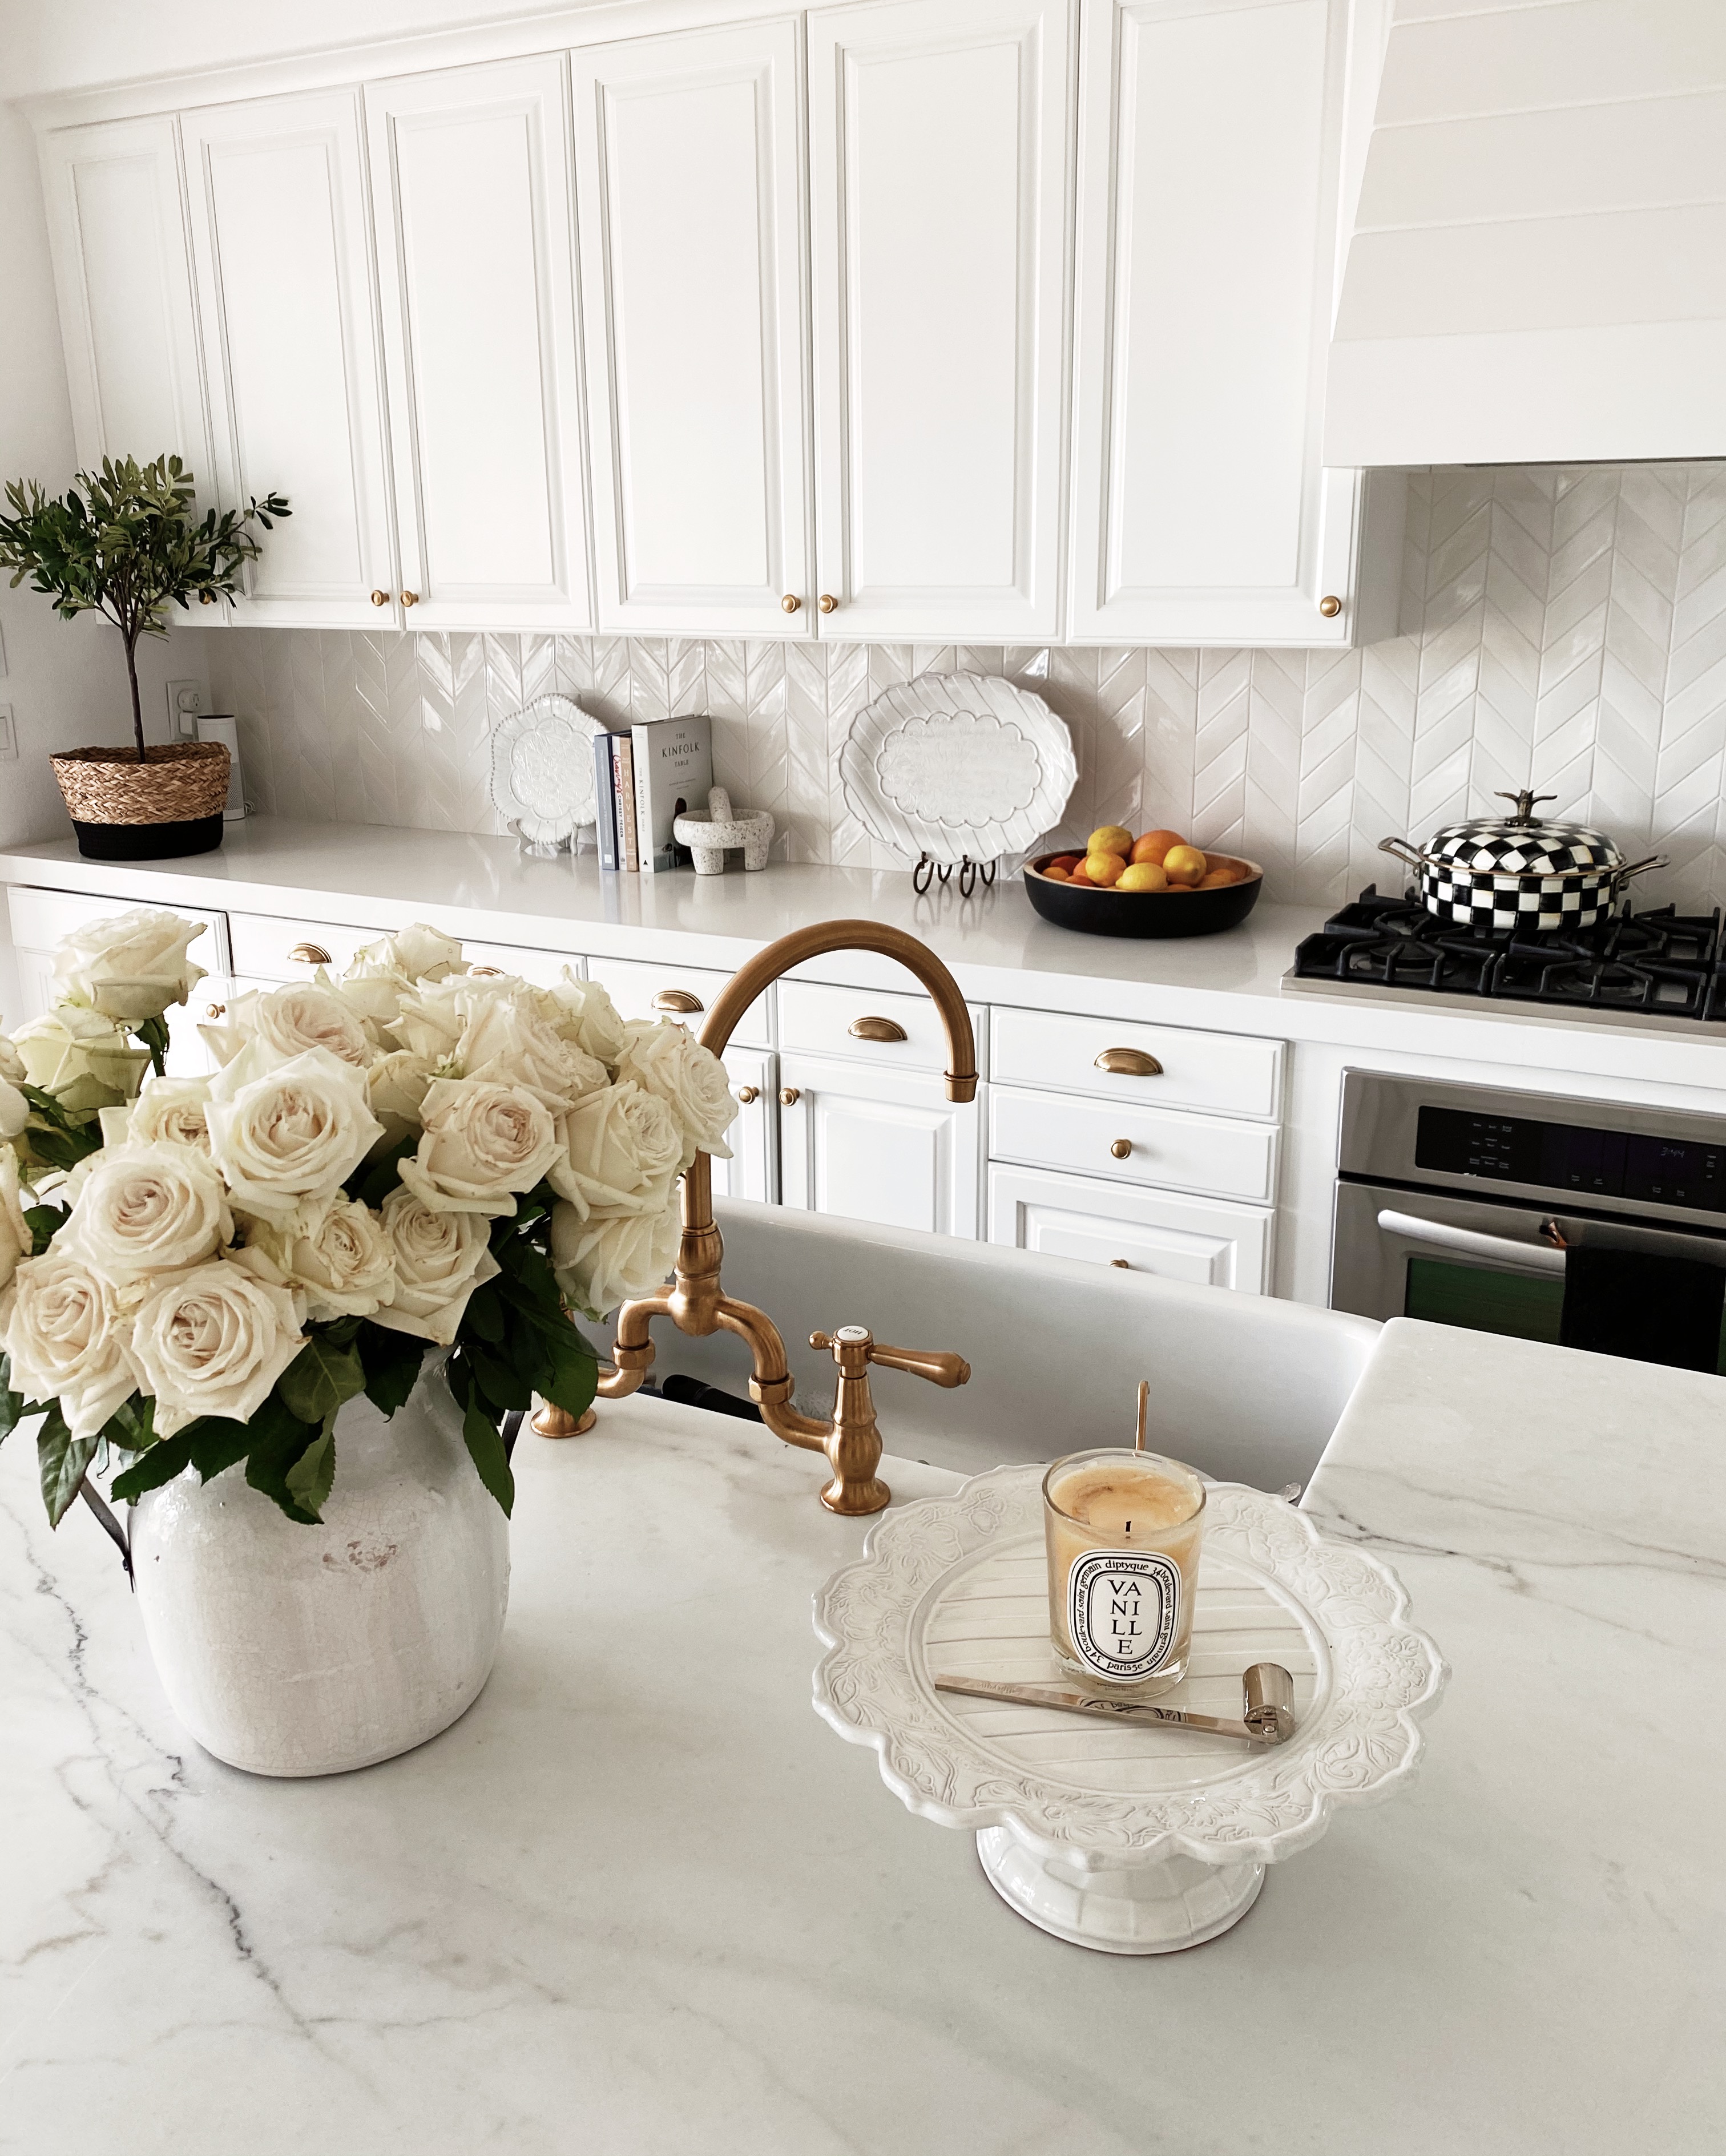
I personally love using serve ware as decor especially when it is as beautiful as these pieces from MacKenzie-Childs. I love to display them on the kitchen counter with a nice plate holder. I also love that you can use the height of them to cover electrical plugs or other unsightly objects. These dishes are just gorgeous. I especially love the Sweetbriar Collection from MacKenzie-Childs. These pieces are so special because every single piece is handcrafted from Terra Cotta by 11 different artisans and just one piece takes up to two weeks to create from start to finish. Which means no two items are exactly alike and basically a “one of a kind”. Each piece is pressed, glazed, painted…all by hand. Together they make for a beautiful holiday table-scape too!
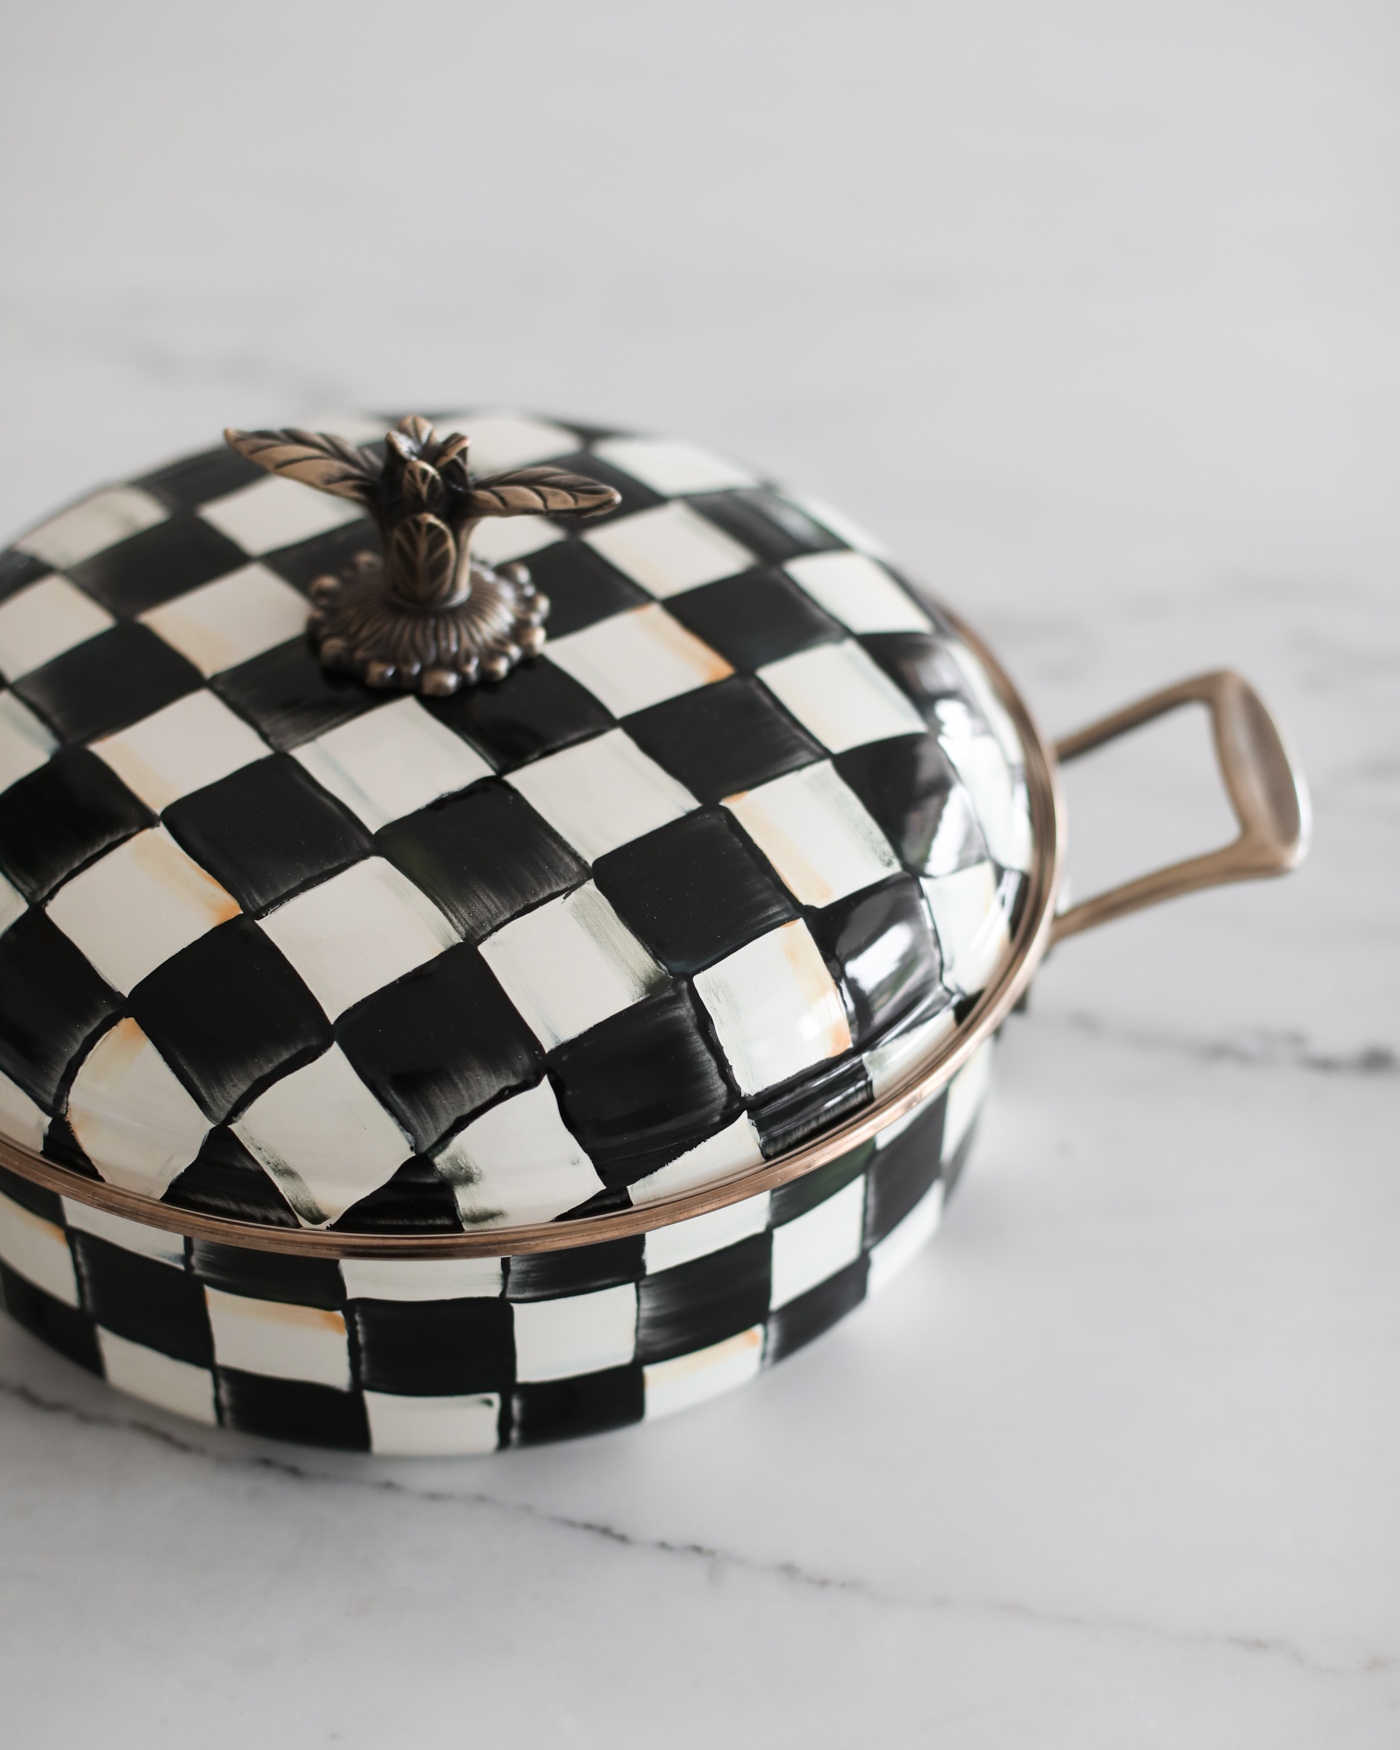
B A K E W A R E
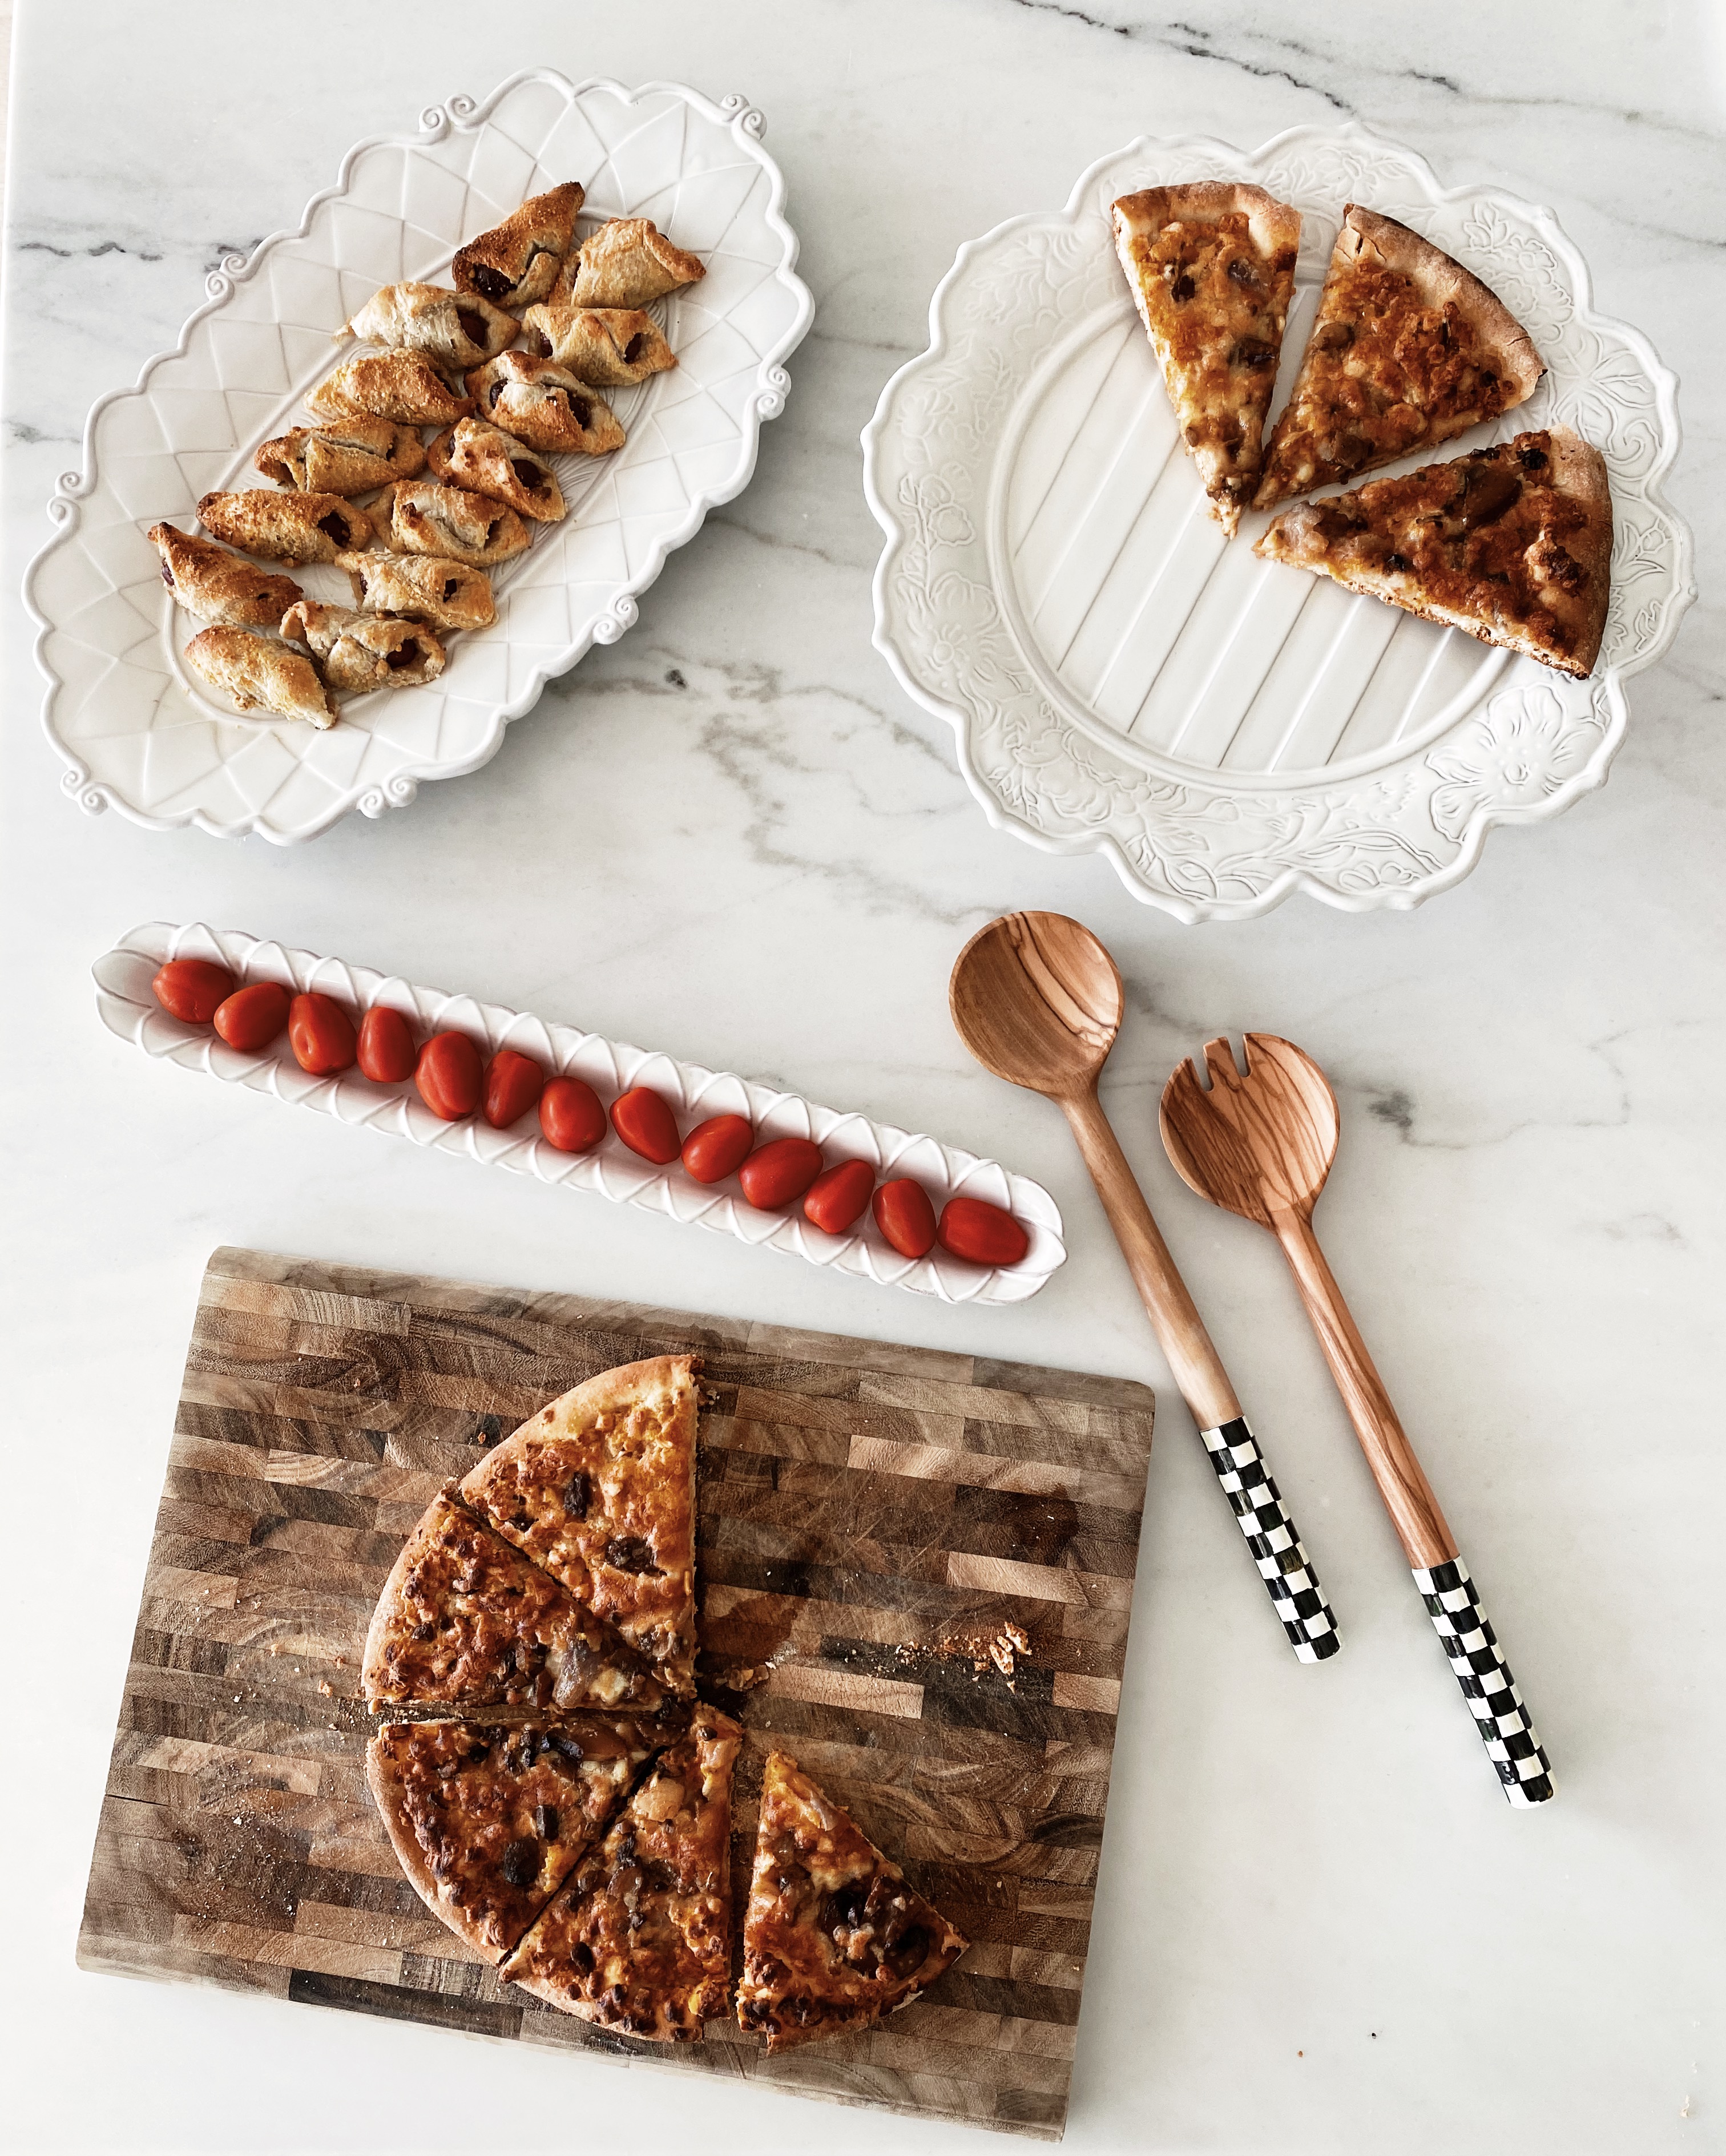
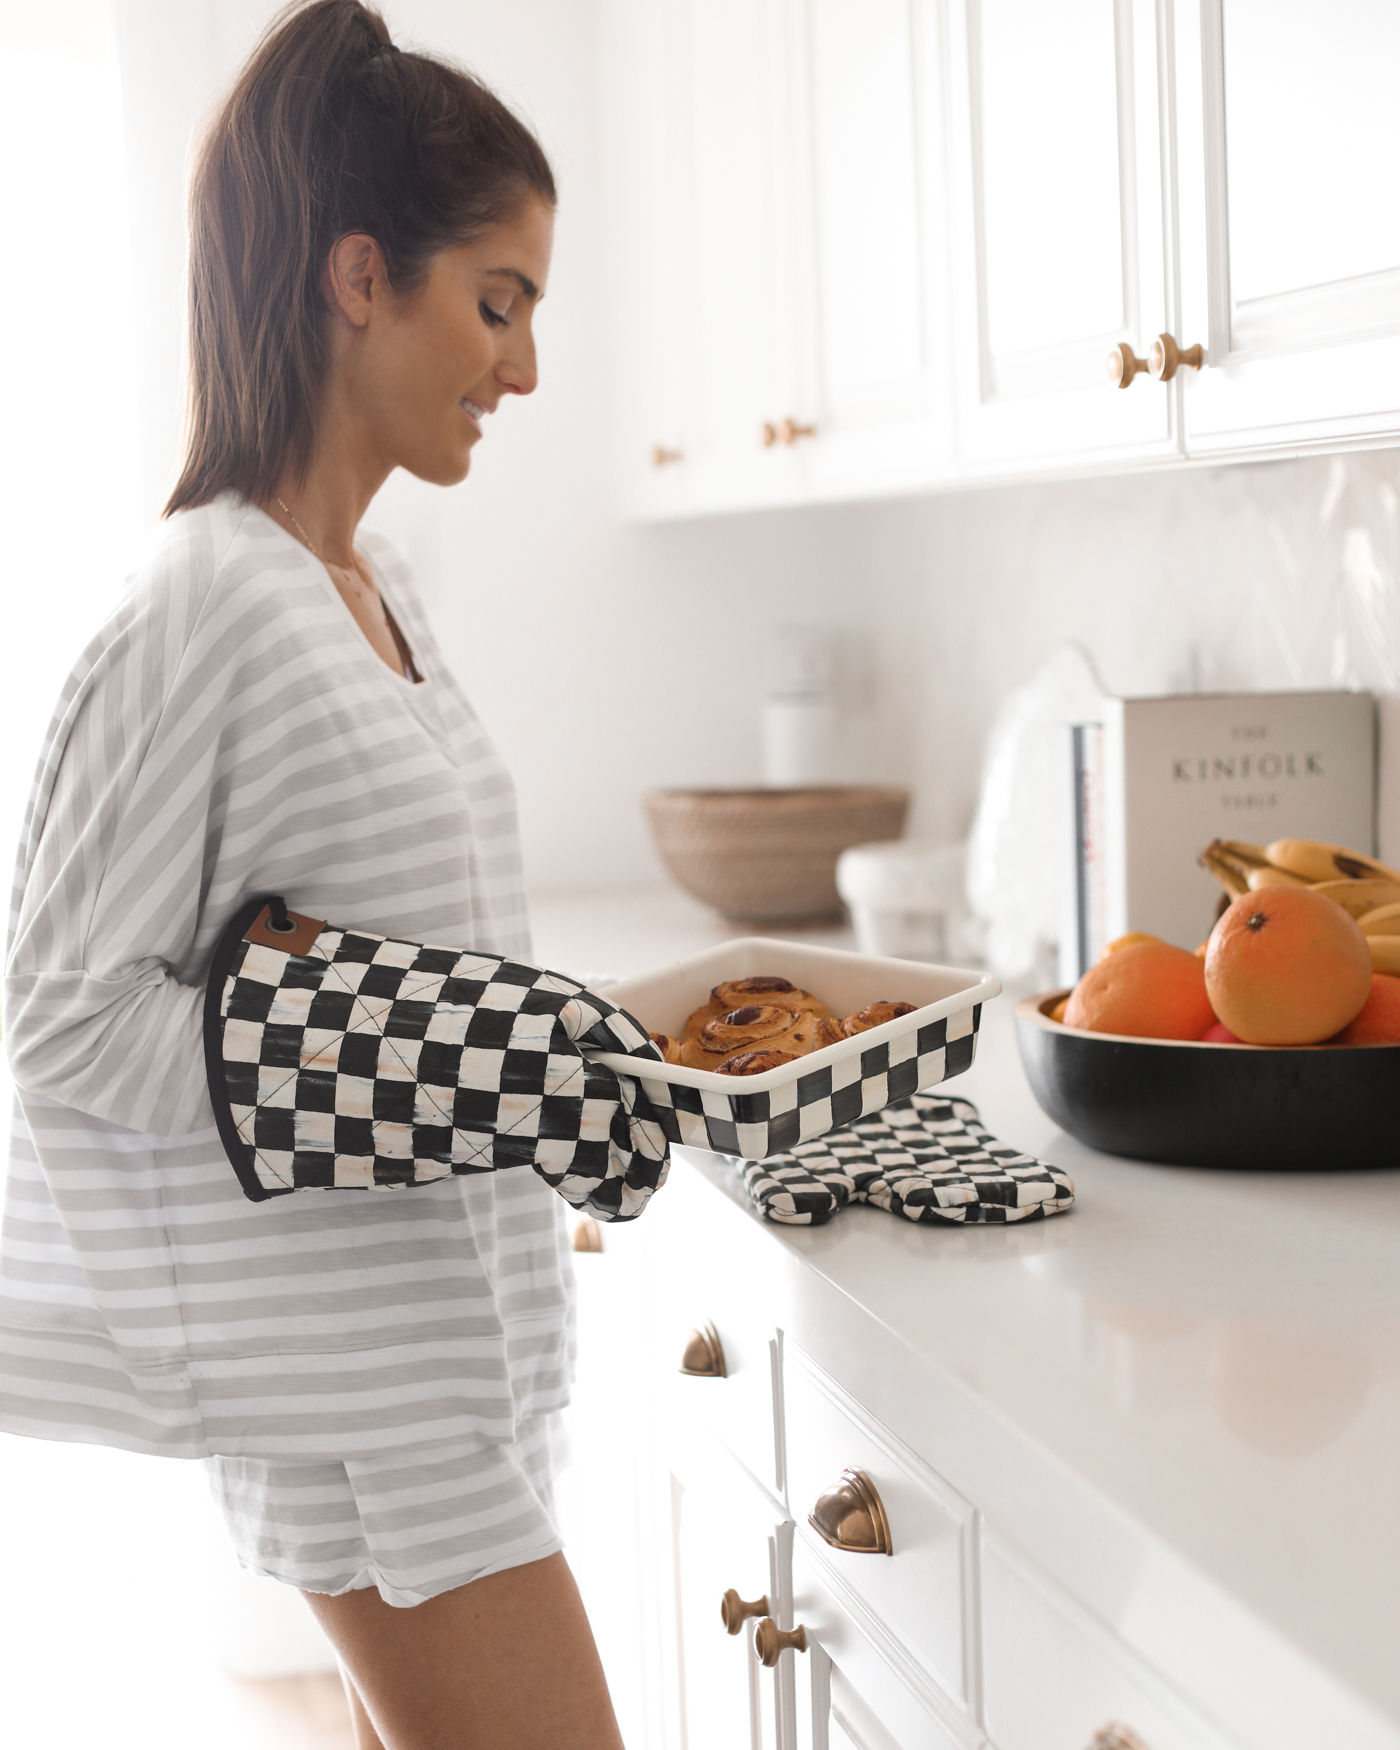
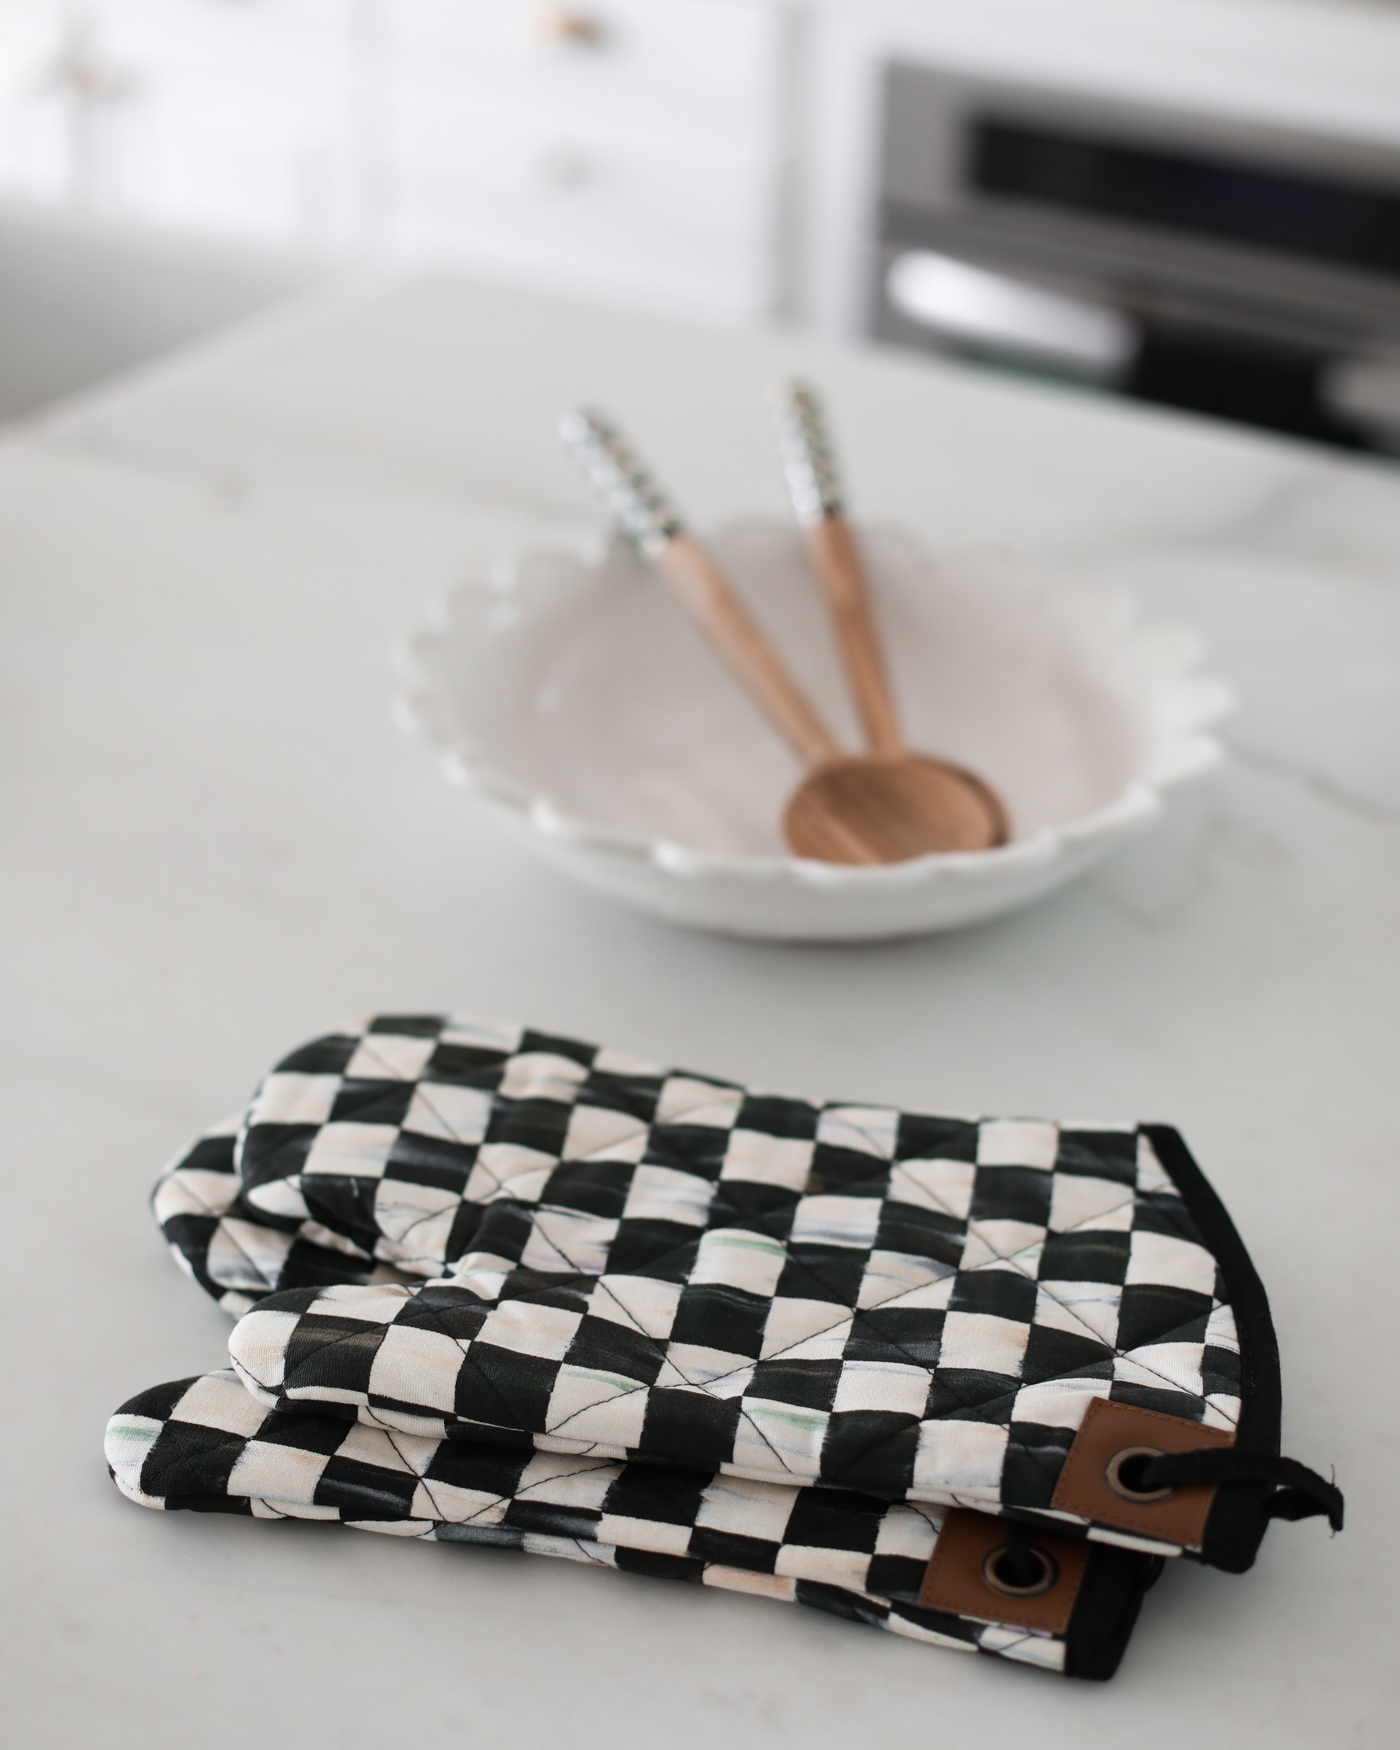
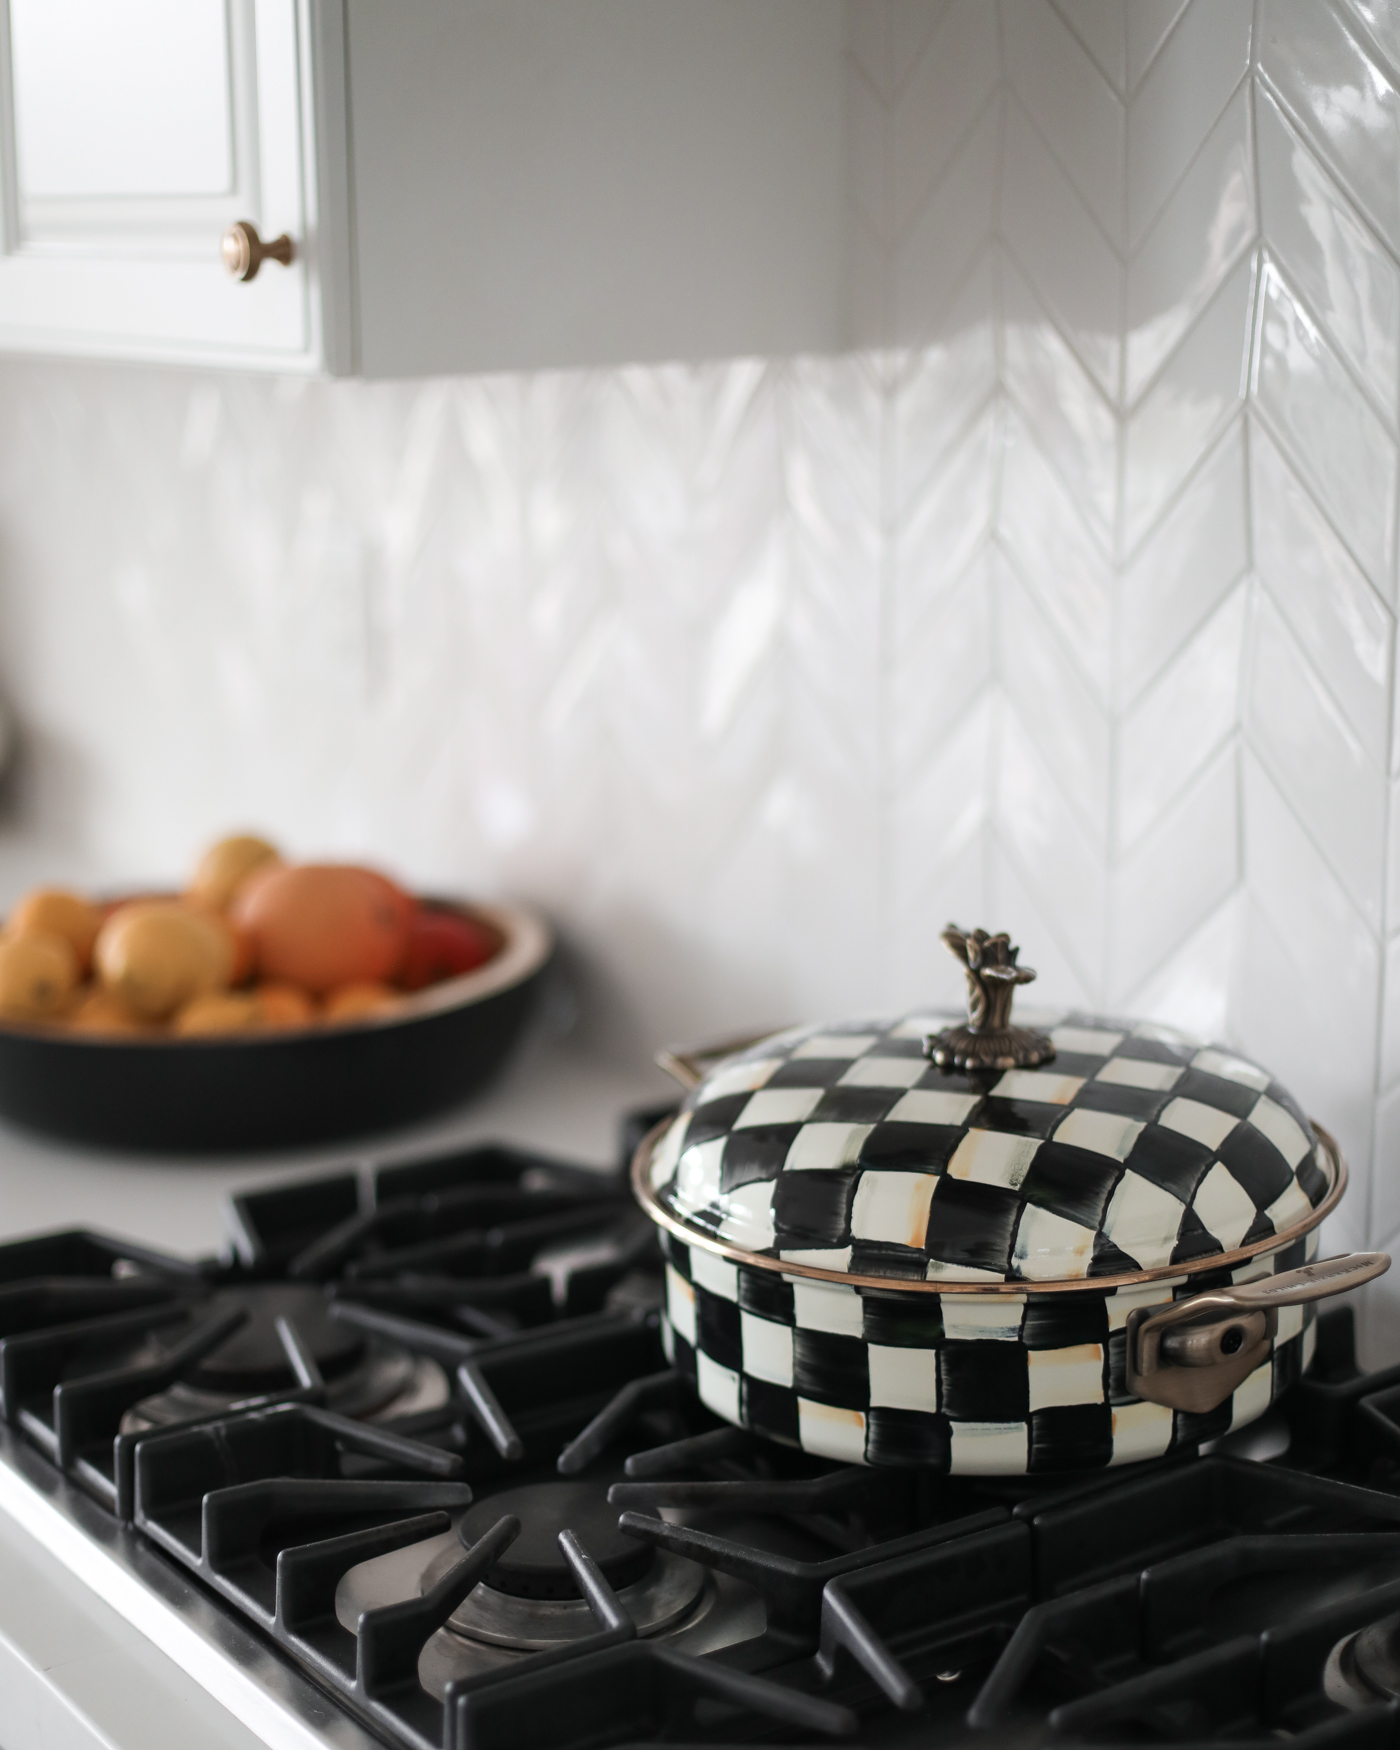
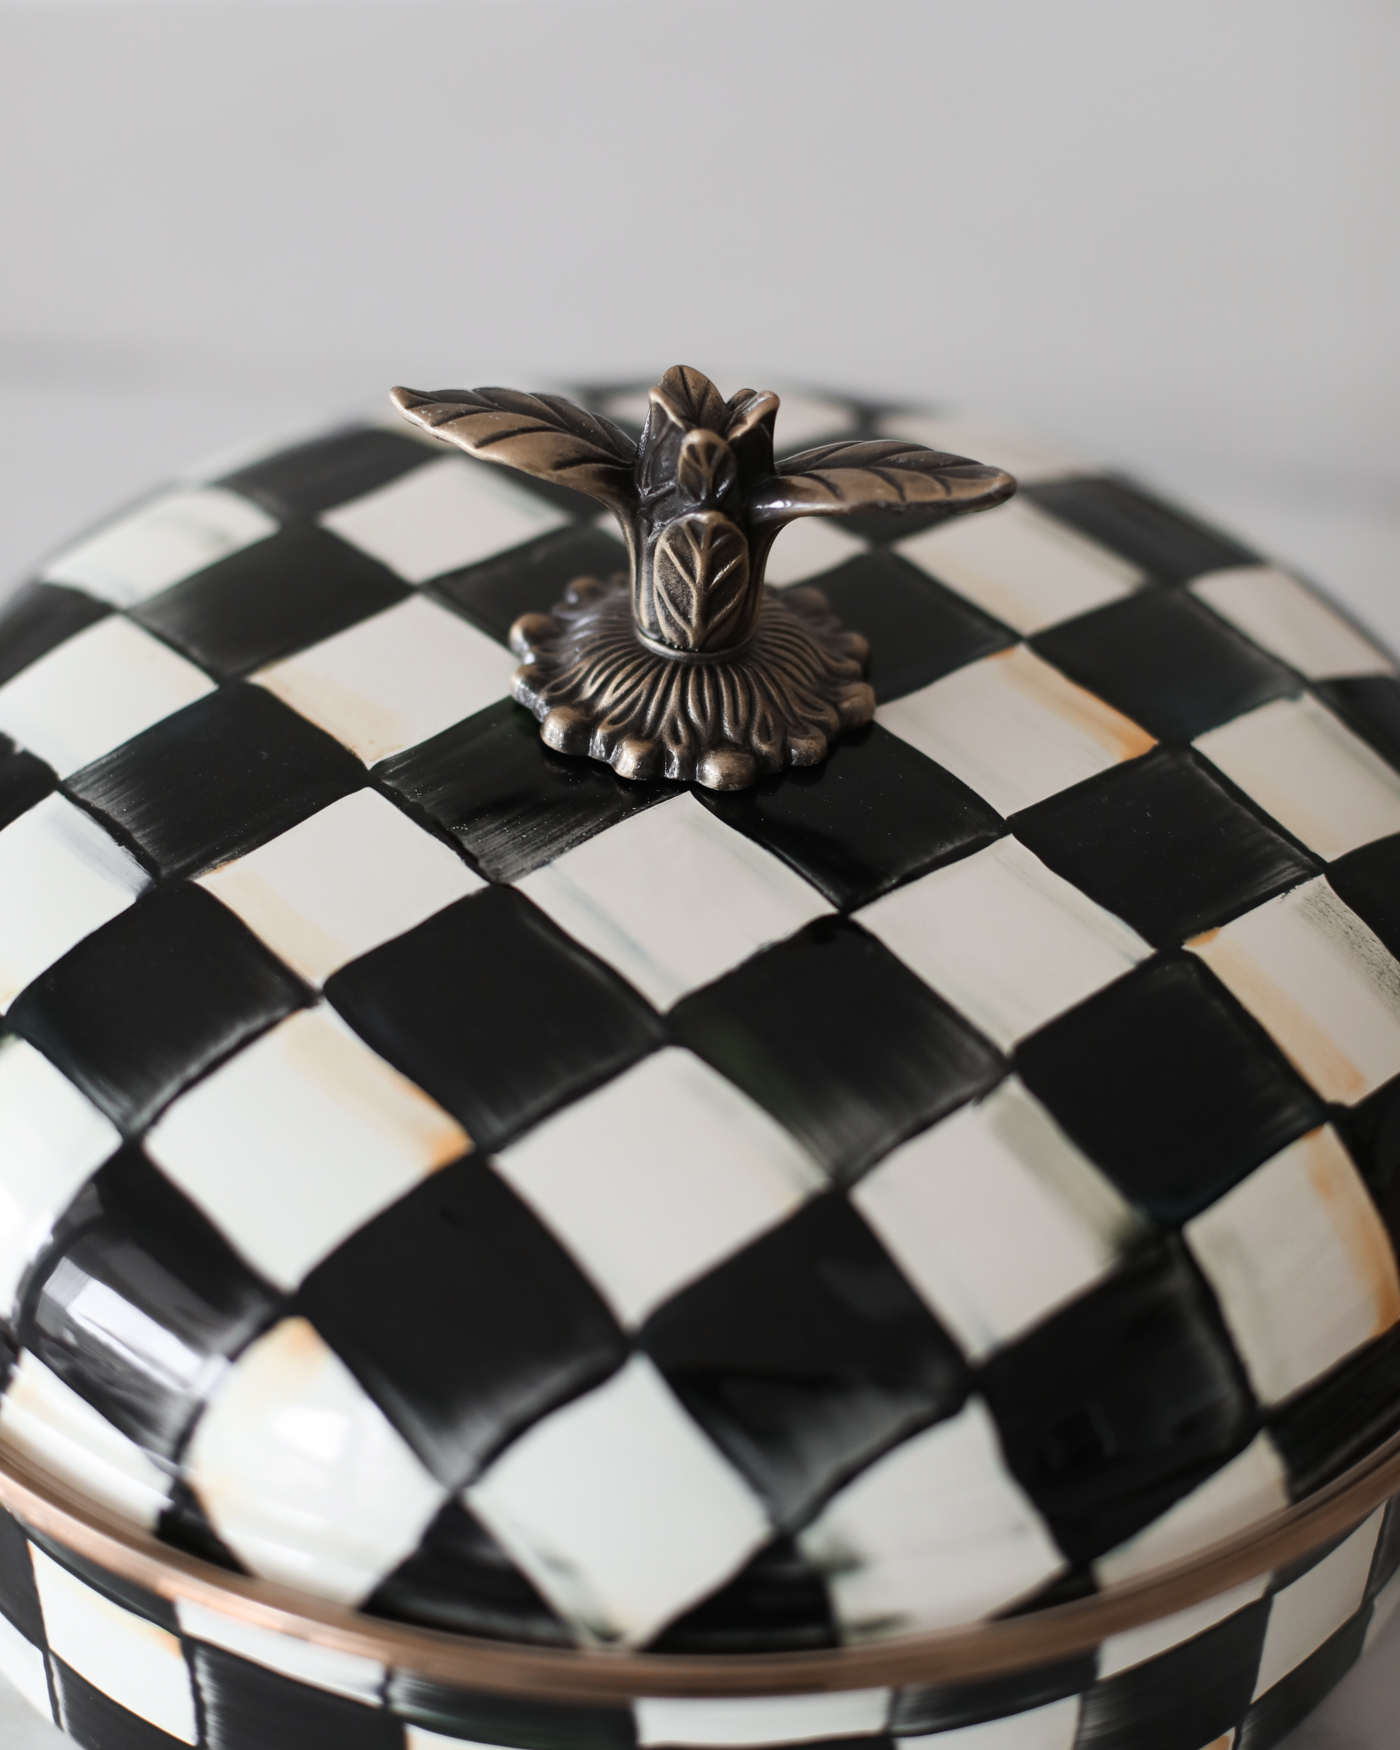
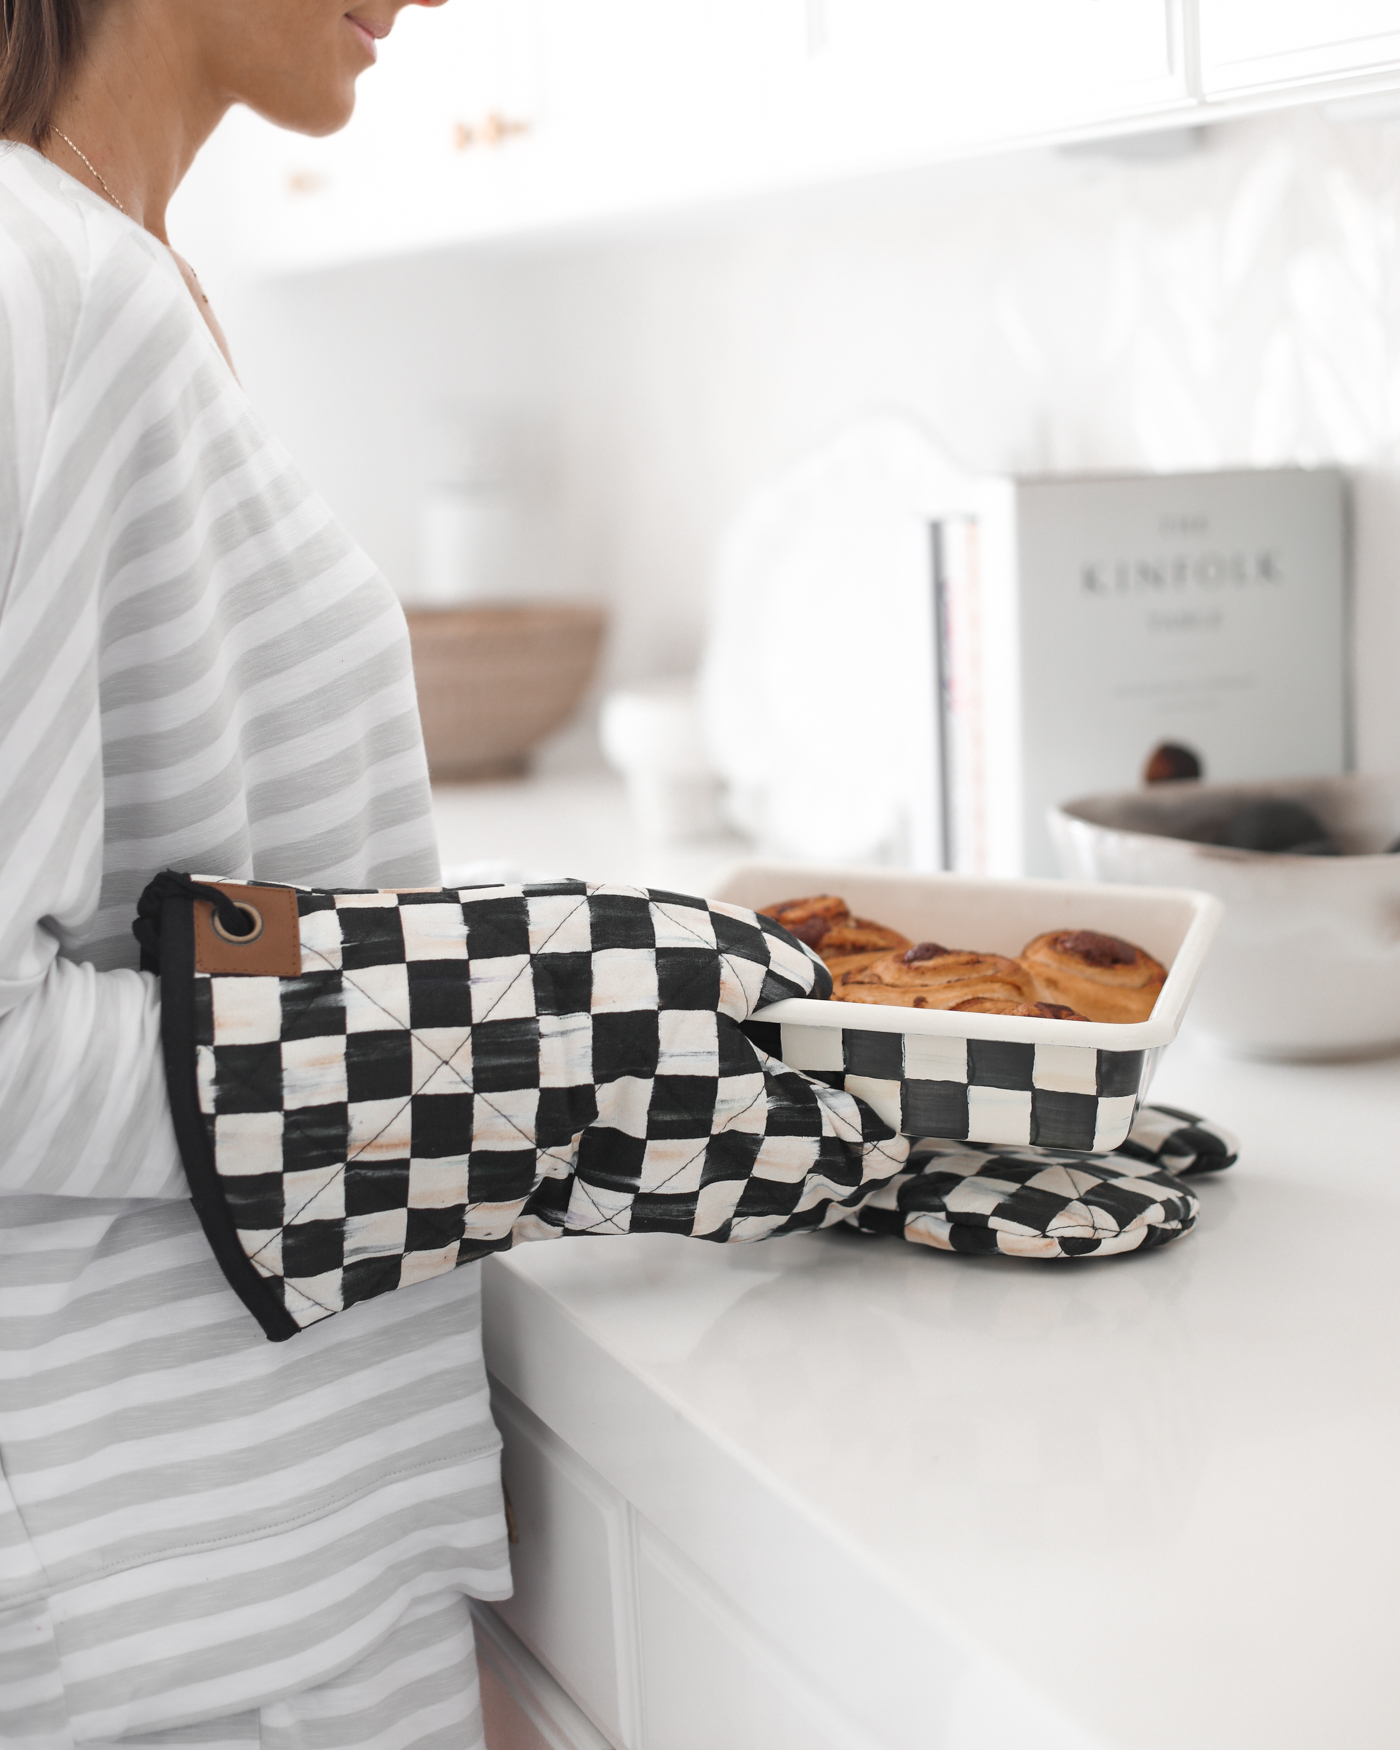
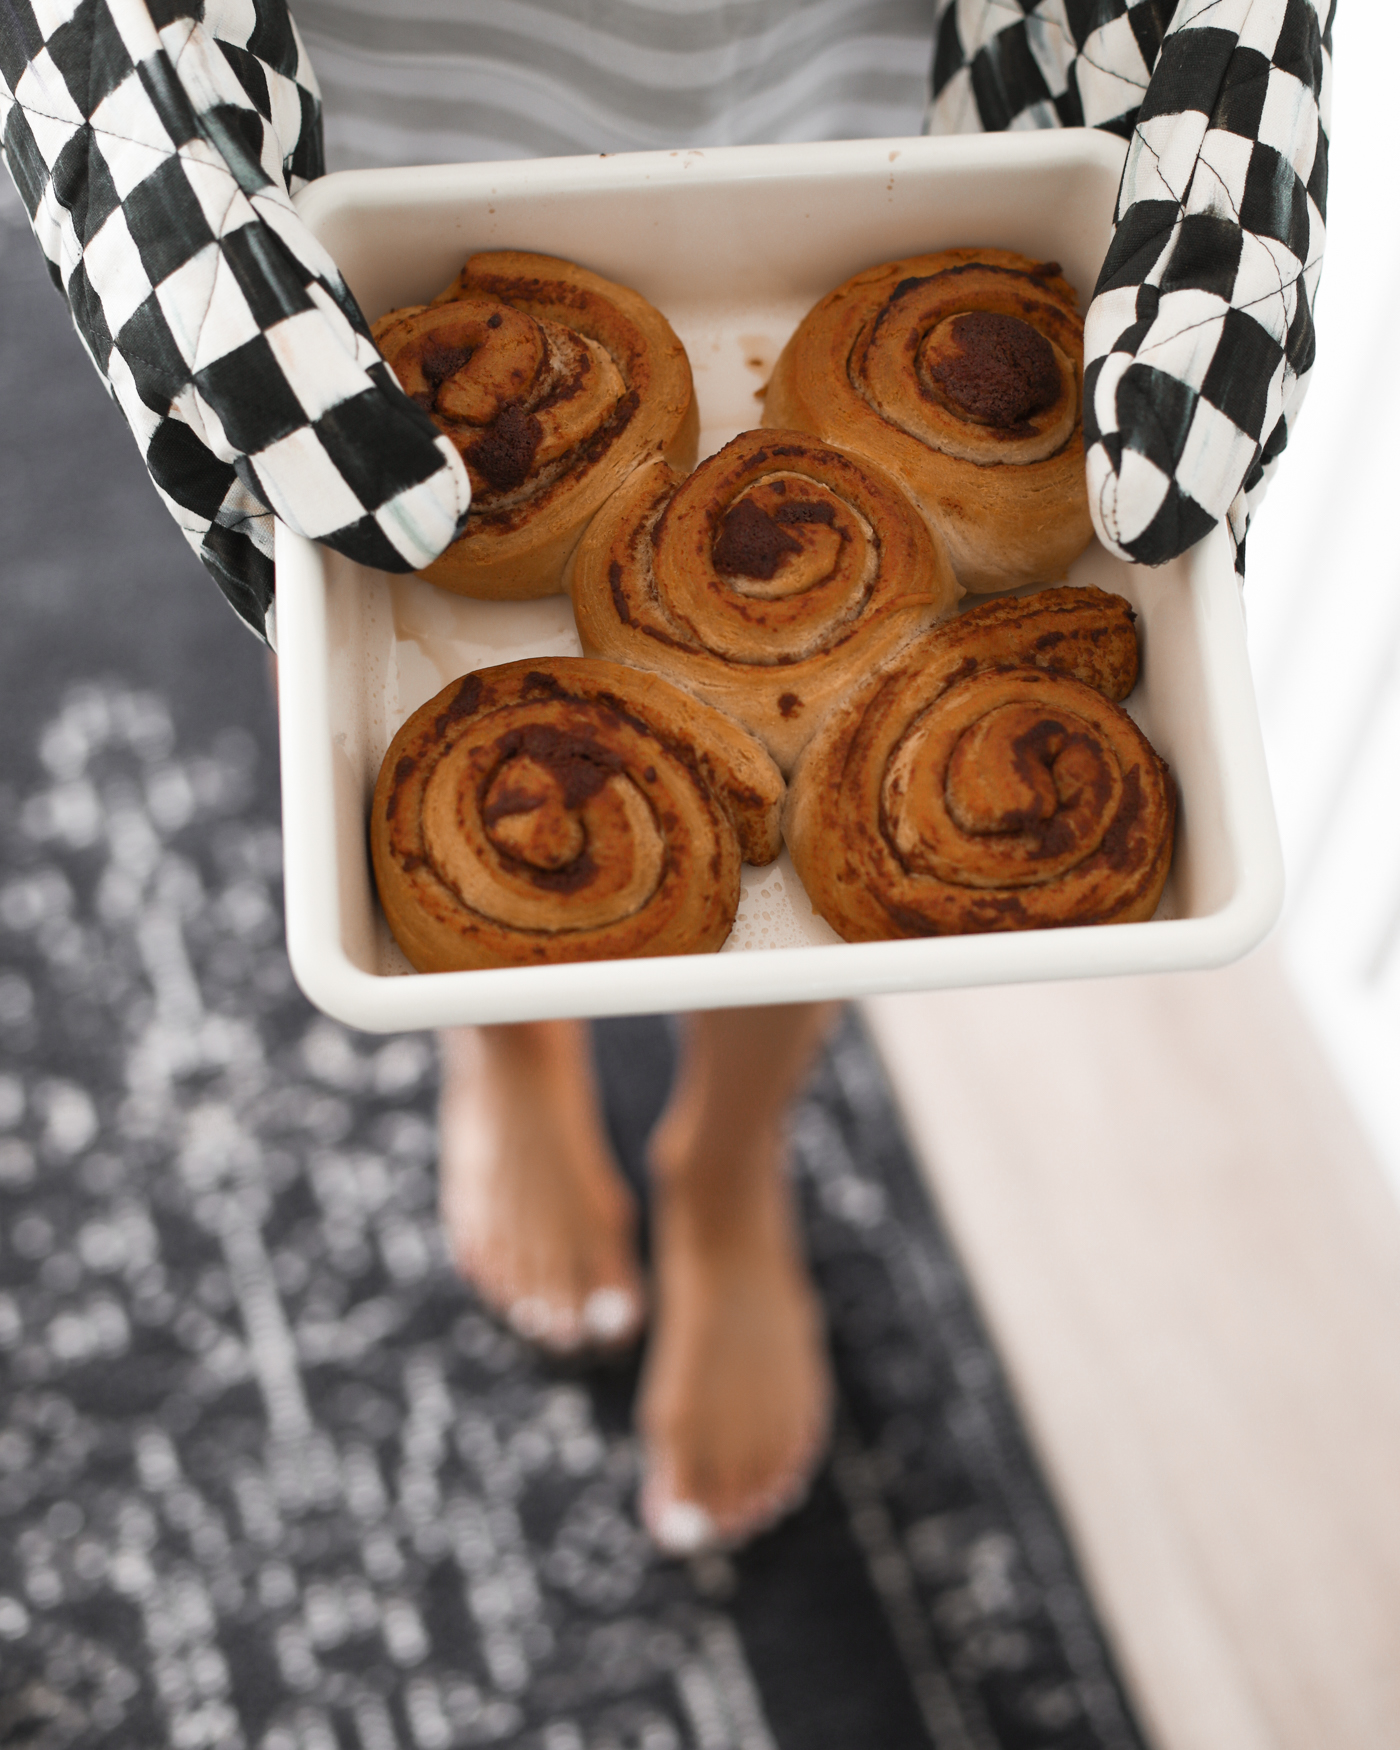
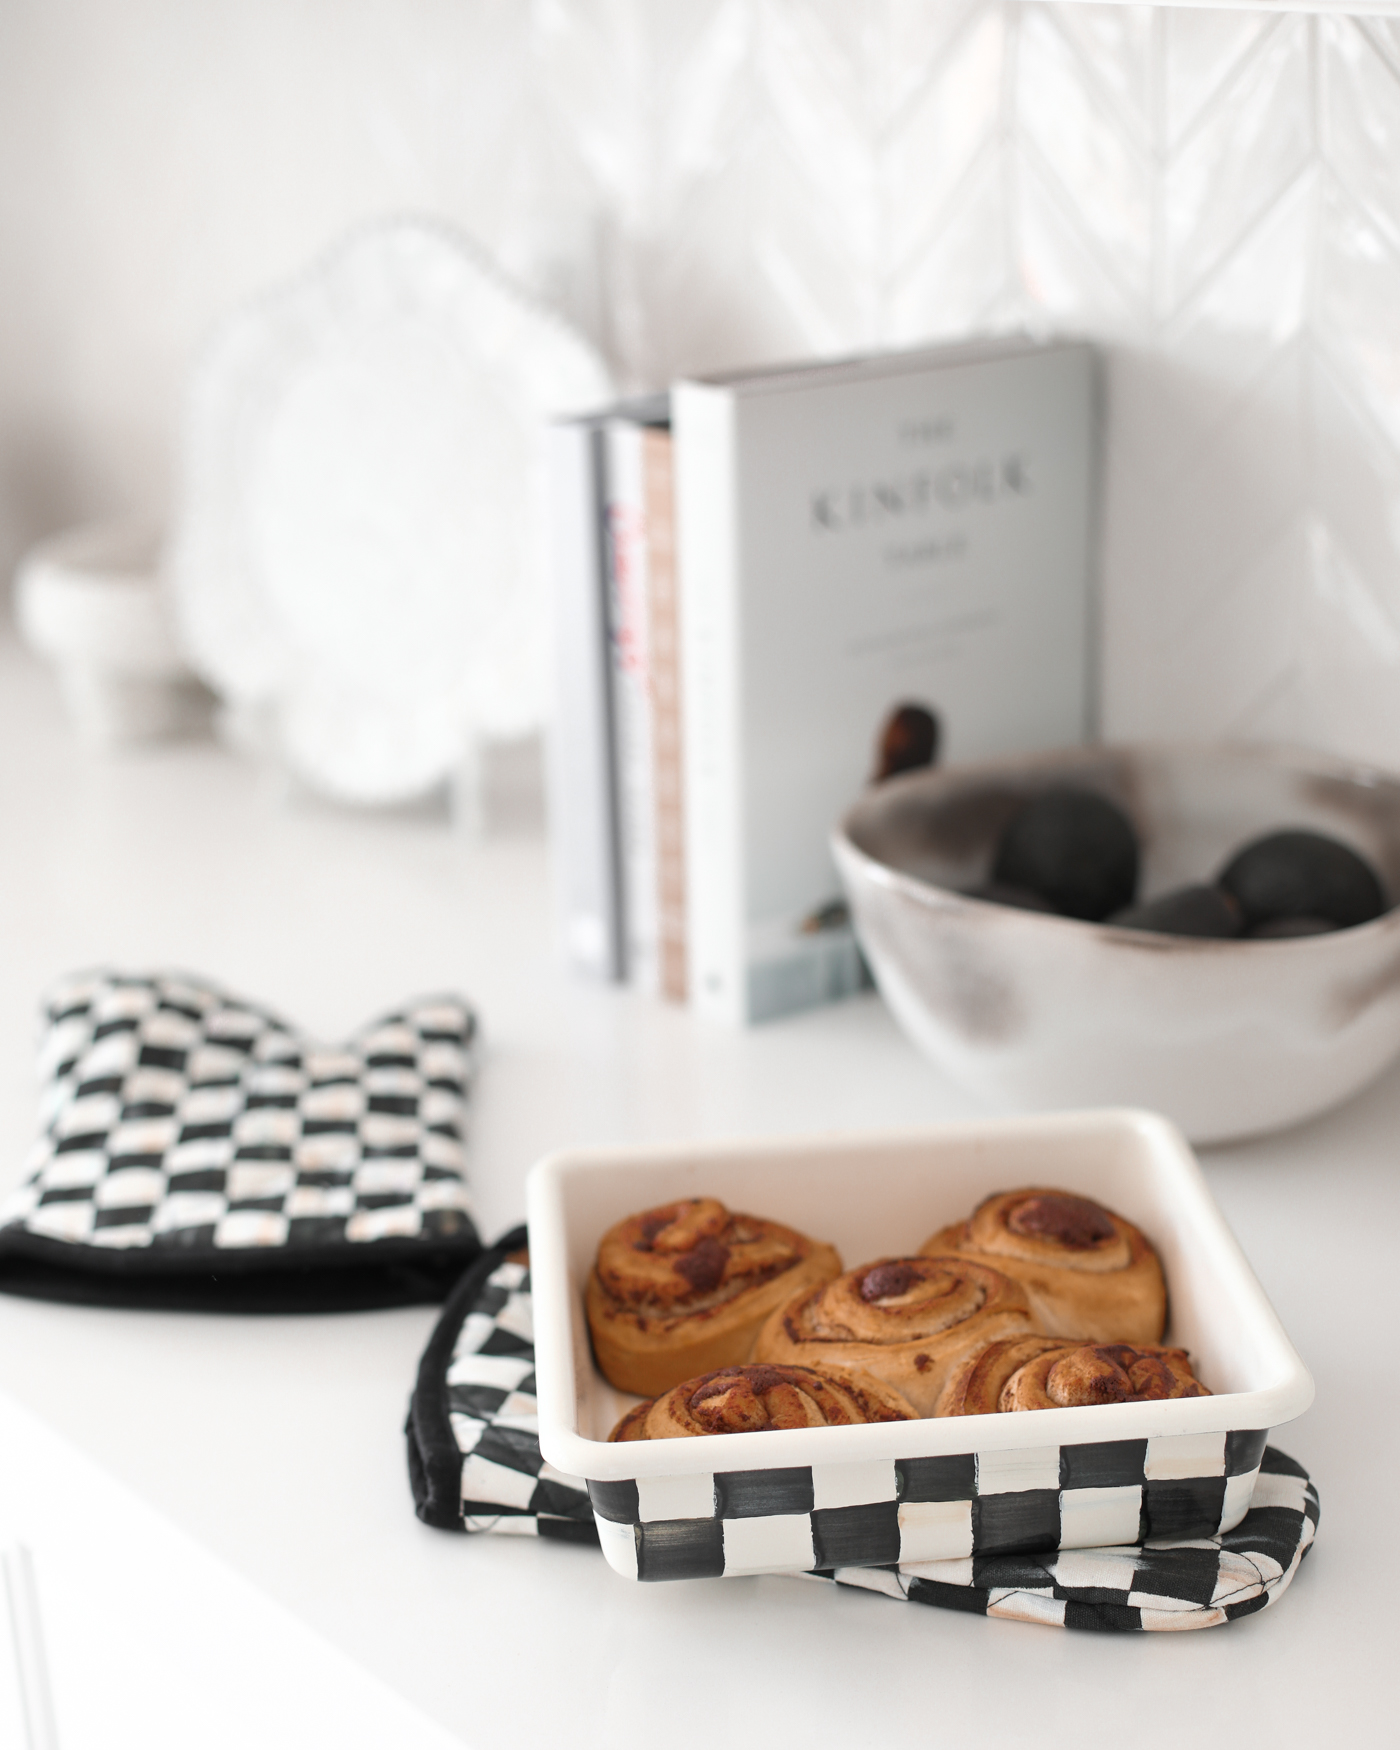
This bakeware is so pretty! From stove to table top and both functional and beautiful. This Courtly Check Enamel 5Qt. Casserole Dish is the type of piece I would keep on top of my stove all the time as decor. Being able to keep your food in the same dish you baked it in is so great and it really adds so much to a table. Especially for a formal family meal or even Thanksgiving. I love the classic checkered pattern too. It is so iconic and timeless. I also really like these new Courtly Check Baking Pans they are so fun. The kids love making cinnamon rolls in them. Recently we baked some from Trader Joes but I’m sharing a homemade recipe below. MacKenzie-Childs has an entire collection with this Courtly Check pattern including baking dishes, serving dishes and even cute pots to plant your herbs in. Also, I really love these double oven mitts. They are so pretty and unique and look really cute hanging on the oven handle. It adds a cute touch to the room.

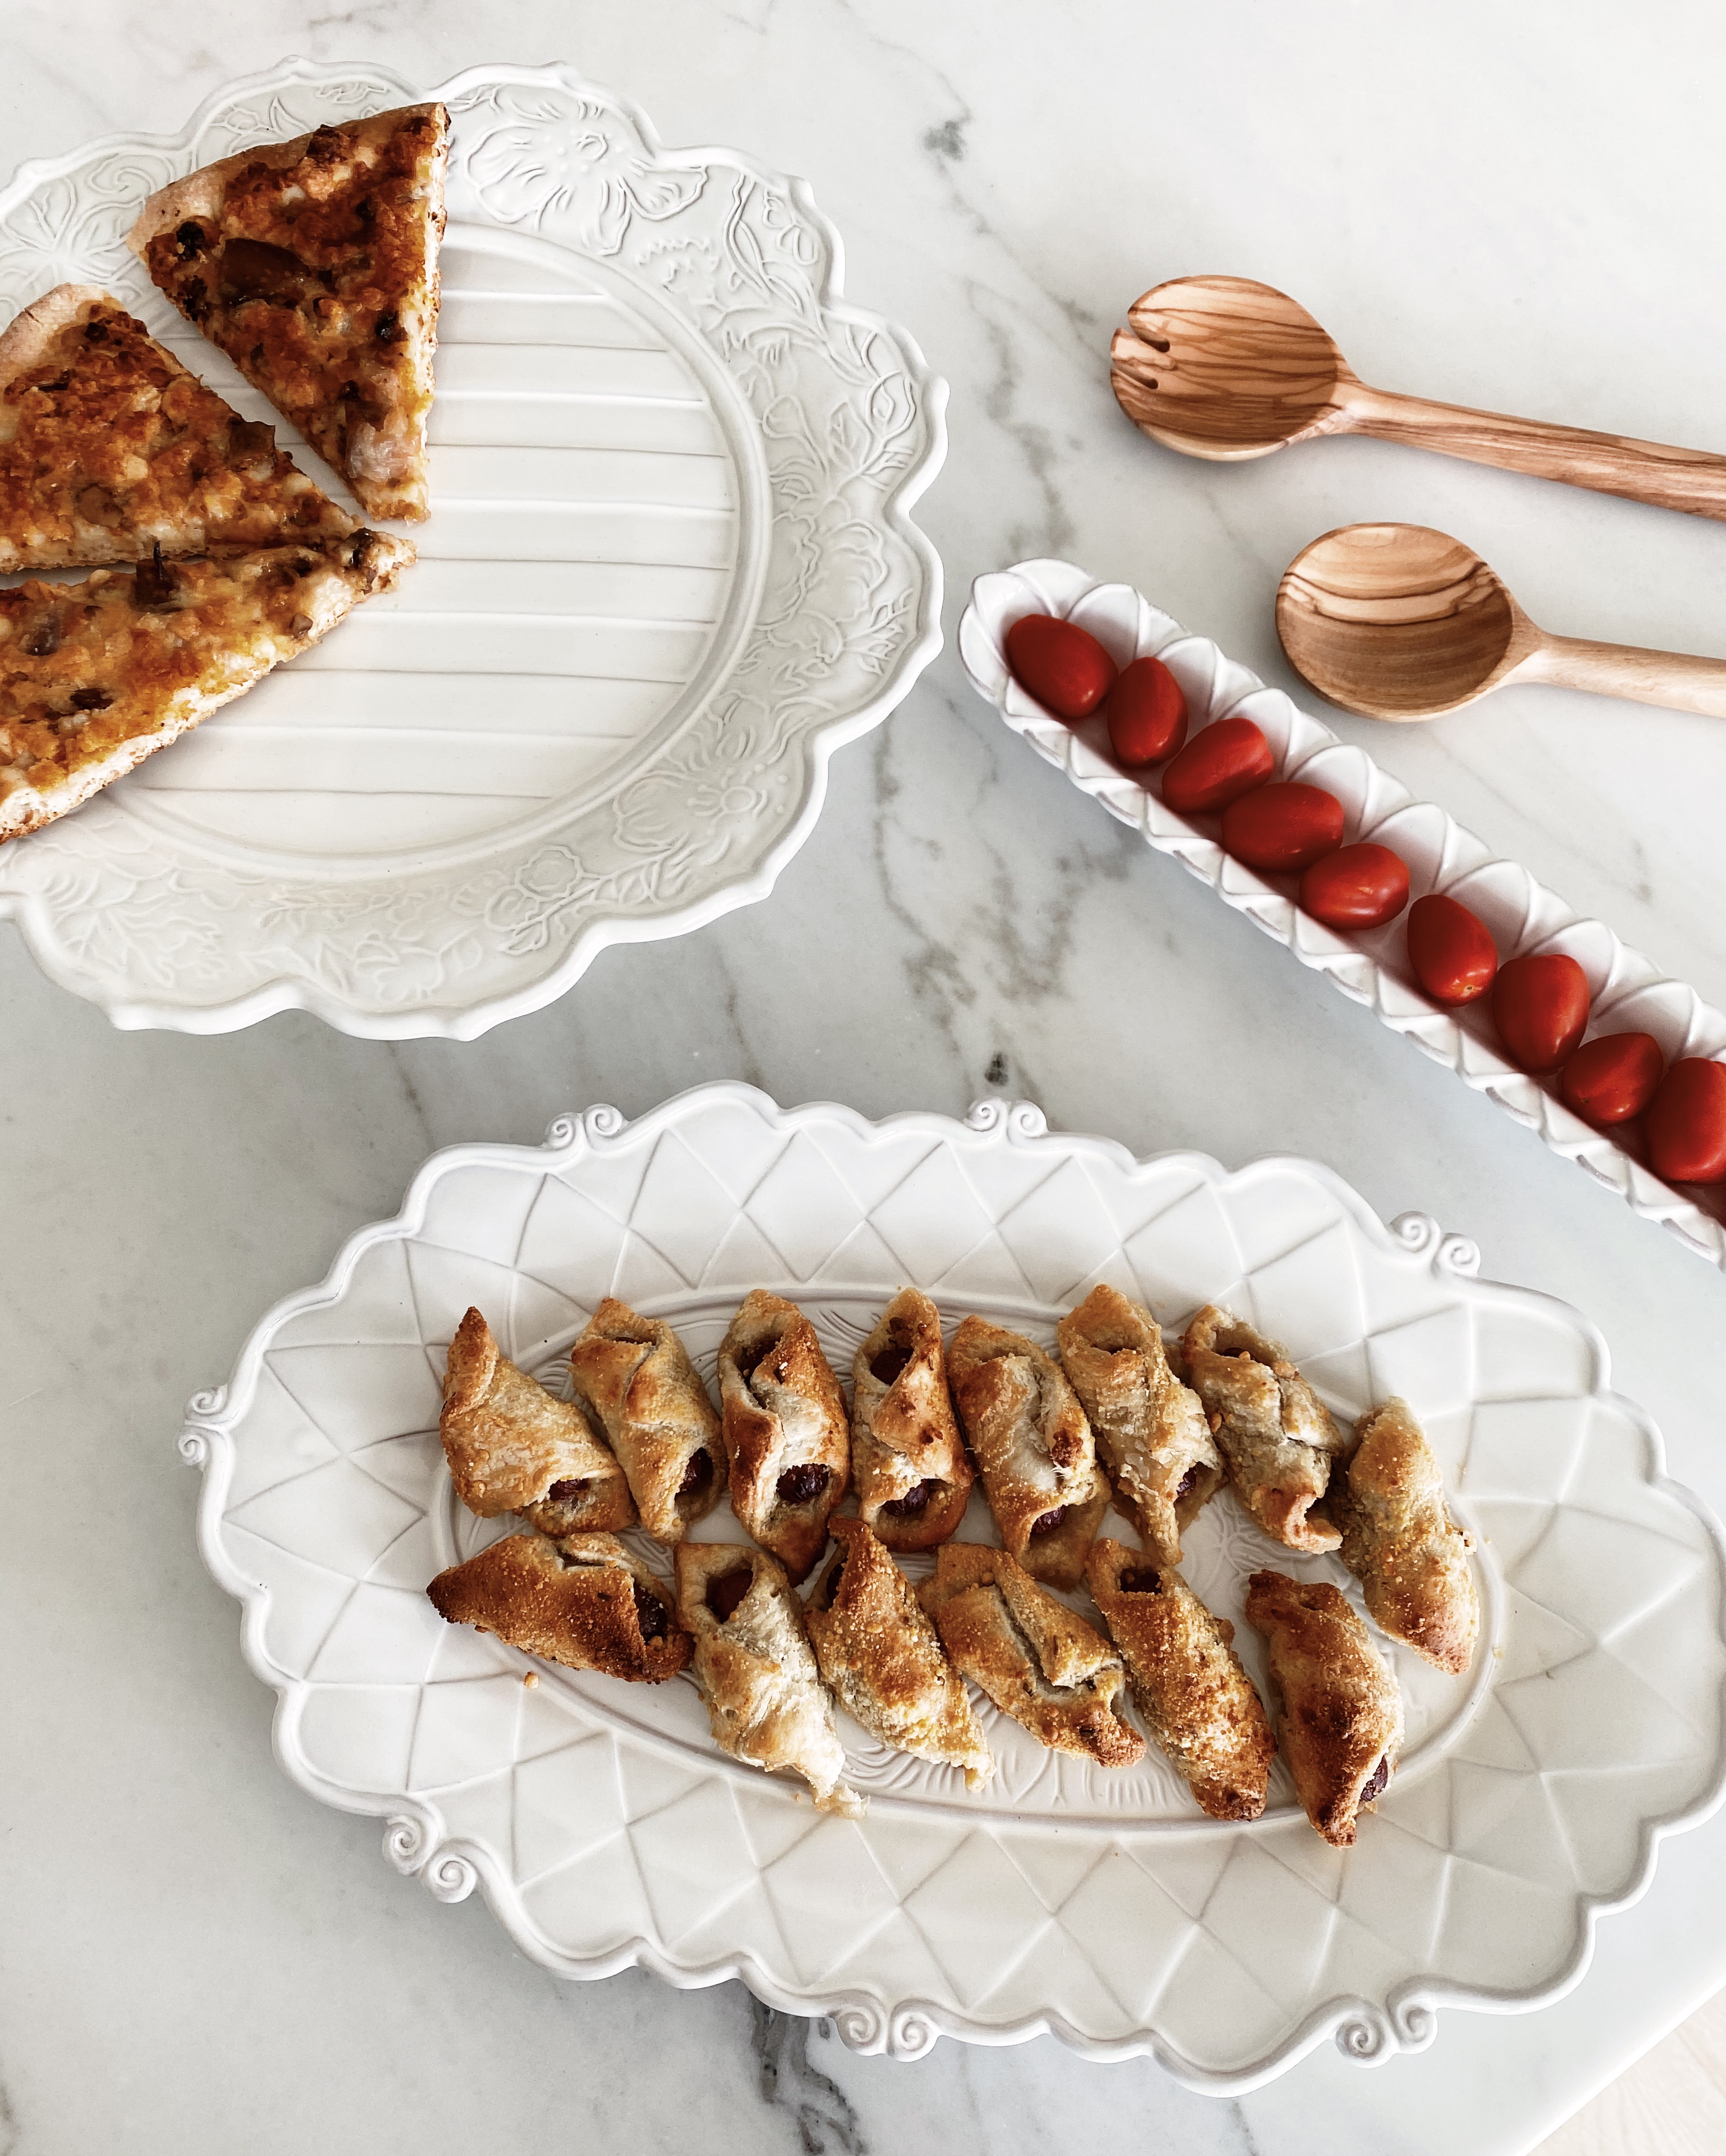
S E R V E W A R E
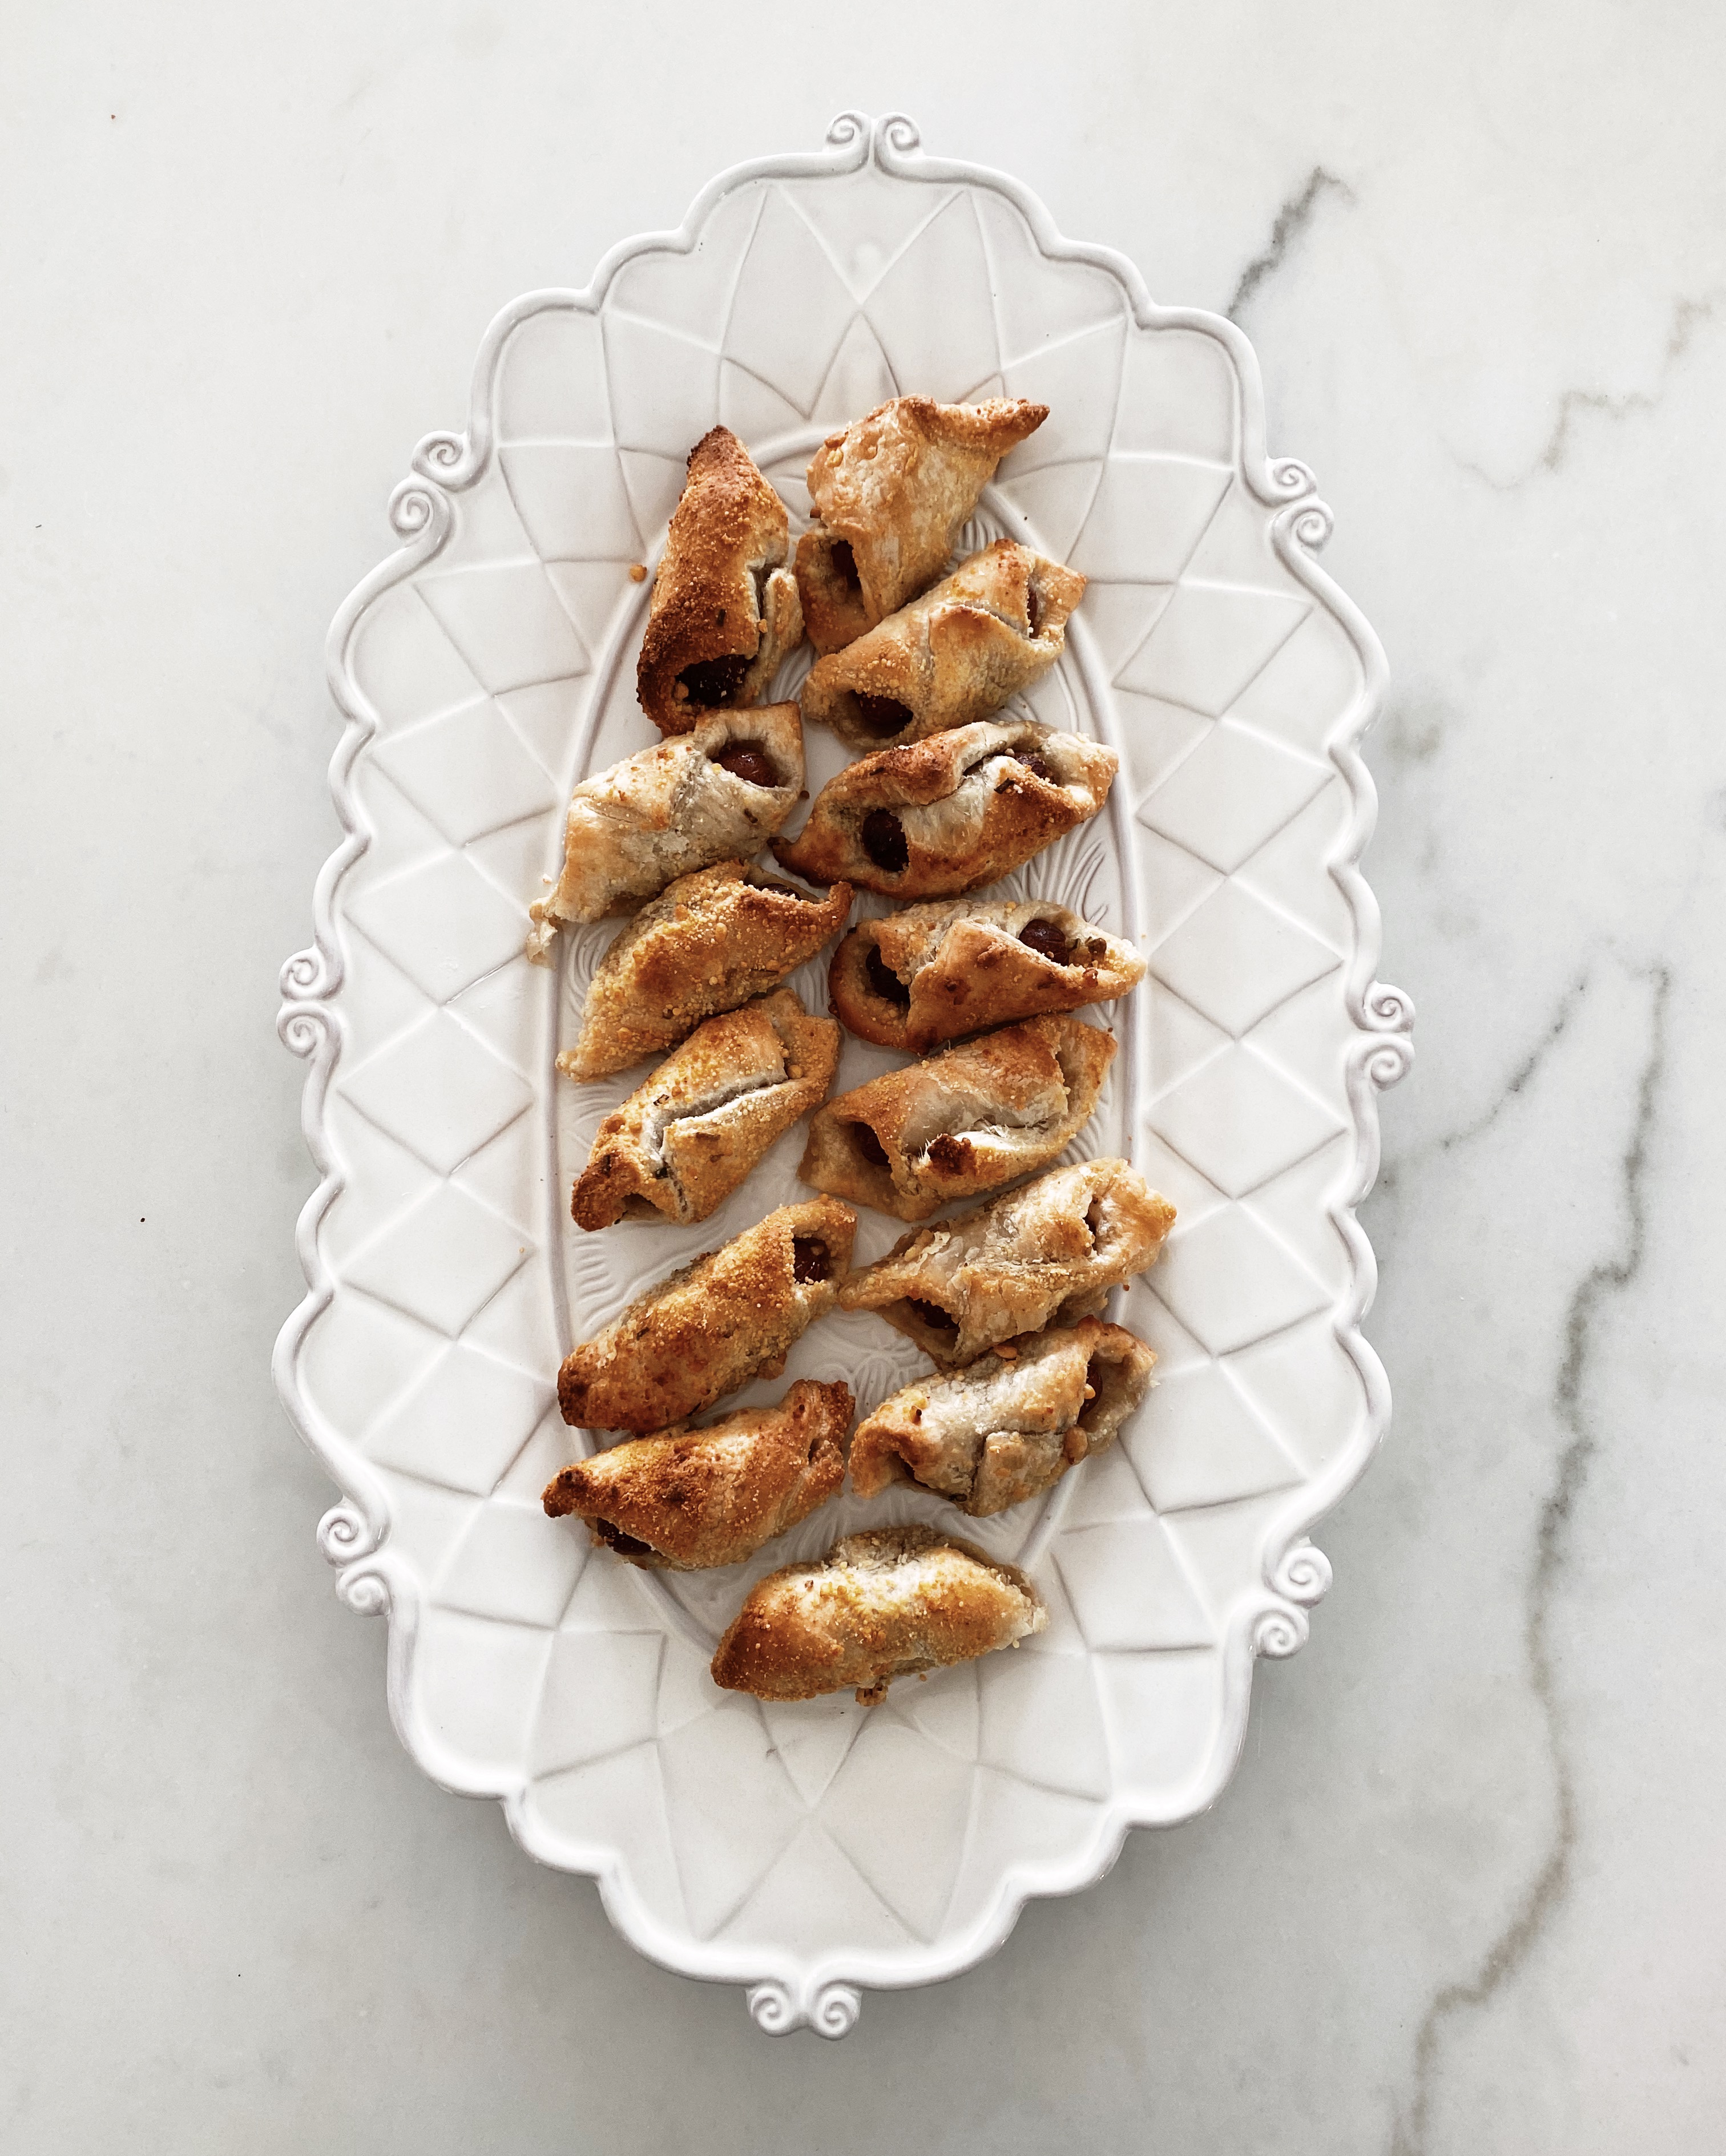
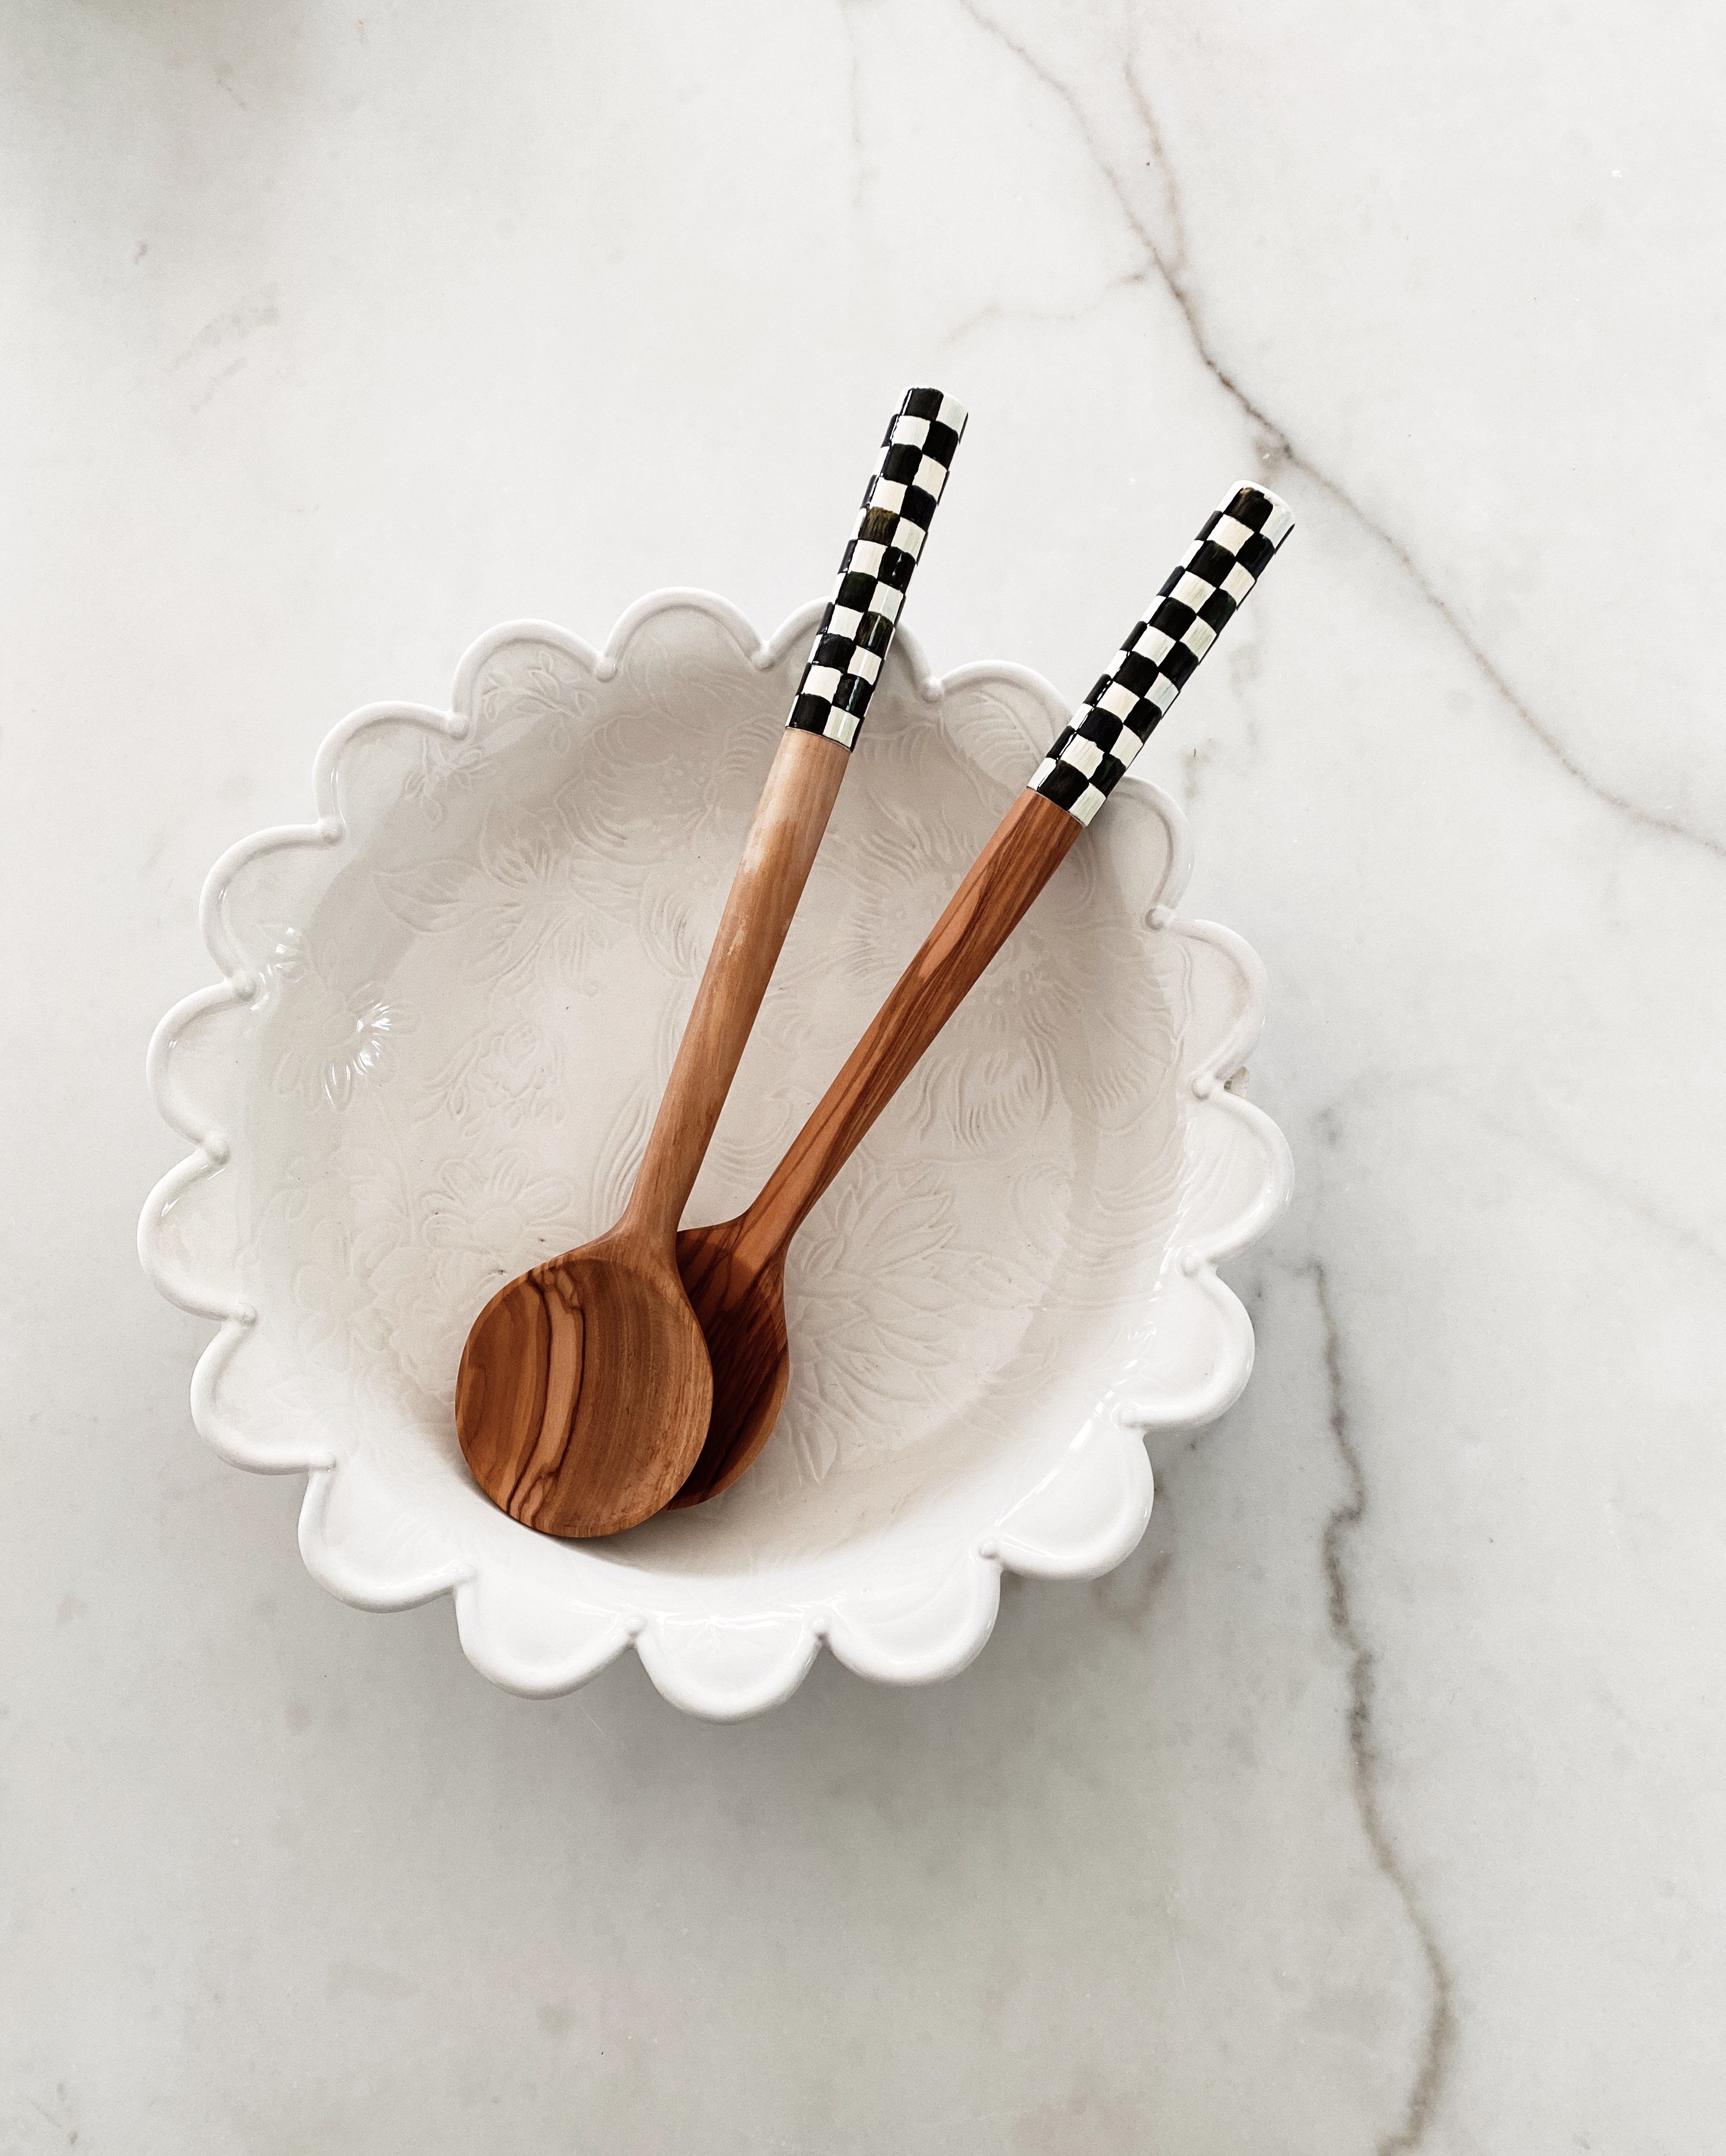
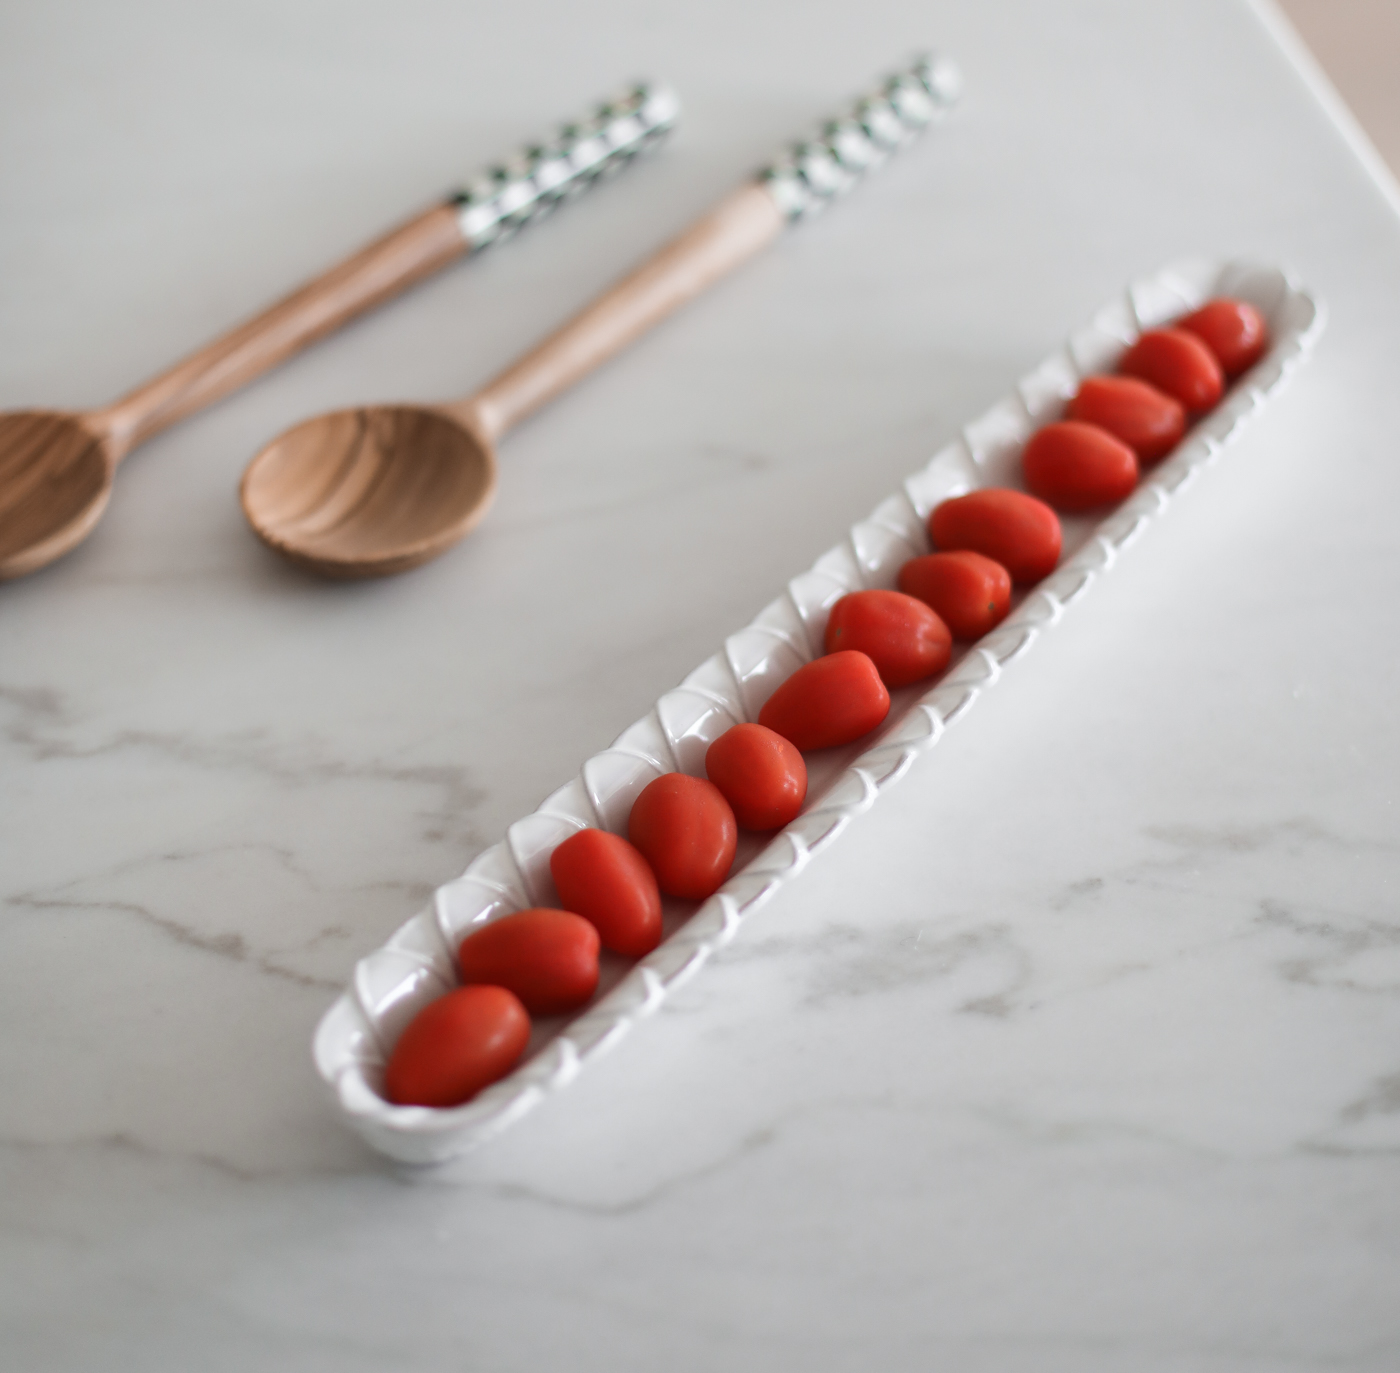
When serving a beautiful meal, having a nice dish to serve the meal in makes such a big difference. My mama is especially good at this. But I also love to get creative with pieces and use them for more than they are created for. For example I love using this Sweetbriar Cake Stand for candles and soaps and its nice to put your rings on it when doing the dishes. I like that it adds a little height to the countertop too. But whatever you do end up using it for it will surely be beautiful. I really am in love with this olive tray. You can serve cookies on it or a caprese salad or other small finger foods. It is so cute. Also, I love having a Sweetbriar Large Serving Tray on hand. It’s really convenient to have when entertaining and especially for holiday dinners.
C I N N A M O N R O L L R E C I P E
I N G R E D I E N T S
For the cinnamon rolls:
I N S T R U C T I O N S
To make the dough:
Mix the milk, vegetable oil and sugar in a small sauce pan. Warm over medium heat just until the sugar is dissolved and the mixture reaches 95-100 F (lukewarm) on an instant read thermometer. Remove from the heat and pour into a large mixing bowl. Cool, if needed, until the milk reaches 95° to 100° F on an instant read thermometer.
2.
Sprinkle the yeast over the lukewarm milk mixture and set aside for 5-10 minutes. Add 4 cups of the flour and stir until combined (you can do this by hand with a wooden spoon or use the dough hook of a stand mixer). Cover and let rise for one hour in a warm location. The mixture should be bubbly and puffed.
3.
In a small bowl or 1 cup measure, combine the remaining ½ cup of flour, baking powder, baking soda and salt. Stir together until blended. Add the flour mixture to the dough and mix until all flour is incorporated. Cover the bowl and refrigerate overnight, or for a day or two, if desired. If rising for more than a day, watch the dough and punch down if needed to prevent overflowing.
Recipe Credit : The Pioneer Woman
I just want to leave you with the note that I am so thankful for you. I know times have been challenging and also transformative and I am so thankful we have each other to lean on and learn with. Sending so many hugs your way and looking forward to a brighter tomorrow…for ALL of us!
xx,

P.s. A big thank you to MacKenzie-Childs for partnering on this post! Everything I share, as always, are my own thoughts and opinions.
*The Stylin by Aylin website only links to and recommends products that Aylin truly believes in based on quality, comfort, or other positive traits and may earn advertising fees or other compensation by linking to online retailers.


