


My highly requested “How to hang a Gallery Wall” post is finally LIVE!!! Thank you all for submitting your questions…see below for my Tips, pictures, FAQ’s and more!
Attempting to hang a gallery wall can be daunting. Trust me I know. We have a hallway upstairs that still is waiting for a second gallery wall to be hung…and we’ve lived in our home for almost 10 years…lol. This gallery wall you see here is part of our hallway from the Entry and in between our living room and study area. I wanted it to be in a space that not only creates visual interest, but also as a conversational piece when we have guests and friends come over. Everyone always loves to stop and look at the pictures and it really creates a cozy welcoming feel.
The first step in creating your own beautiful gallery wall is to first find the right space in your home. This could be a long hallway this could be a stairwell this could be an open space behind a console table, buffet, dresser etc. This could also be at the end of the hallway, up the stair case, etc. All you need to look for is open wall space.
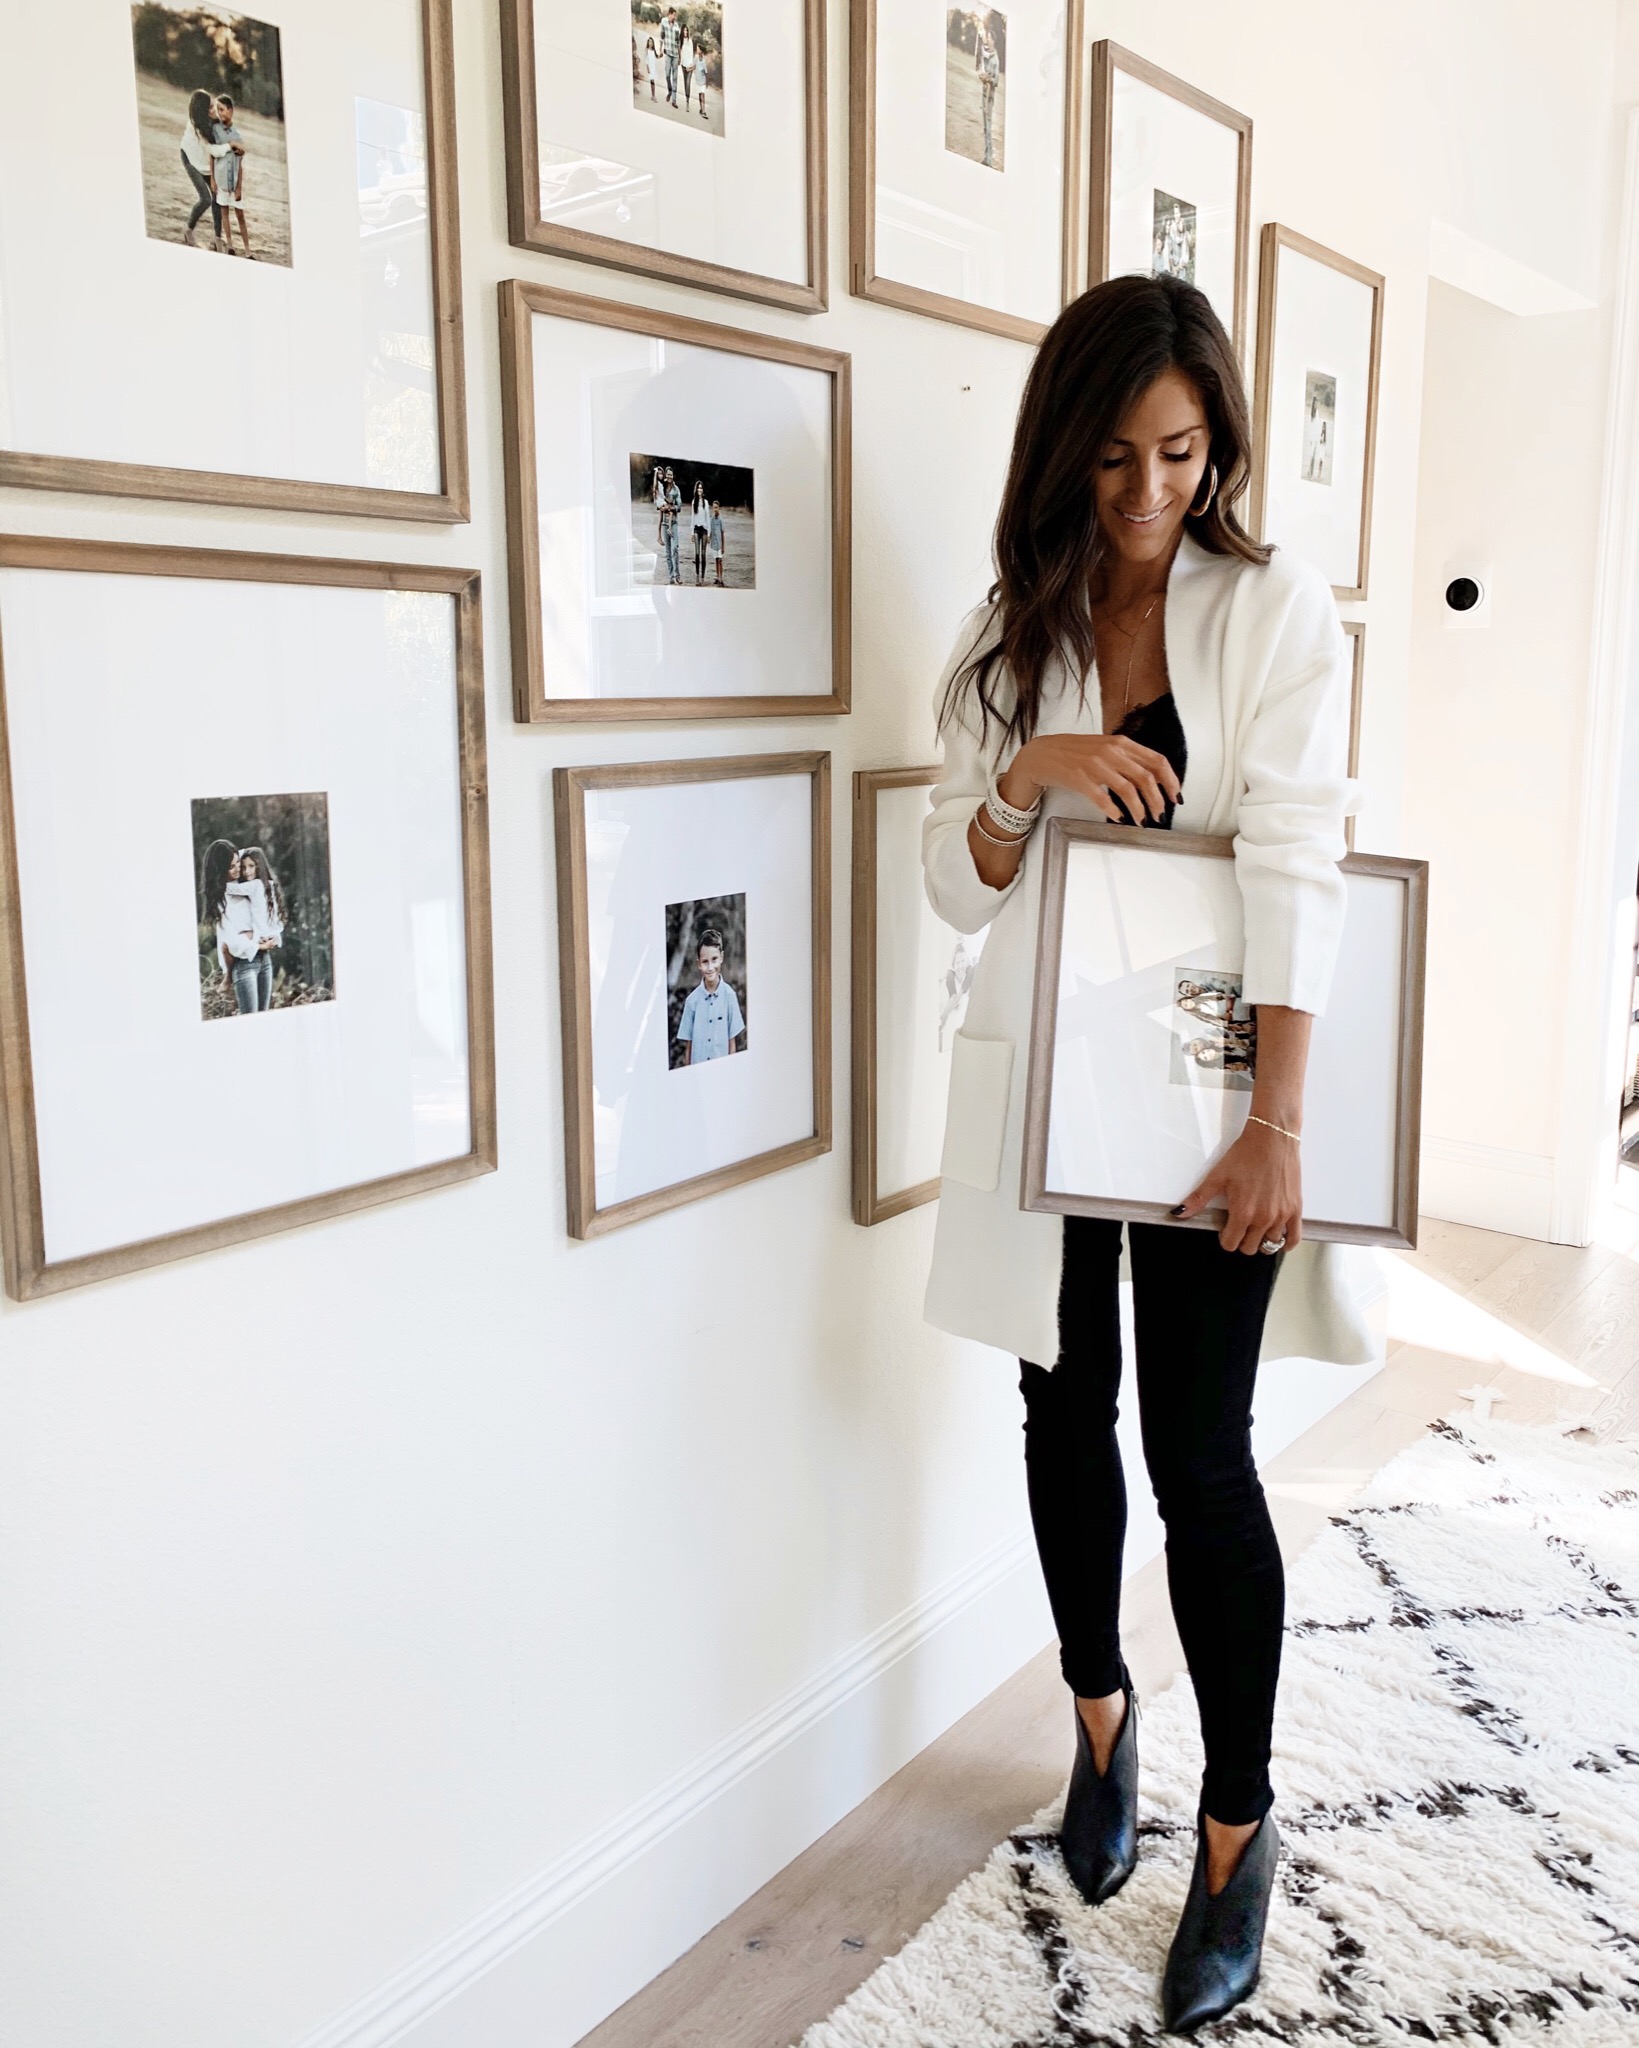
After you find your wall start looking around at different finishes in the room. Look at the flooring, different furniture, wall color, paint color, fixture finishes etc. This will help you choose the right color of frame. We have white walls and light wood flooring and I wanted this gallery wall to be more organic and subtle. So I chose a light wood colored frame with white matting to blend nicely with the rest of my homes aesthetic. You could also have your gallery wall be more of a statement. With that in mind think of contrasting frames and mats and consider what color the wall is behind the frames. They will either make the frames pop or blend in.
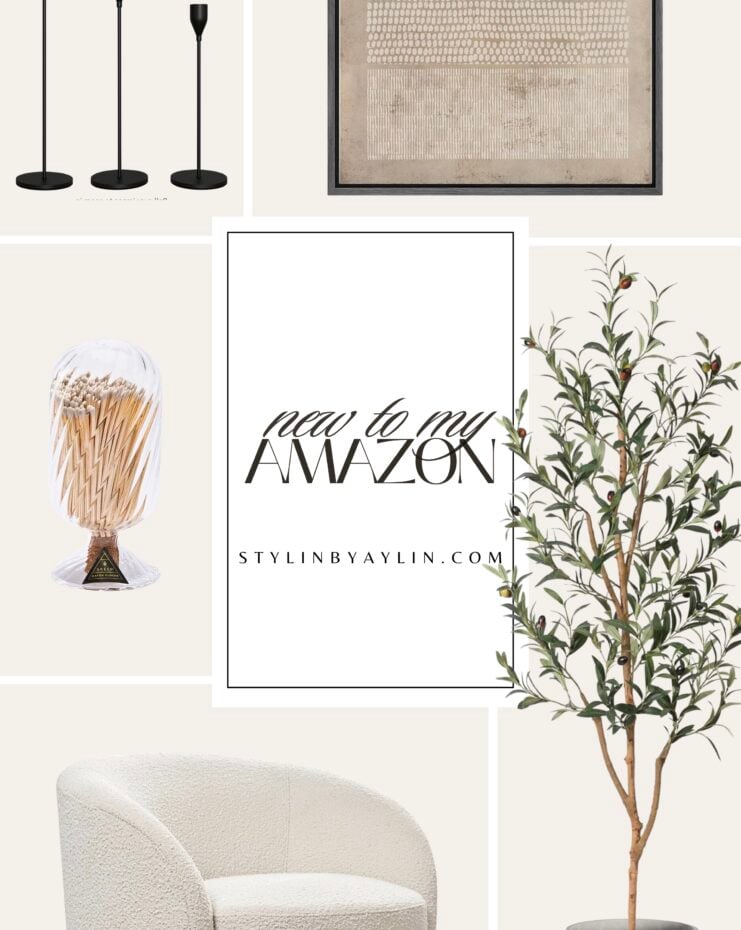
 Here are the Gallery Frames I used

I ordered all of these frames online and I decided to go monochromatic with the same finishes but I purchase different size frames. It’s very hard to map out exactly what you’ll need so my tip is to order extra and either return what you don’t use, use the extra frames in another room, or you might be surprised and end up using even the extra ones in your gallery wall. I like to call it the “wing it” method LOL.
I did a mix of large and medium size frames. I ordered 8 of the very large frames and 8 medium frames. I also encourage you to buy small size frames to mix in as well. The wall I chose wasn’t extremely large so unfortunately I wasn’t able to add in the smaller sizes. However I do love how that looks.
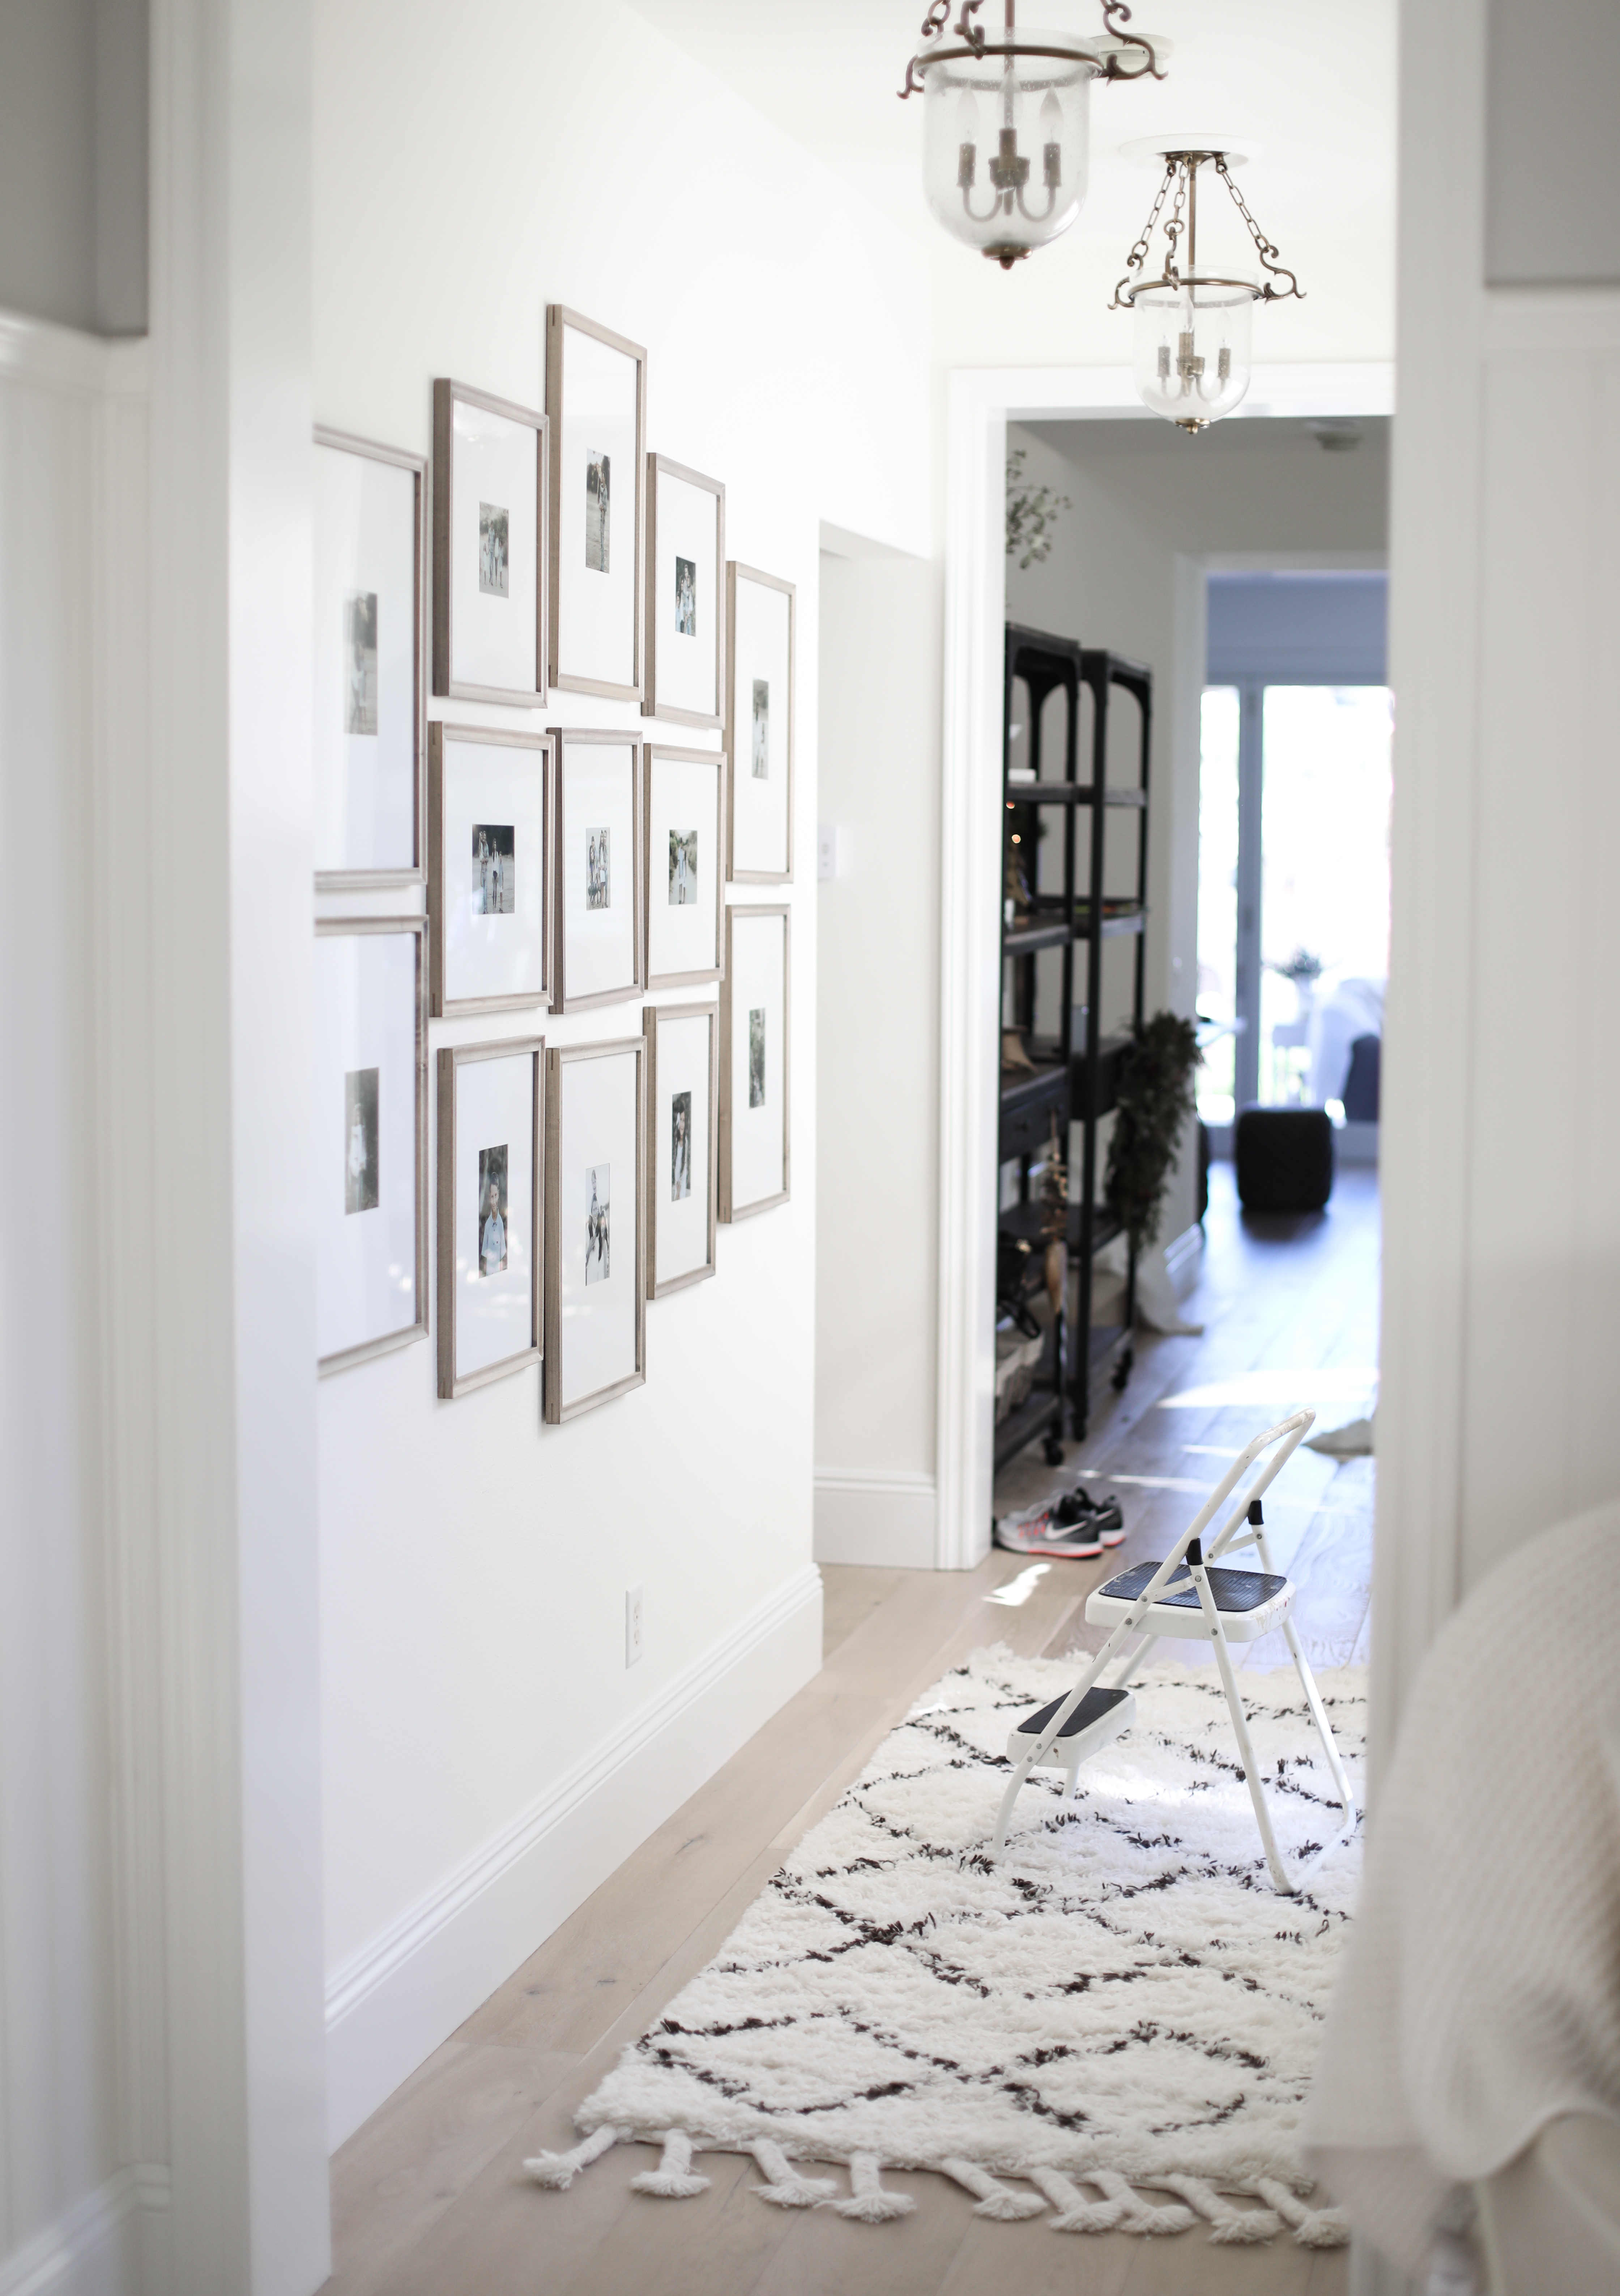
Once all the frames arrive lay them all out as you think you might want them but on the floor right below the gallery wall. This is a crucial step for a successful and easy gallery wall installation. I always lay out any artwork that involves multiples on the floor before I put any nails in the walls. Once you get a general idea of how the frames will lay out on the floor take the center frame or which ever one is in the very middle and measure that and hang it centered on your wall.

I always start from the center. I can’t even tell you how much easier it is to hang a gallery wall once you have a focal frame already hung. After you hang the center one grab the other top and bottom and hang those leaving one and a half to 2 inches of a gap.
From there hang the two frames that are to the left and to the right of the center frame leaving one and a half to 2 inches in between. And from there so on and so on until eventually you will see that your whole gallery wall is hung.
I decided to keep our gallery wall cohesive with the photography. So I printed out photos from one of our favorite family photo shoots. This is where you can get really creative and fun with what you frame in your gallery wall. You can do all black and white photos or sepia. You could also frame different wallpapers, fabrics or artwork. The options are endless and and so fun to design.

F R A M E O P T I O N S
Q & A
Q: How do you properly measure and space out the frames?
A: All the frames were layed out on the floor right below the wall. You can almost pretend that the floor is your wall which really helps visualize how your gallery wall is going to look. After it’s layed out I take the center frame and measure that centered (from left to right) on the wall. Then I place the center of that frame to about eye-level and nail it right in. From there I hang the next frames that are adjacent to the center frame I already hung up. I just measure 1 1/2″- 2″ in between each frame.
Q: How to decide what size frames to use and do you mix sizes?
A: I did a mix of large and medium size frames. I ordered 8 of the very large frames and 8 medium frames. I also recommend buying some smaller sized frames for gaps or area’s that need to be filled. These frames can be square, rectangular or even oval!
Q: How do you choose your photos?
A: For this particular gallery wall I chose a variety of photo’s from our family photo session. I love how all the photo’s are different but have the mood, similar tones and colors. You can easily achieve this by printing out all of your photo’s in Black and White. Even if they are from different days, years, events, etc.
Q: How do you map out and chose the placement and spacing?
A: I always lay out the pattern on the floor in front of the gallery wall first. Then I hang the center frame first for a starting point. I prefer a 1 and a half to 2 inch space between each frame.
Q: Can you provide some tips on how to hang frames perfectly straight?
A: I would suggest using a laser level and a ruler.
Q: What hardware do you recommend using and also a damage free alternative?
A: We just used skinny nails and a hammer
Q: What size pictures would you recommend using?
A: There are no rules for this…but we used mainly 4 x 6 and 5 x 7 images. 8 x 10 is also another popular size to print out for Gallery Wall frames.
Q: How do you choose the width of the mat?
A: Most frames already come with matting included. If not most Micheal’s stores carry matting you can buy separately. The frames I used have a much larger matting which I love.
Q: How do you narrow down or select the pictures that make it on the wall?
A: In my case I got lucky since we just got our family photo pictures back. They are all cohesive in regards to tone, colors, location, etc. My advice would be to select photos that make you happy and bring up good feelings and memories. Having an eclectic photo mix is beautiful and even more so when there is meaning behind the images.
Q: What level or height do you hang the frames?
A: This all depends on the height of your ceilings, if your gallery is going above furniture, etc. But in my case I started with the center frame… and measured the center of that frame landing at eye level. (I’m 5-7 and I have 9′ ceilings).
Q: How do you decide between Black, White or Sepia?
A: This is personal preference. I would take a look at the finishes and color scheme you are going for. The sepia is more of a warmer tone and the classic B&W is on the cooler side. I personally like B&W best.
Q: Does your wall color play into the choices you made for the frame and mat?
A: Yes! Again there are no rules here. I wanted a more neutral, subtle look. But I also love a good pop of Black frames against a white wall.
Q: What paint color is your gallery wall?
A: Benjamin Moore: Simply White.
Baseboards and trim are: Benjamin Moore: Chantilly Lace
Q: Do you center the gallery on the wall or the space that is available..i.e if an open door covers part of the wall?
A: I would space it out evenly with the space that is available. If a door is present I would measure from the end of the door frame to the other end of the wall.
I hope this post was helpful. If so please share this post on Pinterest!
Feel free to reach out if you have any more questions….
xx,

*The Stylin by Aylin website only links to and recommends products that Aylin truly believes in based on quality, comfort, or other positive traits and may earn advertising fees or other compensation by linking to online retailers.


